Introduction
We're WeDAA, short for Well Defined Application Architecture—a platform that empowers developers and architects to visually prototype software architectures on a canvas. Whether you're building enterprise applications, startup MVPs, or incubating new ideas, WeDAA helps you bootstrap non-functional requirements like APIs, microservices, and infrastructure in minutes instead of days.
Everything was going smoothly—until we hit a hard limit. Our hosting provider, Hetzner, imposed a frustrating restriction: their load balancers only allow five service mappings. For a platform like ours that depends on running dozens of services, this was a serious roadblock.
Spoiler alert: Kong API Gateway came to our rescue. Here’s how we turned a rigid infrastructure limitation into a streamlined, scalable solution.
The Backstory: What’s WeDAA Anyway?
A Visual Platform for Modern Architecture
WeDAA is like a LEGO set for software architecture—developers can visually design, connect, and deploy microservices without the heavy lifting of backend setup. It handles the non-functional groundwork so you can focus on building features.
Our Cloud of Choice: Hetzner

When we launched, we chose Hetzner for hosting. It’s fast, reliable, and super budget-friendly—which is a big deal when you're bootstrapping or scaling quickly.
Why Hetzner? Cost vs Features
For the price, Hetzner rocks. But not everything that glitters is gold. While compute and storage were amazing, their load balancer offering had… well, “quirks.”
Enter the Challenge: Microservices Meet Their Limit
WeDAA’s Need for Scalability
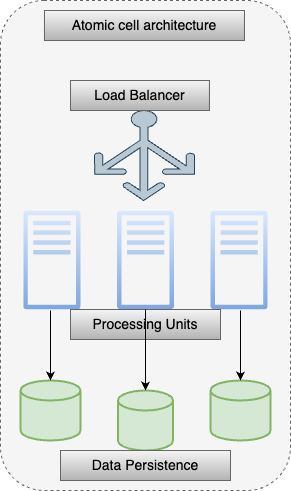
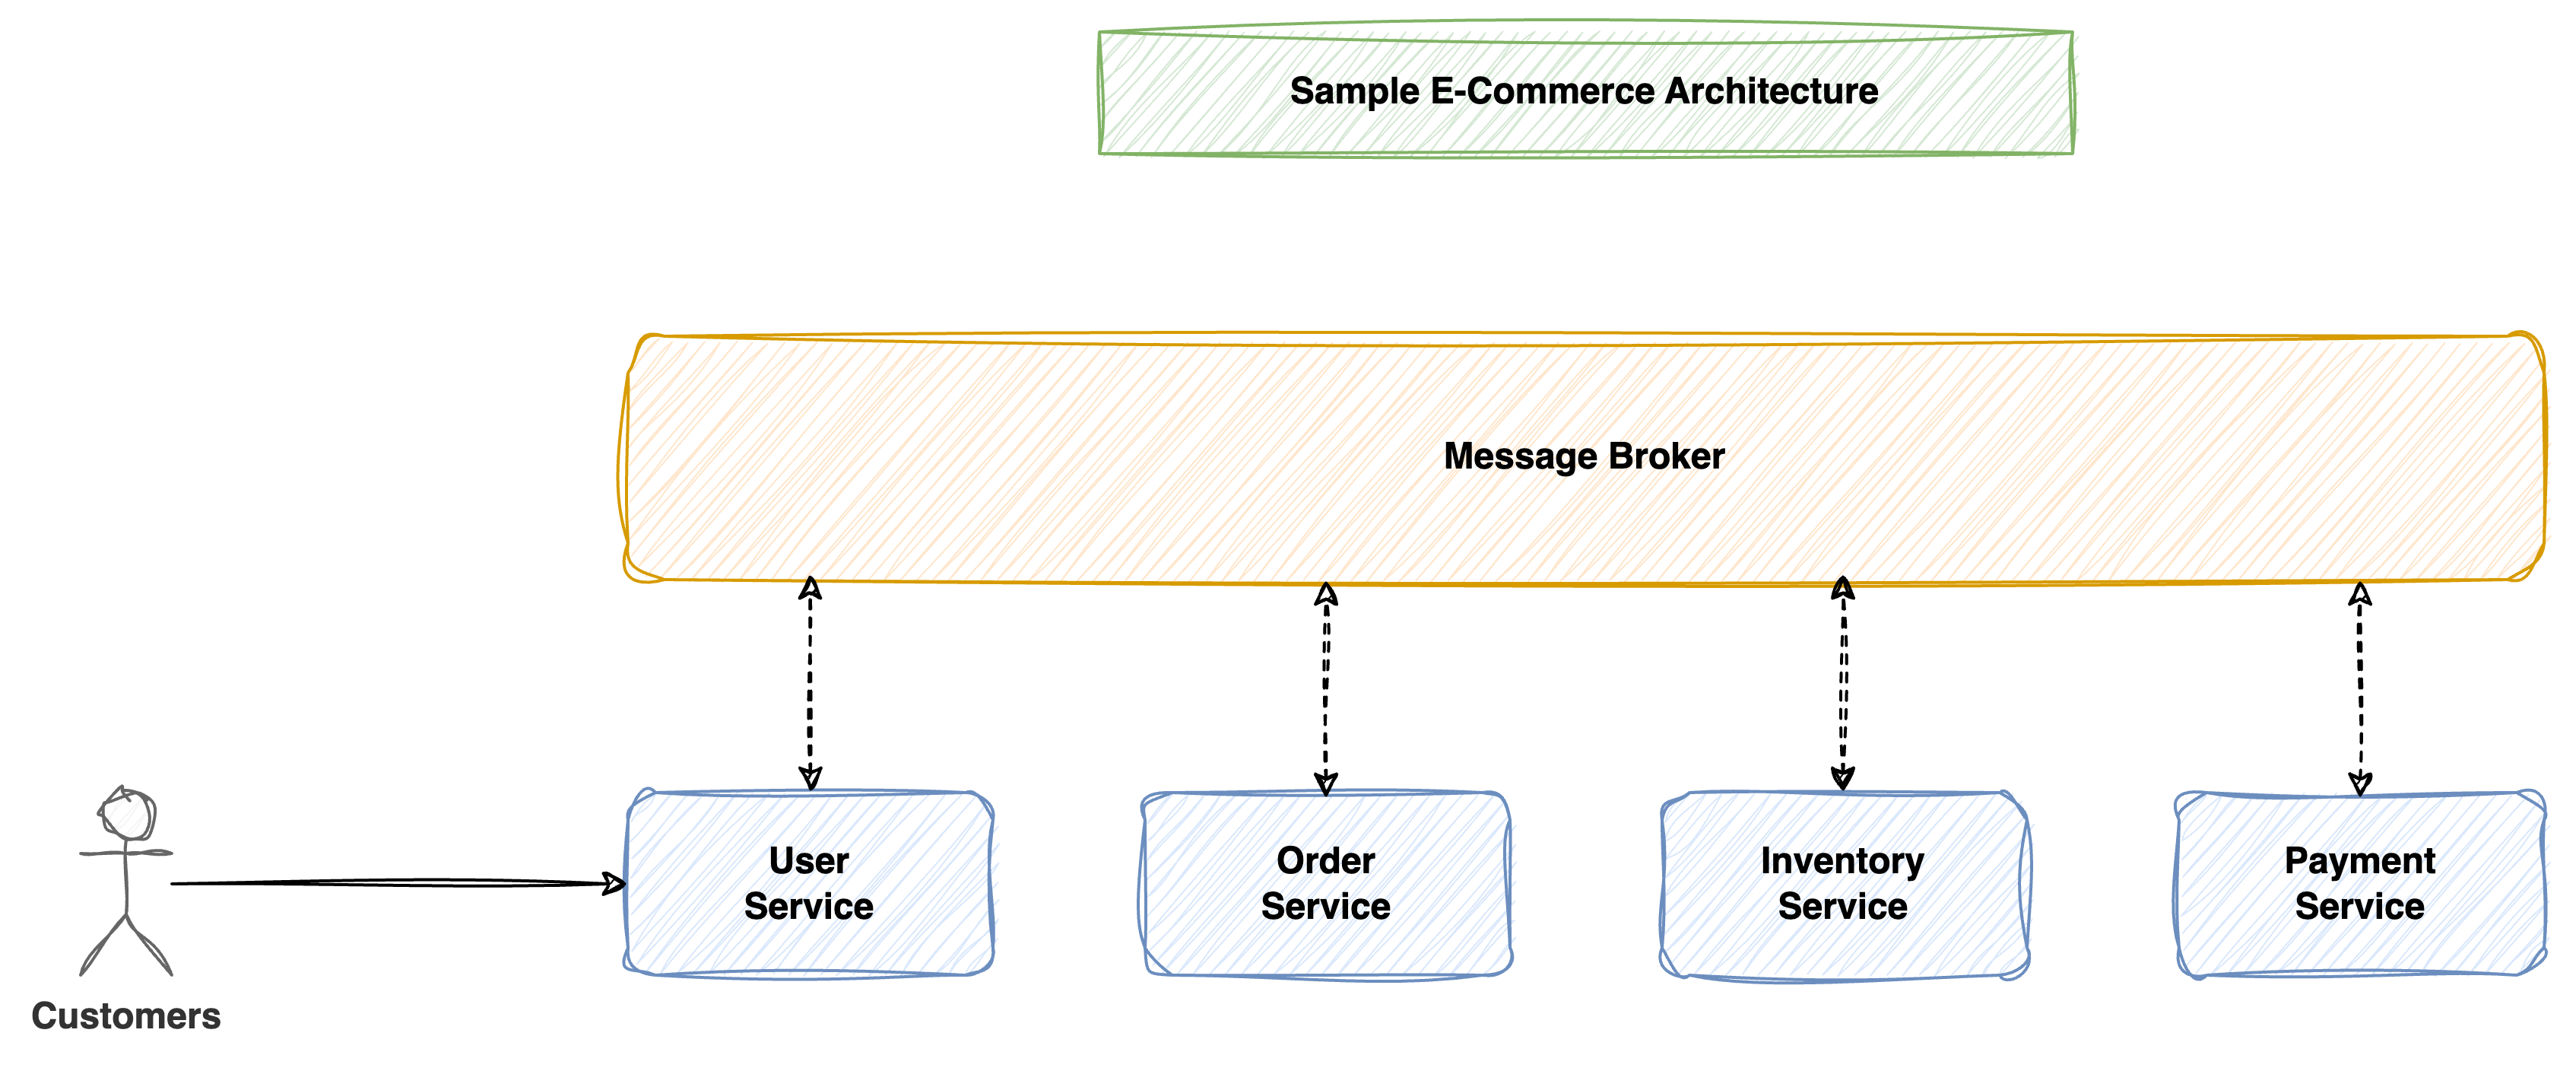
As a microservices platform, WeDAA doesn’t run one or two services—we run dozens, sometimes more. Each service typically needs to be exposed externally or internally in a managed way.
Load Balancers and Path-Based Routing: What’s the Deal?
Normally, you’d use a path-based routing strategy.
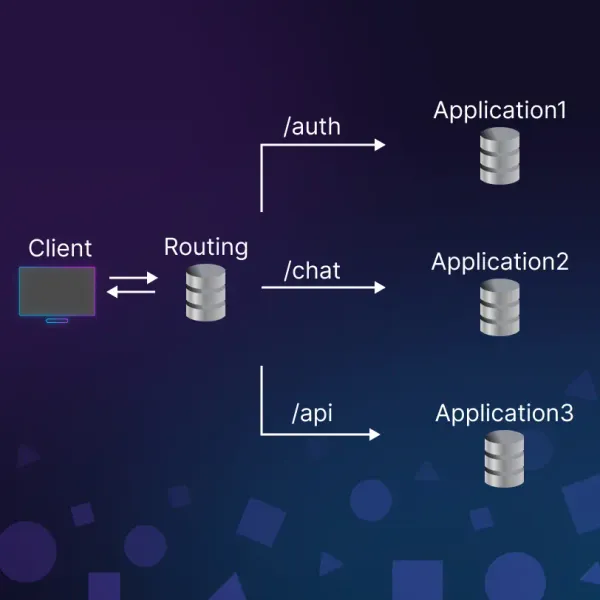
Like this:
-
/auth→ Authentication Service -
/billing→ Billing Service -
/notifications→ Notification Service
Simple, clean, and only one public-facing endpoint required.
Hetzner’s Load Balancer Limitation
But here’s where it broke down: Hetzner’s load balancers don’t support path-based routing. Oof.
Only 5 Port Mappings? Seriously? Instead, you have to map services by port. So if your LB is lb11, you can only do stuff like:
-
Port 8080 → Auth
-
Port 8081 → Billing
-
Port 8082 → Notifications
...and so on—but only 5 of these mappings allowed.
Load Balancer Bottleneck: Our Initial Struggle
Trying to Squeeze Multiple Services Behind One LB
You can see where this is going. We had way more than 5 services.
Options We Considered
We brainstormed all possible hacks:
-
Buy a bigger load balancer (was an option—but the cost jumped fast)
-
Spin up more LBs (costly and messy)
-
Use a reverse proxy manually (yikes—complex maintenance)
All Roads Led to Cost & Complexity
Every workaround added either cost, technical debt, or overhead. We needed something smarter—a gateway between our load balancer and services.
Discovering a Smarter Way: Say Hello to Kong API Gateway

What is Kong API Gateway, Anyway?
Kong Gateway is a lightweight, fast, and flexible cloud-native API gateway. Kong Gateway sits in front of your service applications, dynamically controlling, analyzing, and routing requests and responses. Kong Gateway implements your API traffic policies by using a flexible, low-code, plugin-based approach.
It's like a digital traffic cop that decides where to send API requests based on path, headers, method—you name it.
How Kong Helped Us Bypass LB Limitations
With Kong sitting behind the load balancer, we only needed to expose one service—Kong itself. Then Kong handled internal routing to all our microservices based on the URL path.
One Service, Multiple Paths
Boom. Now instead of mapping 5 different ports on the LB, we had:
-
lb11:443 → Kong
/auth→ Auth Service/billing→ Billing Service/notifications→ Notification Service/anything→ Any Service We Wanted
Internal Routing Made Simple
All services were registered with Kong. We configured routing rules, and it took care of the rest. No extra LBs. No extra cost.
A Real-World Architecture Shift
Before Kong: Chaos
Dozens of services, all needing public access, but limited to 5. It was like trying to stuff an elephant into a mini-fridge.
After Kong: Clarity
Now it’s:
Hetzner LB → Kong → All internal microservices
[Internet] → [Hetzner LB] → [Kong API Gateway] → [Service A, B, C...Z]
Clean, scalable, and way easier to manage.
Would We Do It Again? 100% Yes

Scalability Without Extra Costs
- We’re saving $$$ by not buying extra load balancers.
Future-Proofing the Platform
- Need to add 10 more services? 50? No problem—Kong’s got it.
Faster Deployments
- New service? Register with Kong, deploy, and done. No port juggling.
Wrapping Up: Kong API Gateway – Game-Changer in Our Stack
If you're running multiple services and your cloud provider’s load balancer has limitations, Kong can help. It did the job for us—quickly and without adding complexity.
What started as a problem with too many services turned into a simple solution. Now, Kong is a key part of our setup—and we’re not looking back.
👉 In our next blog, we’ll show you how to configure Kong API Gateway and use it in your microservices architecture step by step—stay tuned!