QuickStart
The simplest way to get started with WeDAA is by using the WeDAA QuickStart wizard, designed to guide users in building a straightforward full-stack application with microservice architecture.
This guide will help you in building your first full-stack application with microservices architecture.
To begin, visit our website by Clicking here.
QuickStart wizard
WeDAA QuickStart wizard comes with options to generate application of different architecture type: Fullstack, Headless, Static Web Page, Personal Website
Let's start building a fullstack application with WeDAA QuickStart wizard
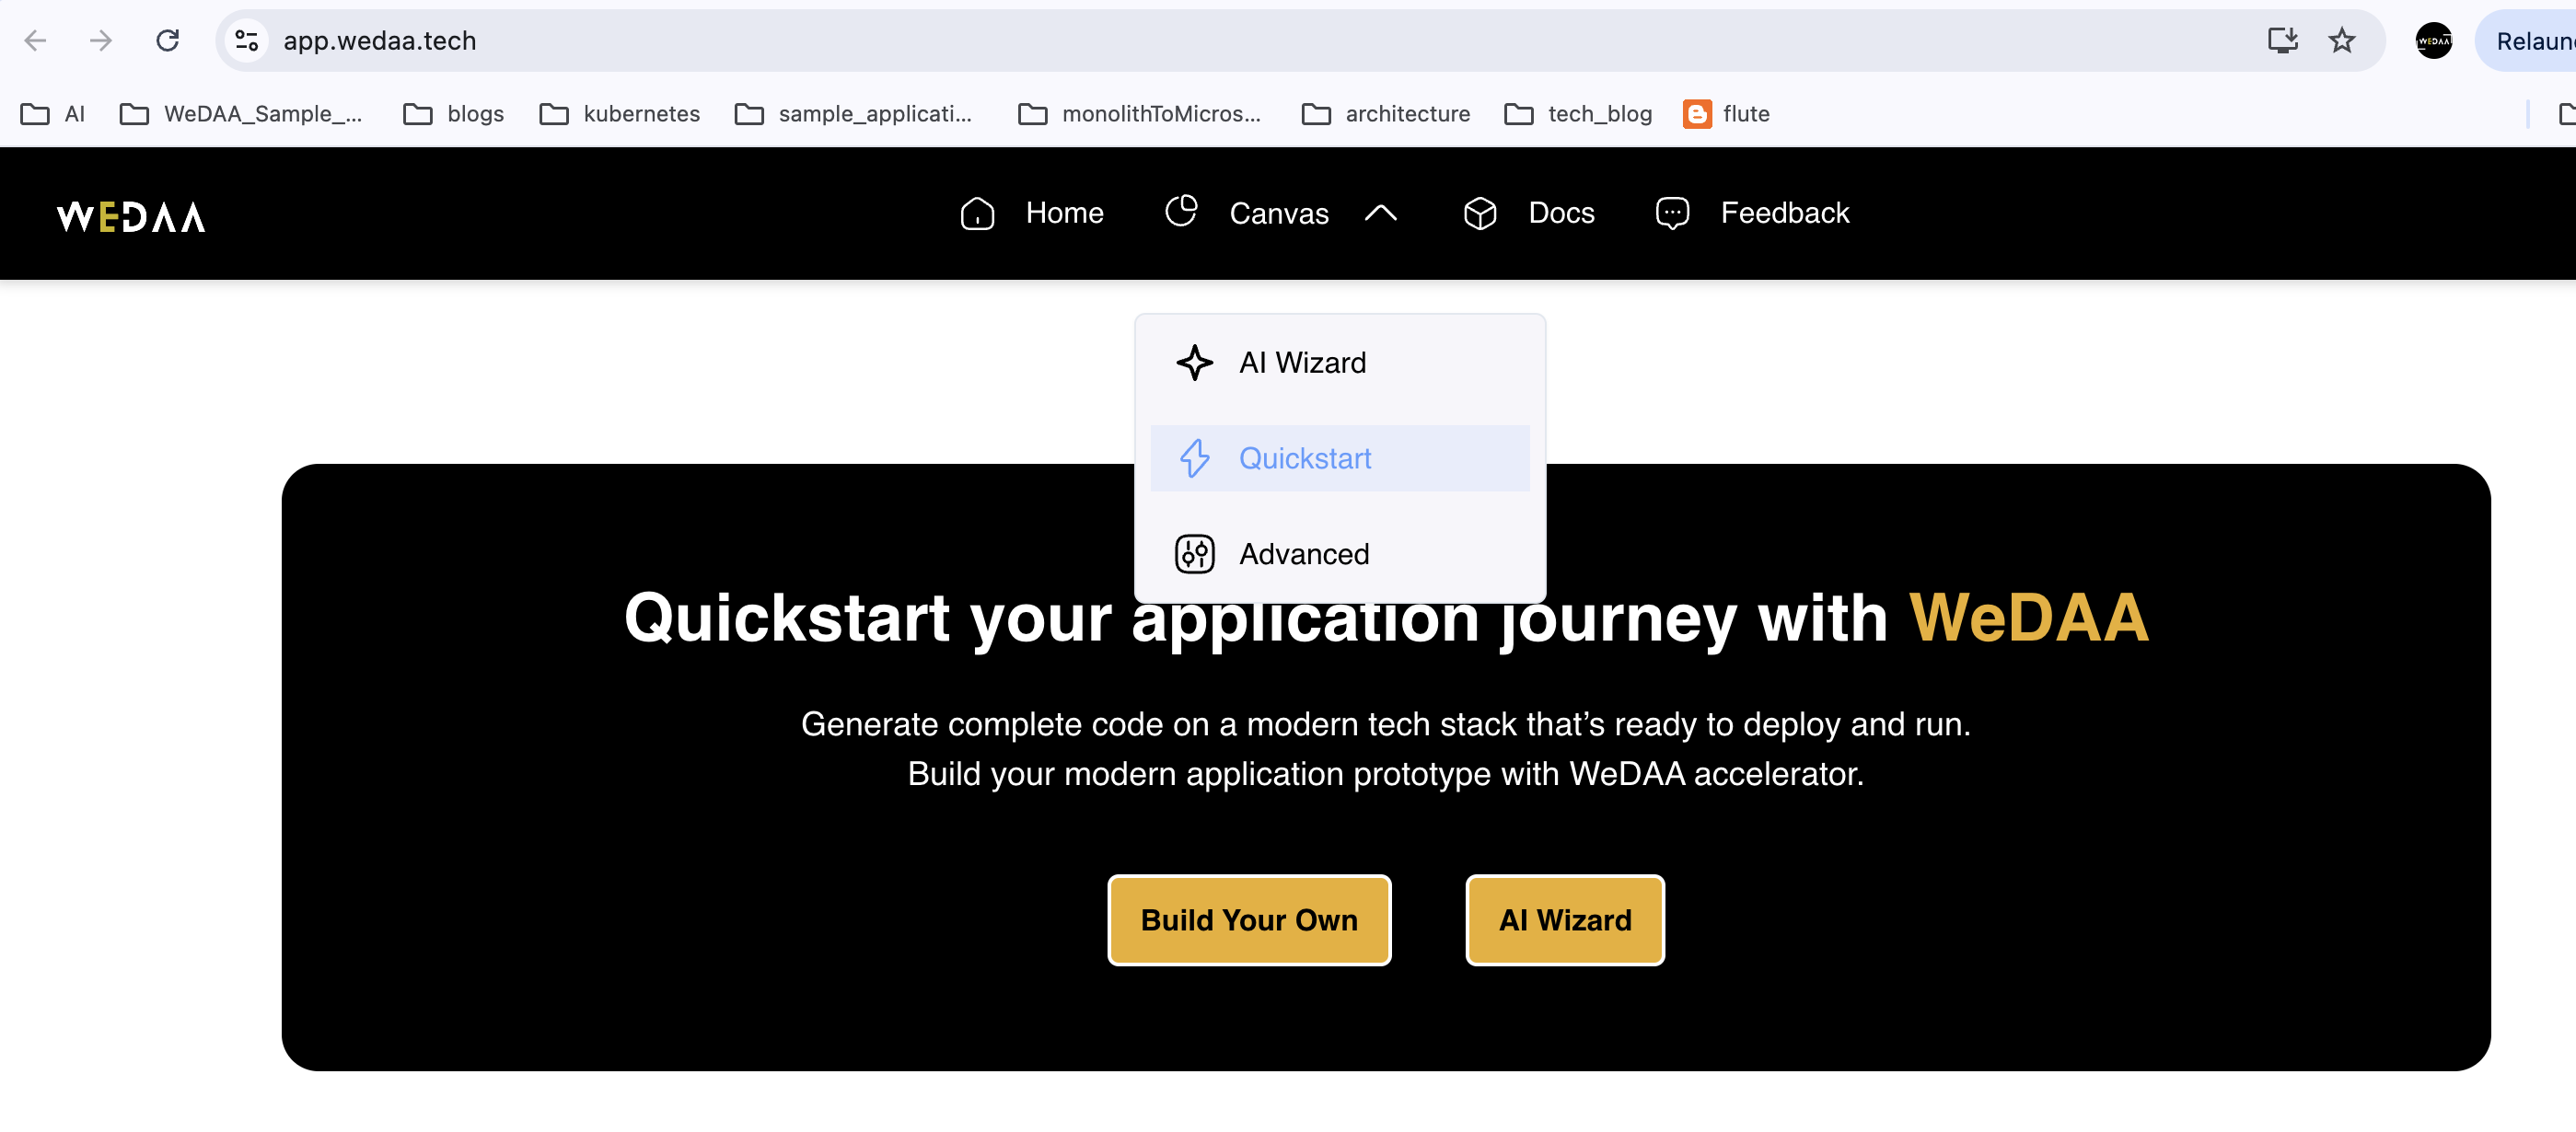
Access WeDAA QuickStart wizard
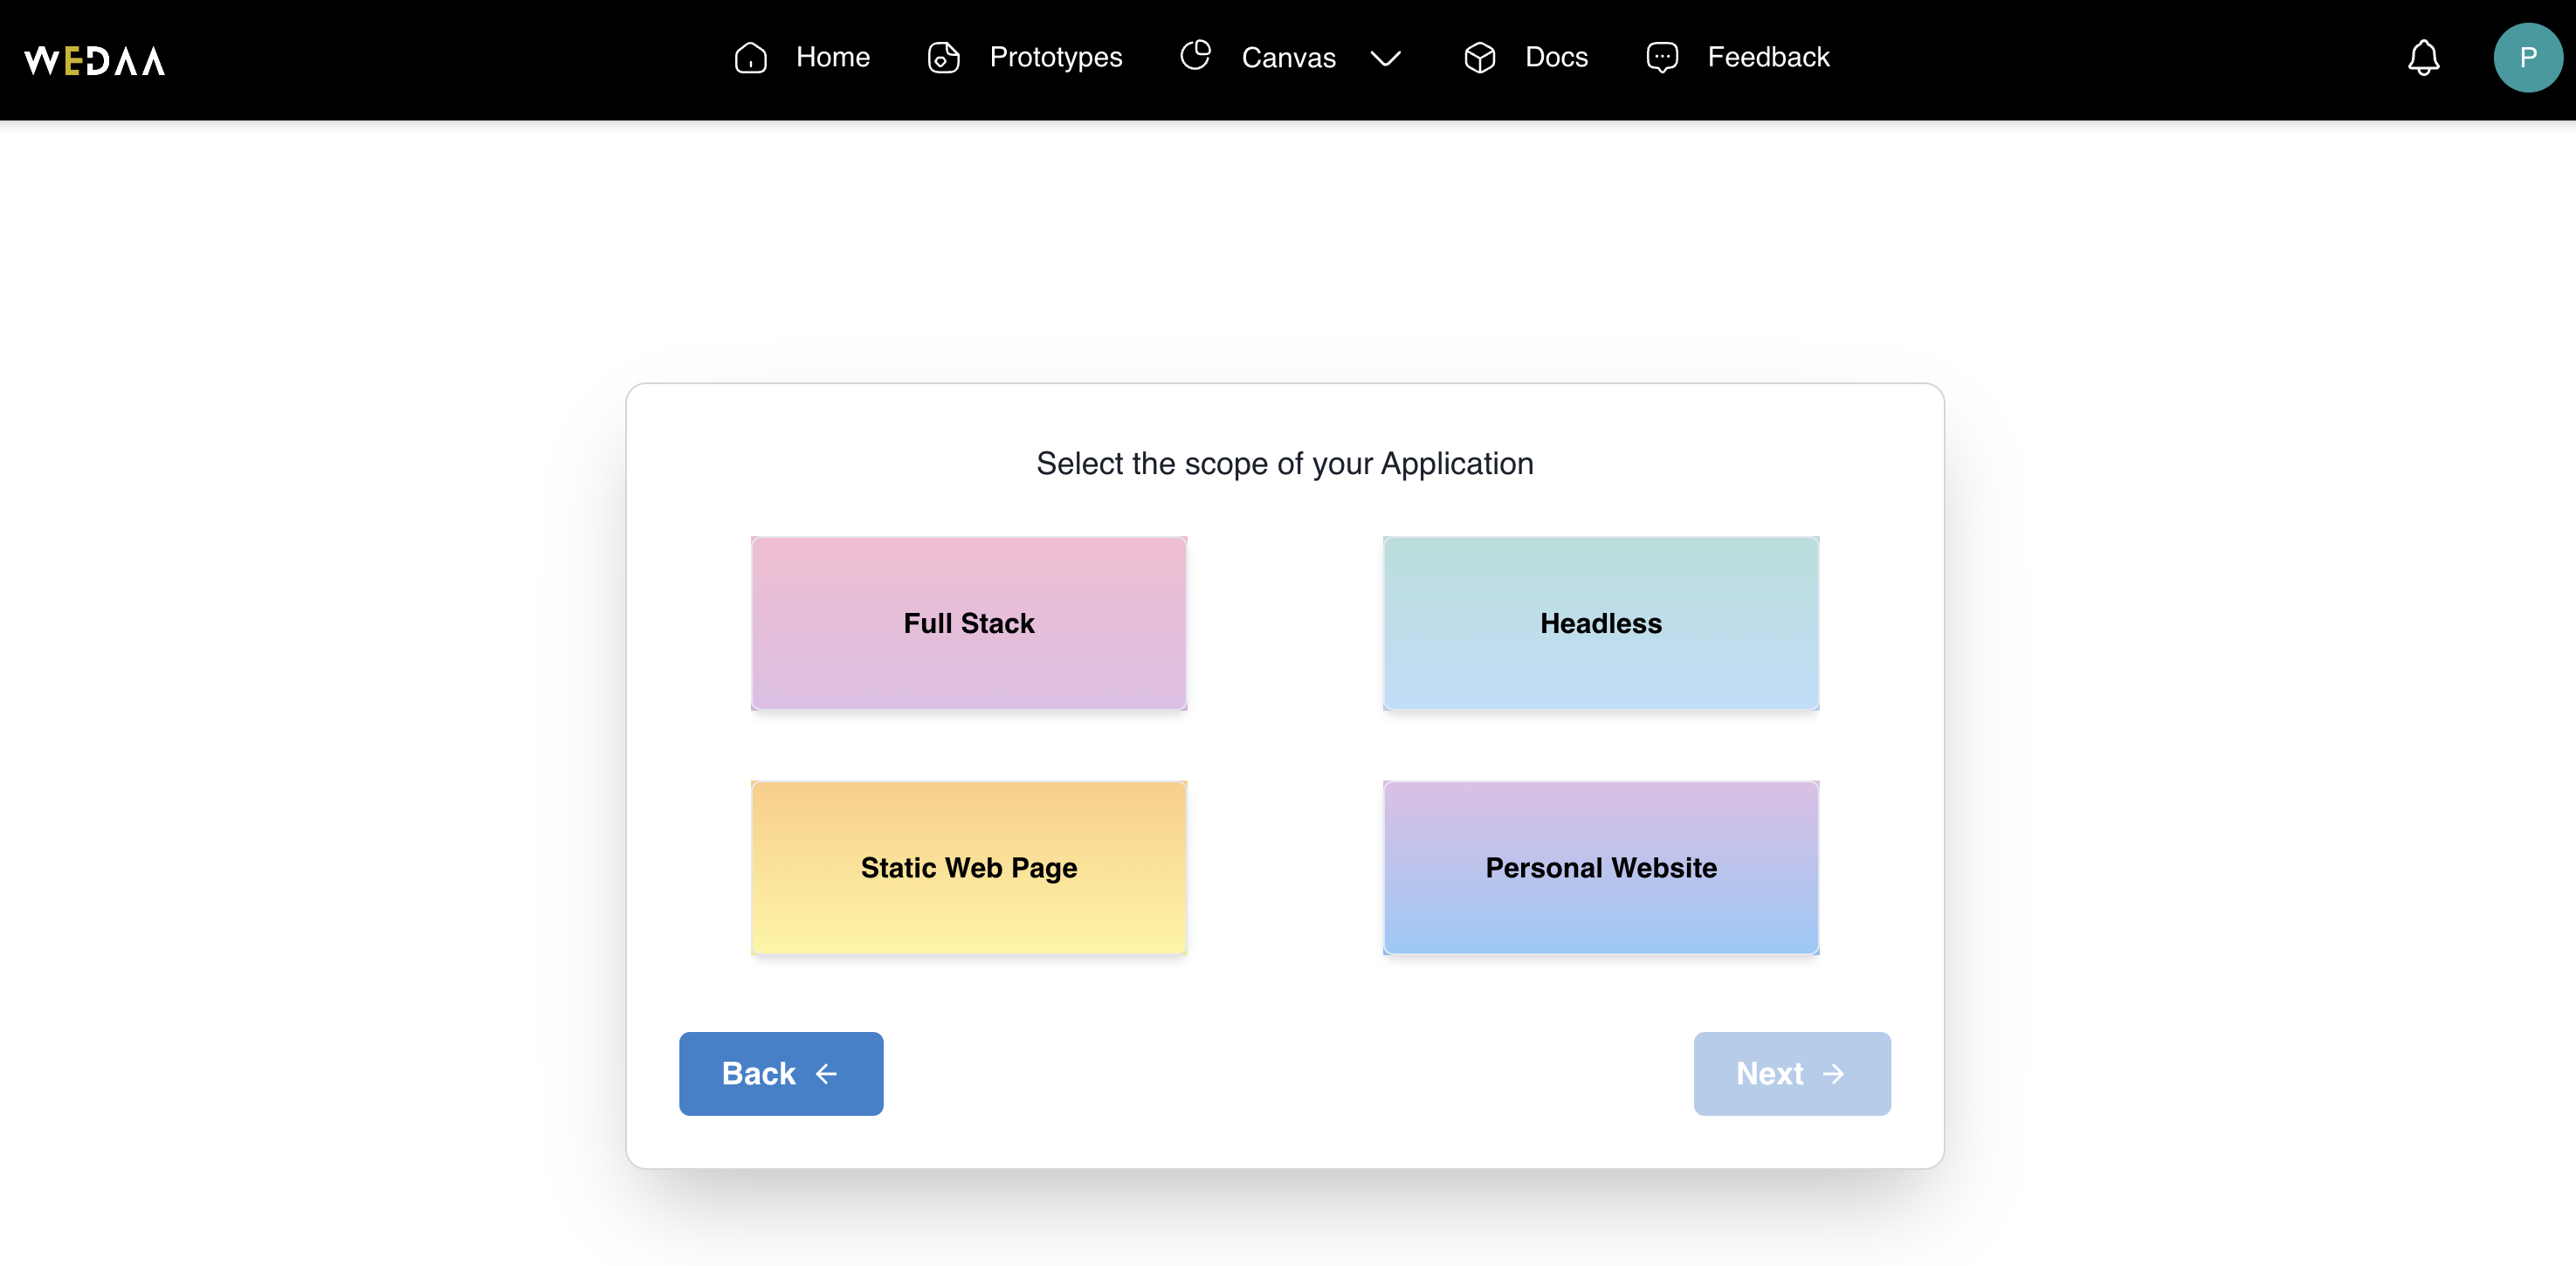
1. Select application Scope
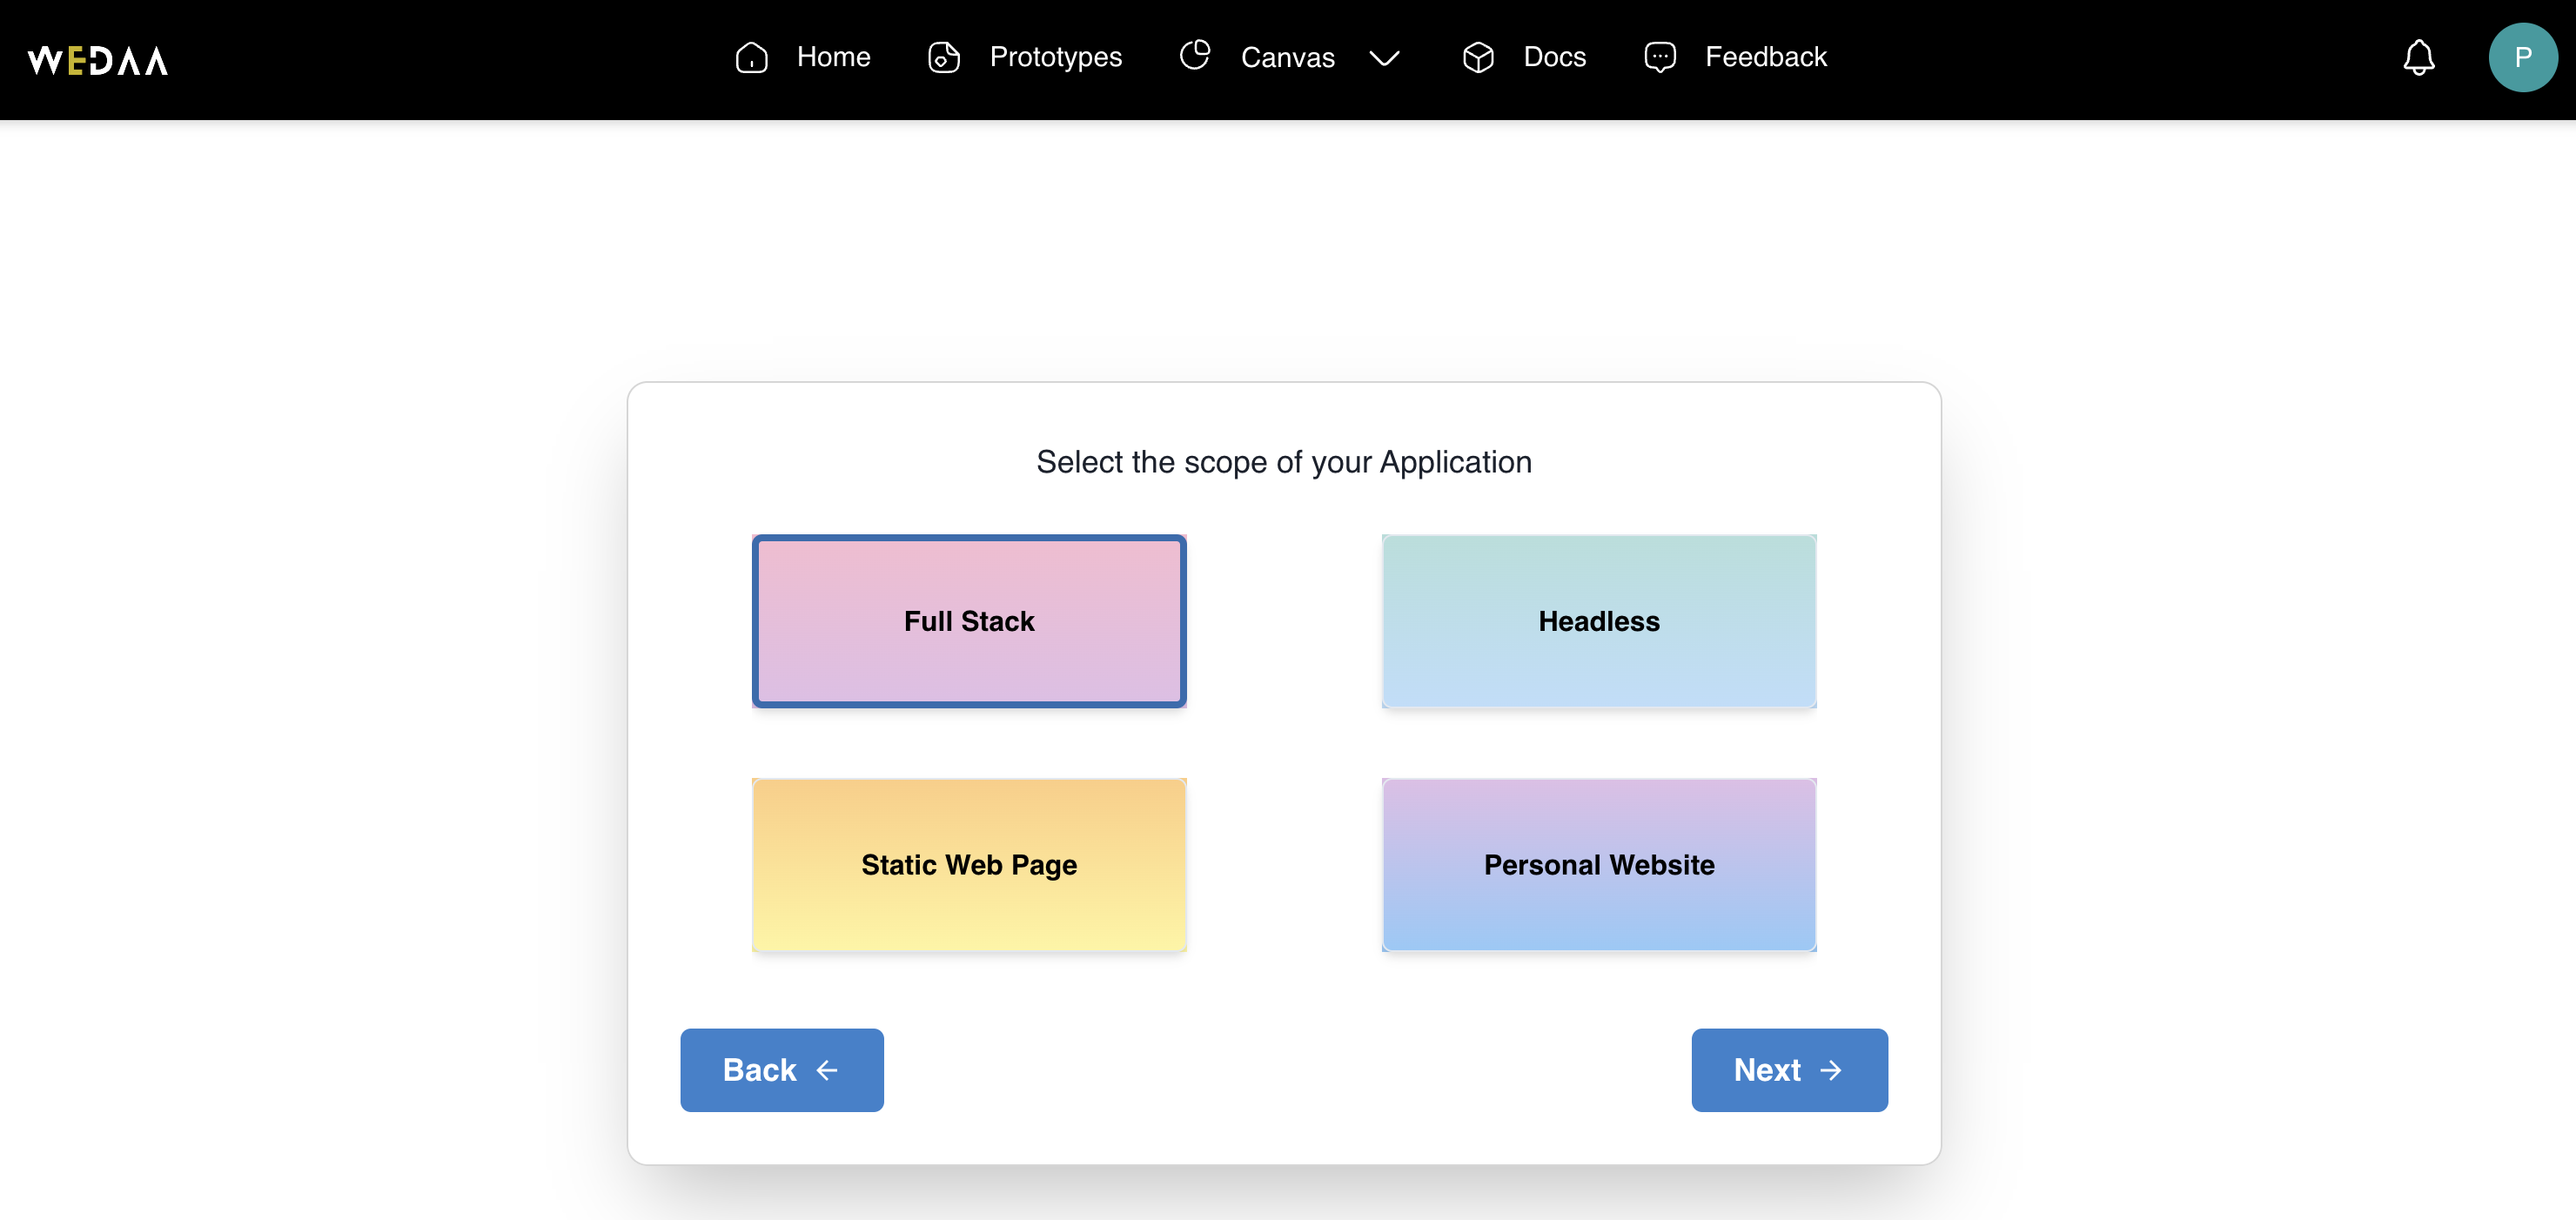
Let's select the application scope as Fullstack application. Click Next
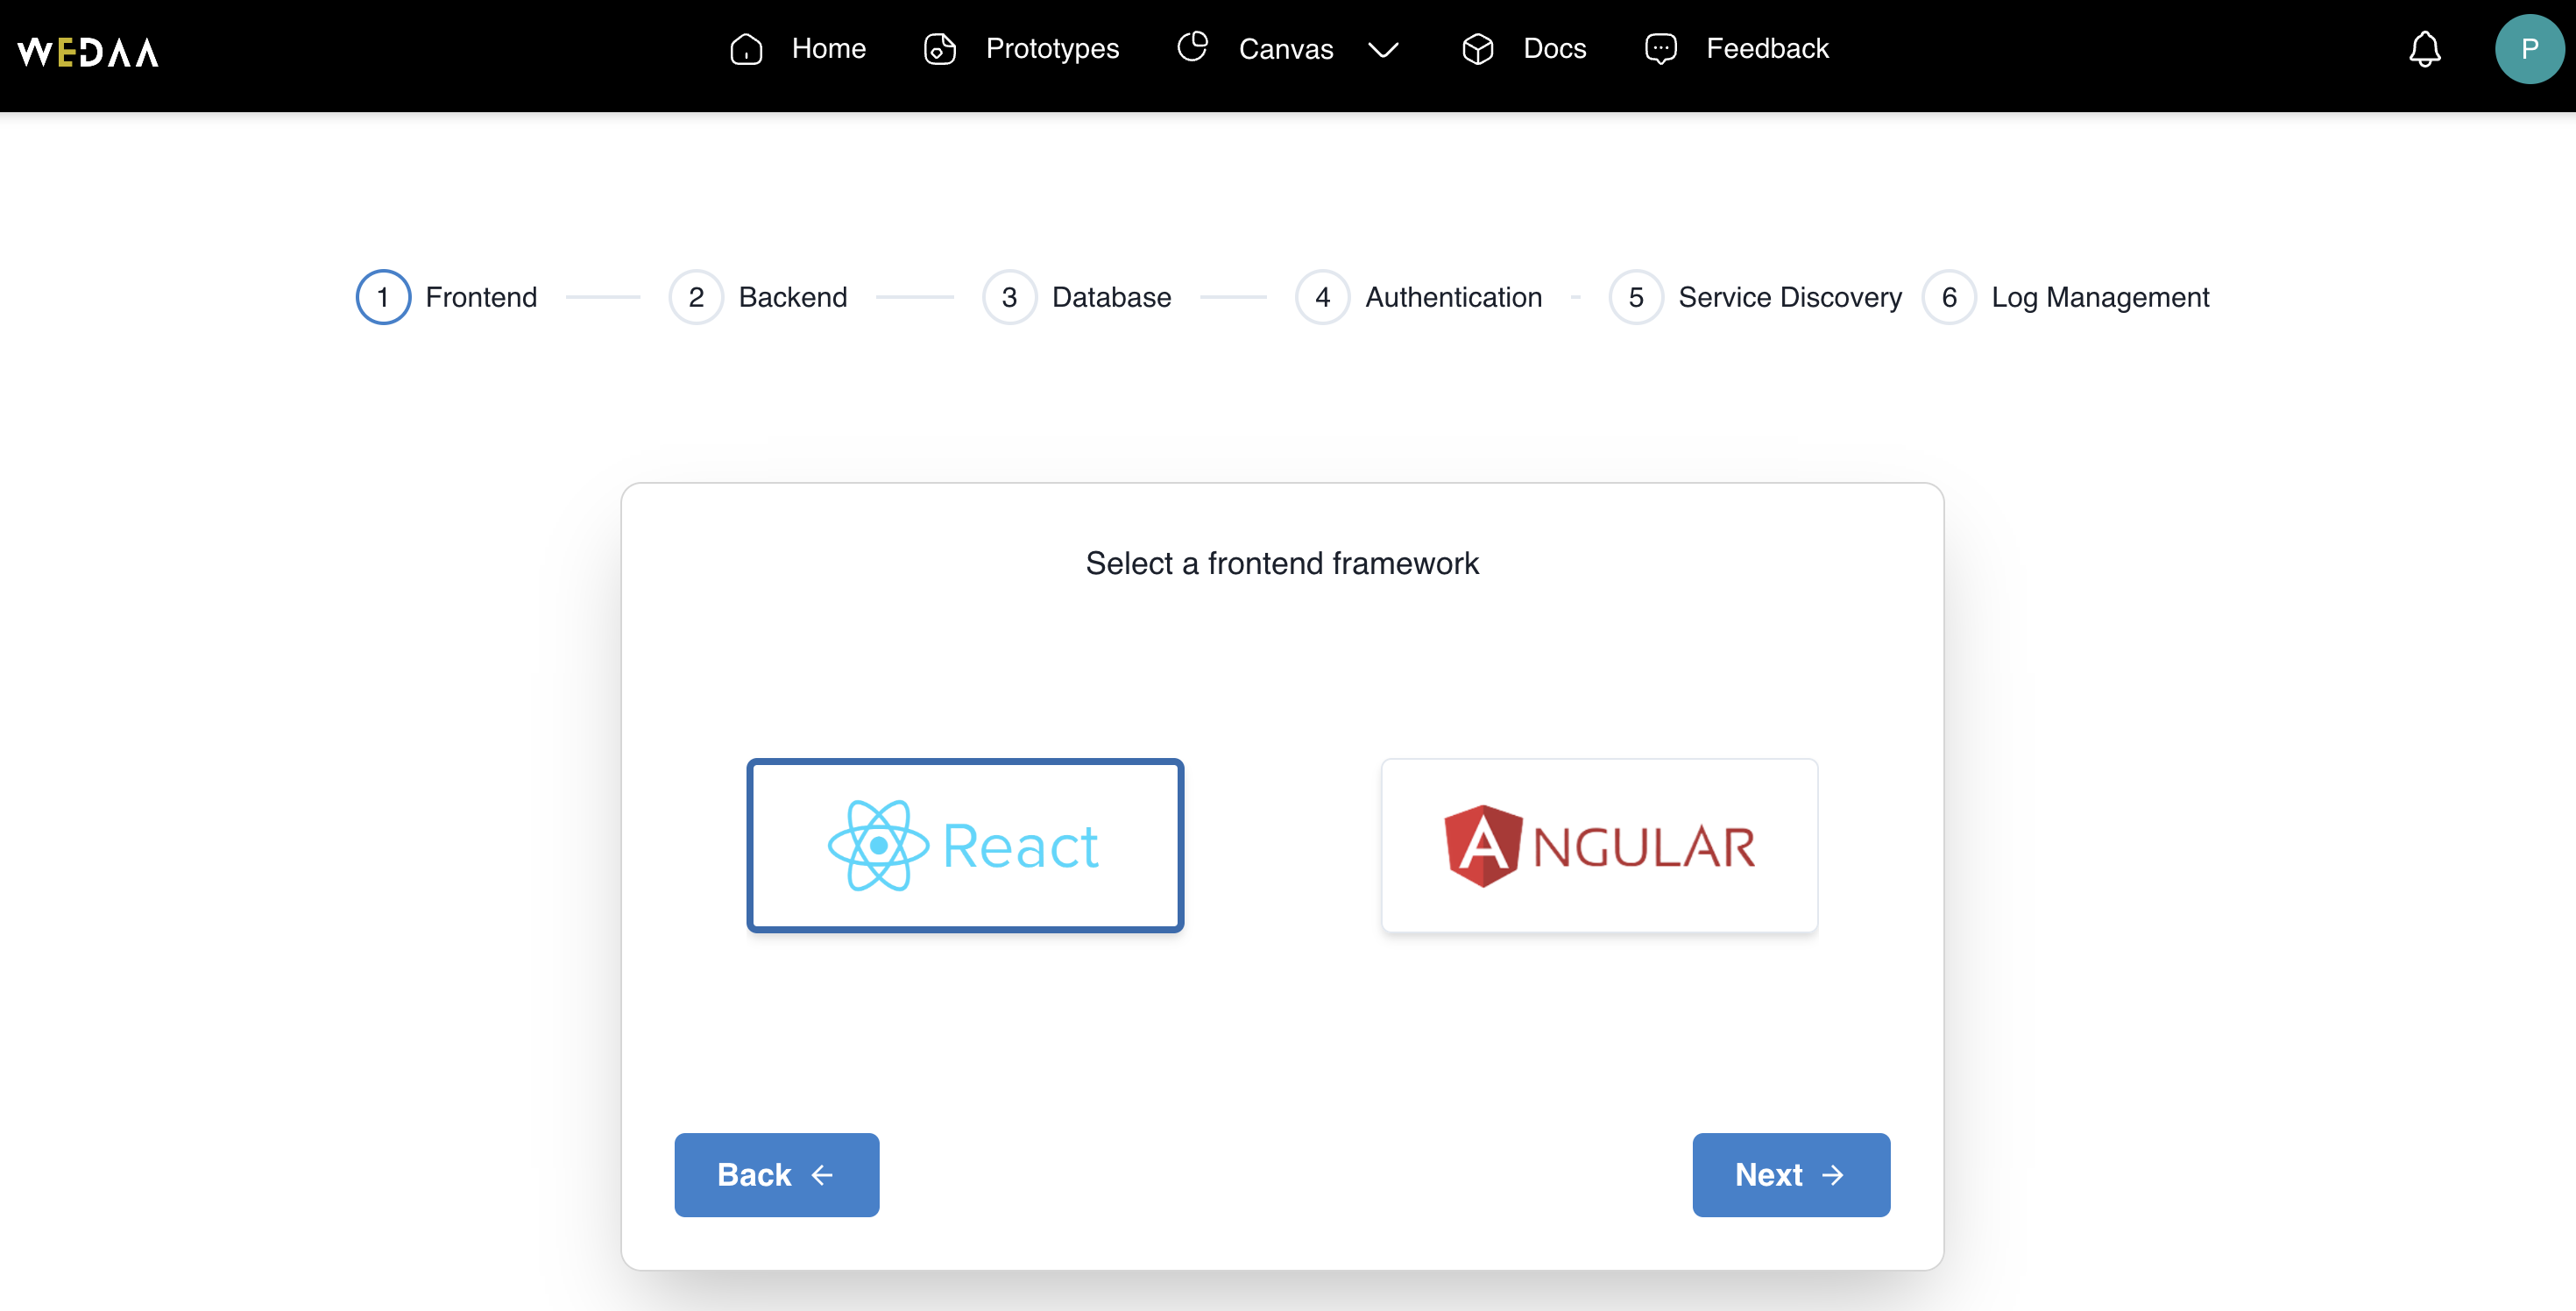
2. Select application frontend
Select the React as frontend framework of your application. Click Next
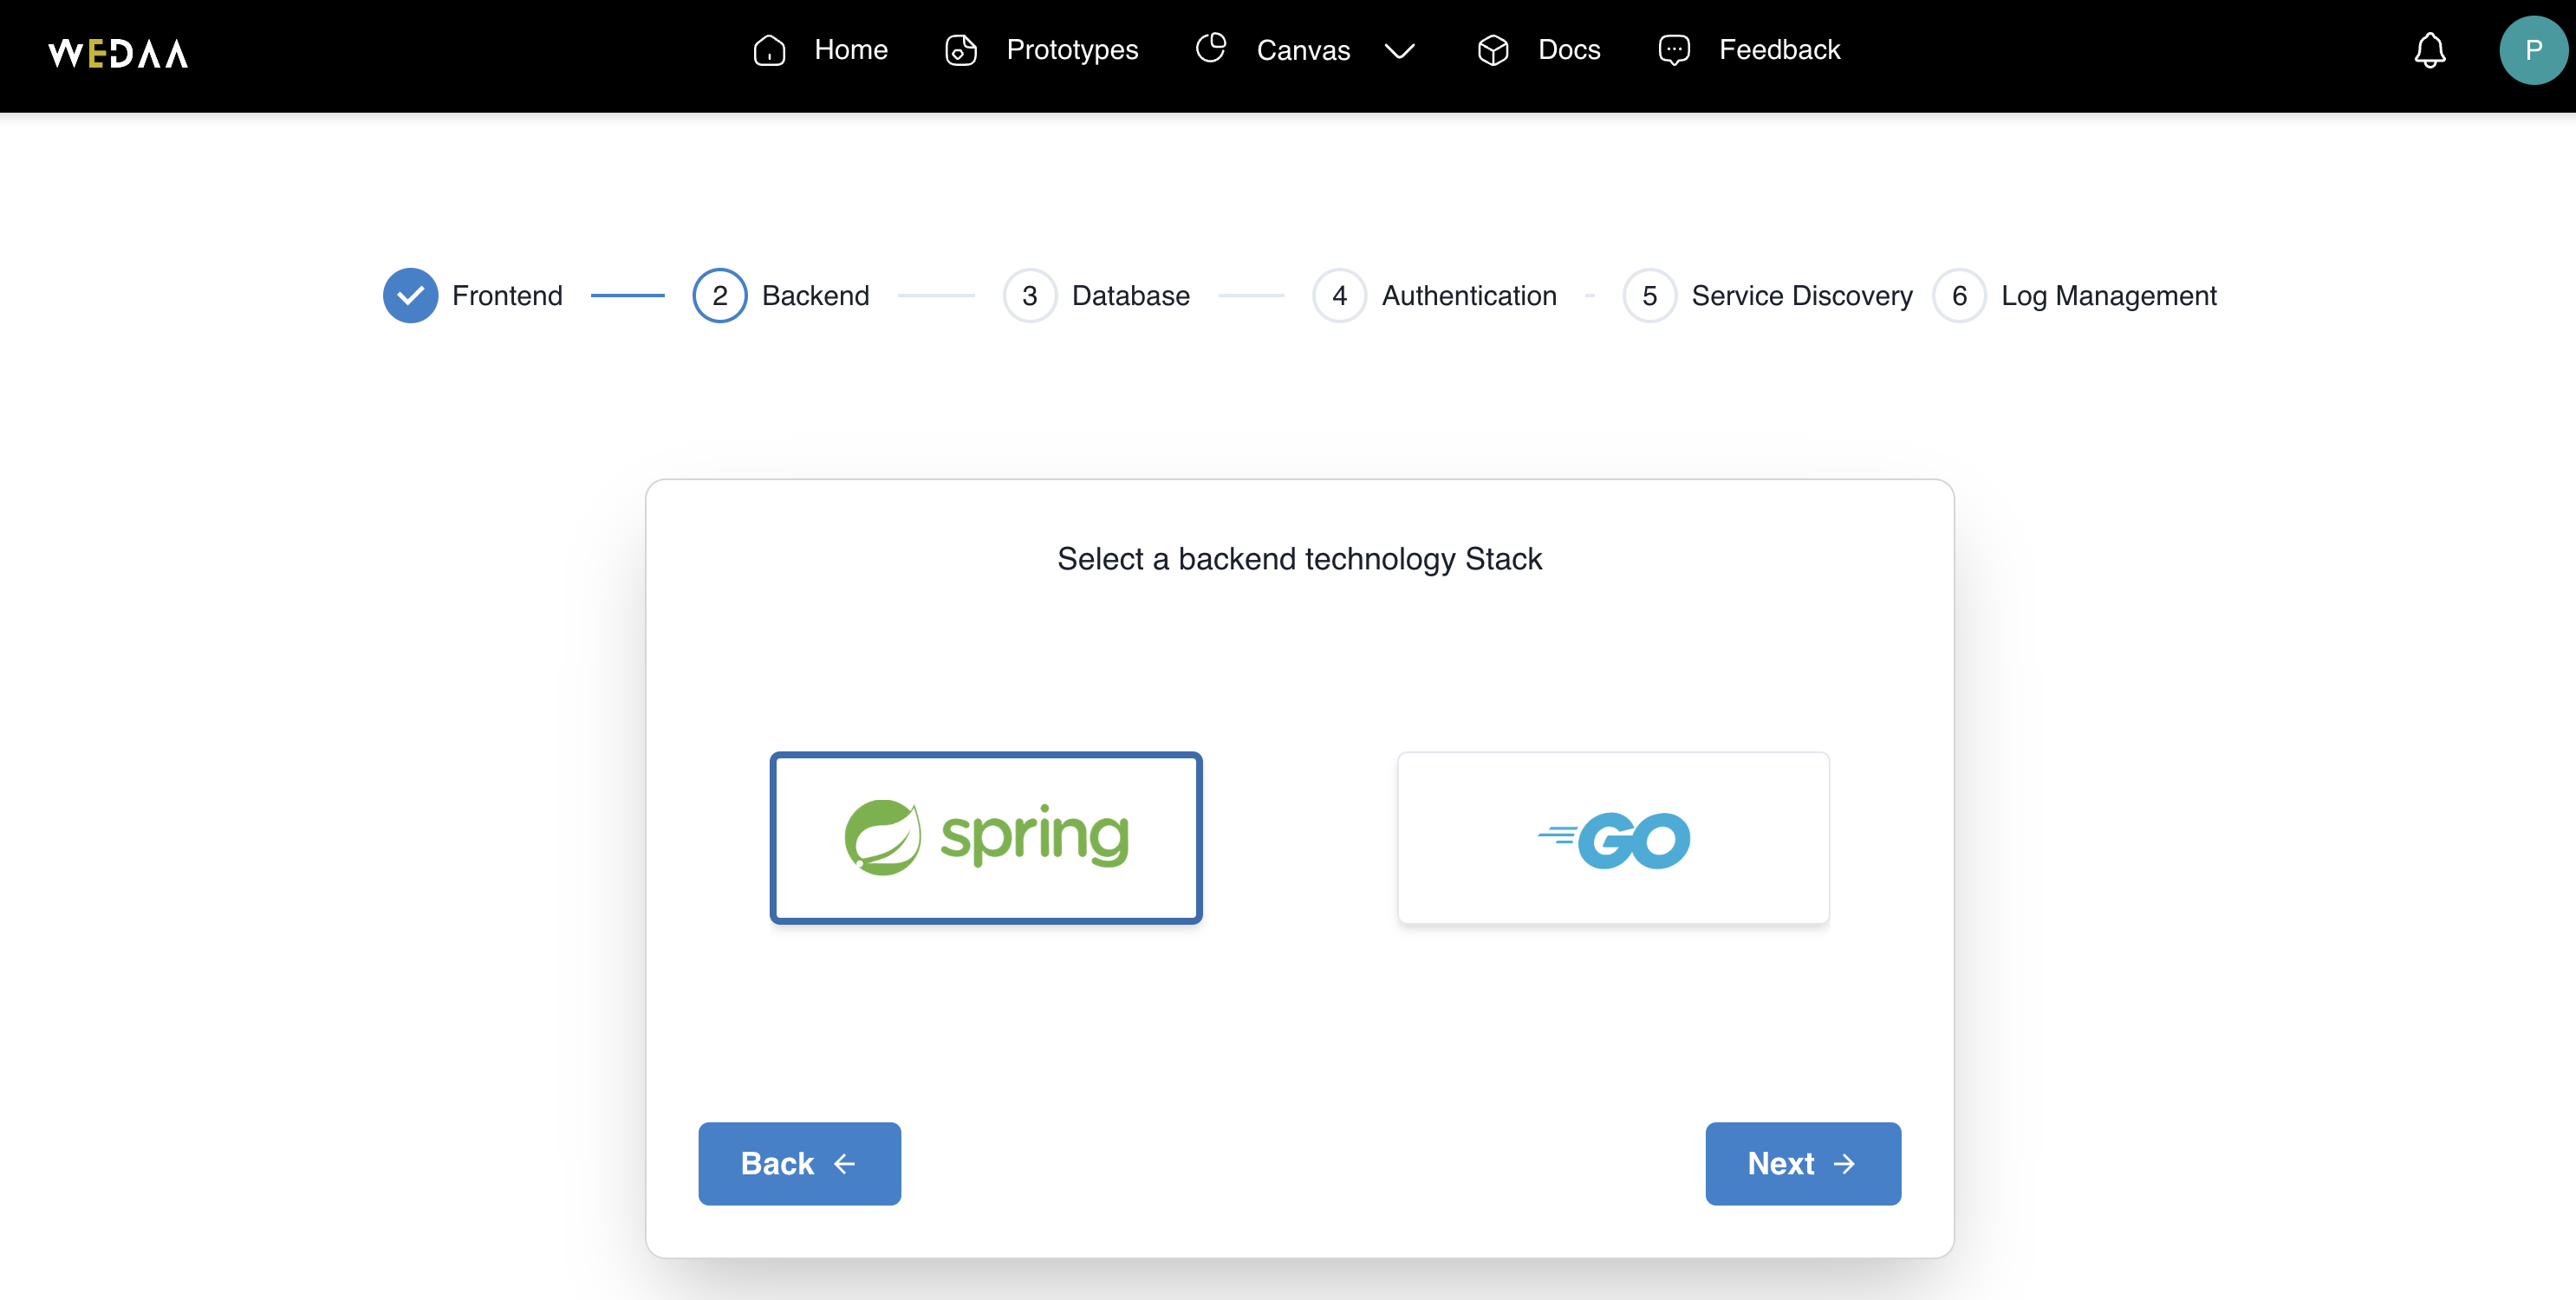
3. Select application backend
Select the Spring as backend framework of your application. Click Next
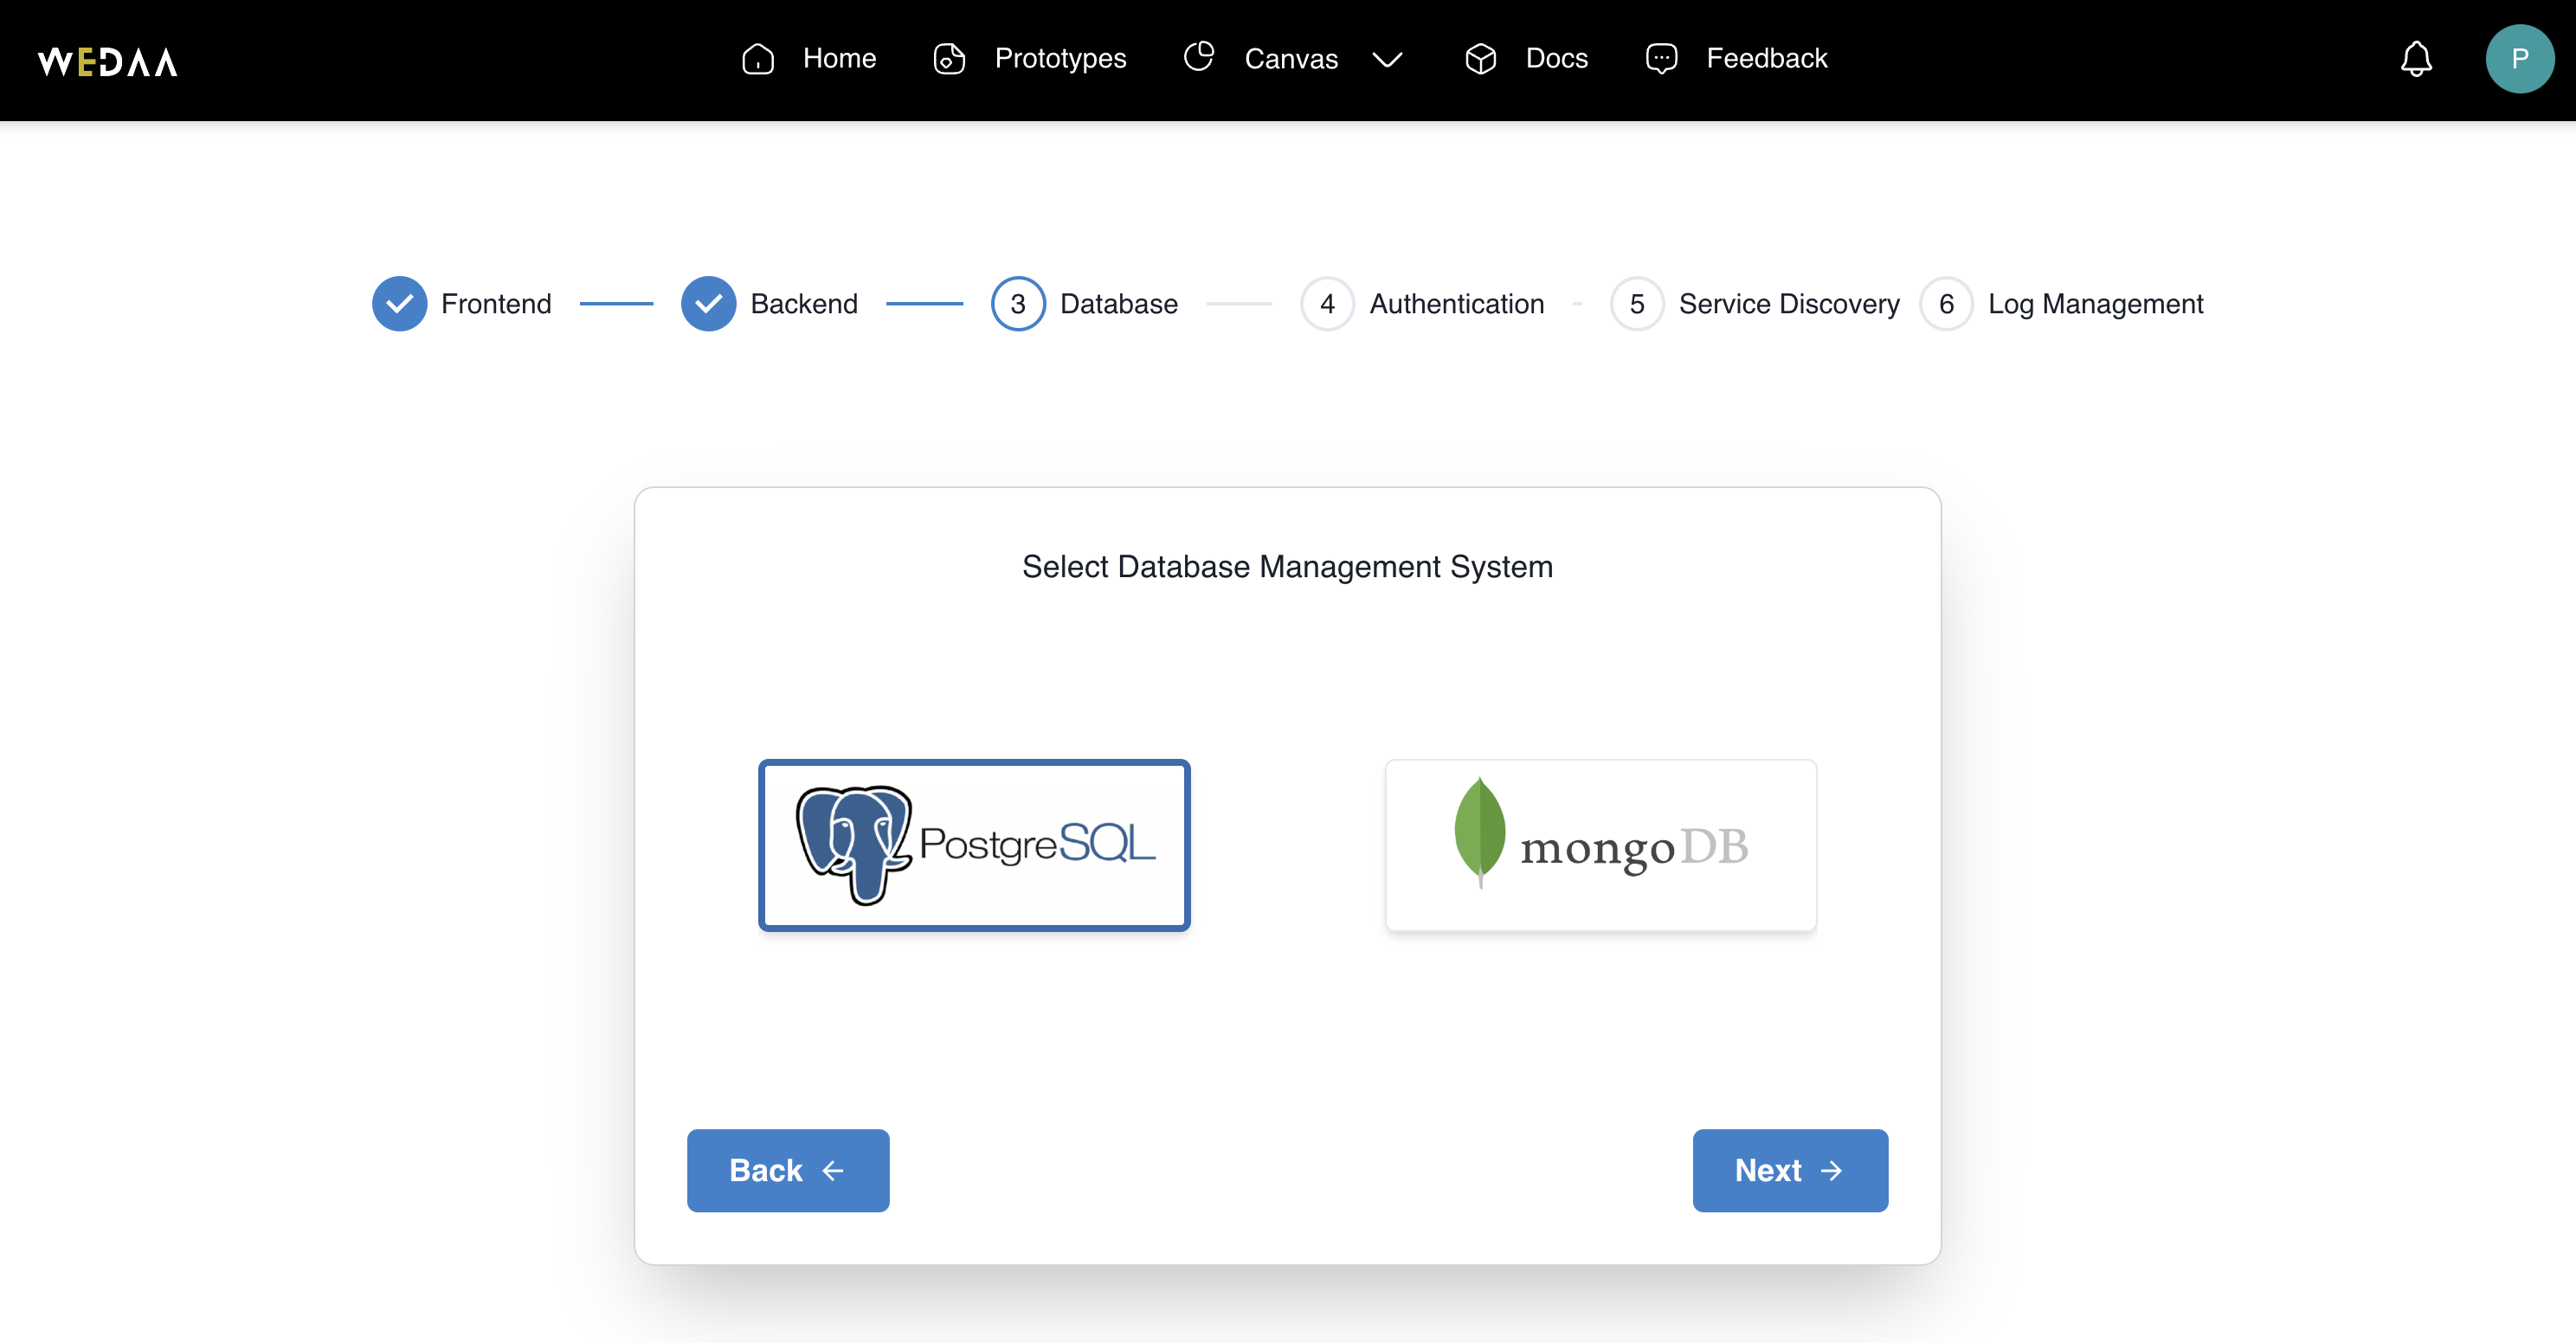
4. Select application database
Let's select the Postgresql as application database. Click Next
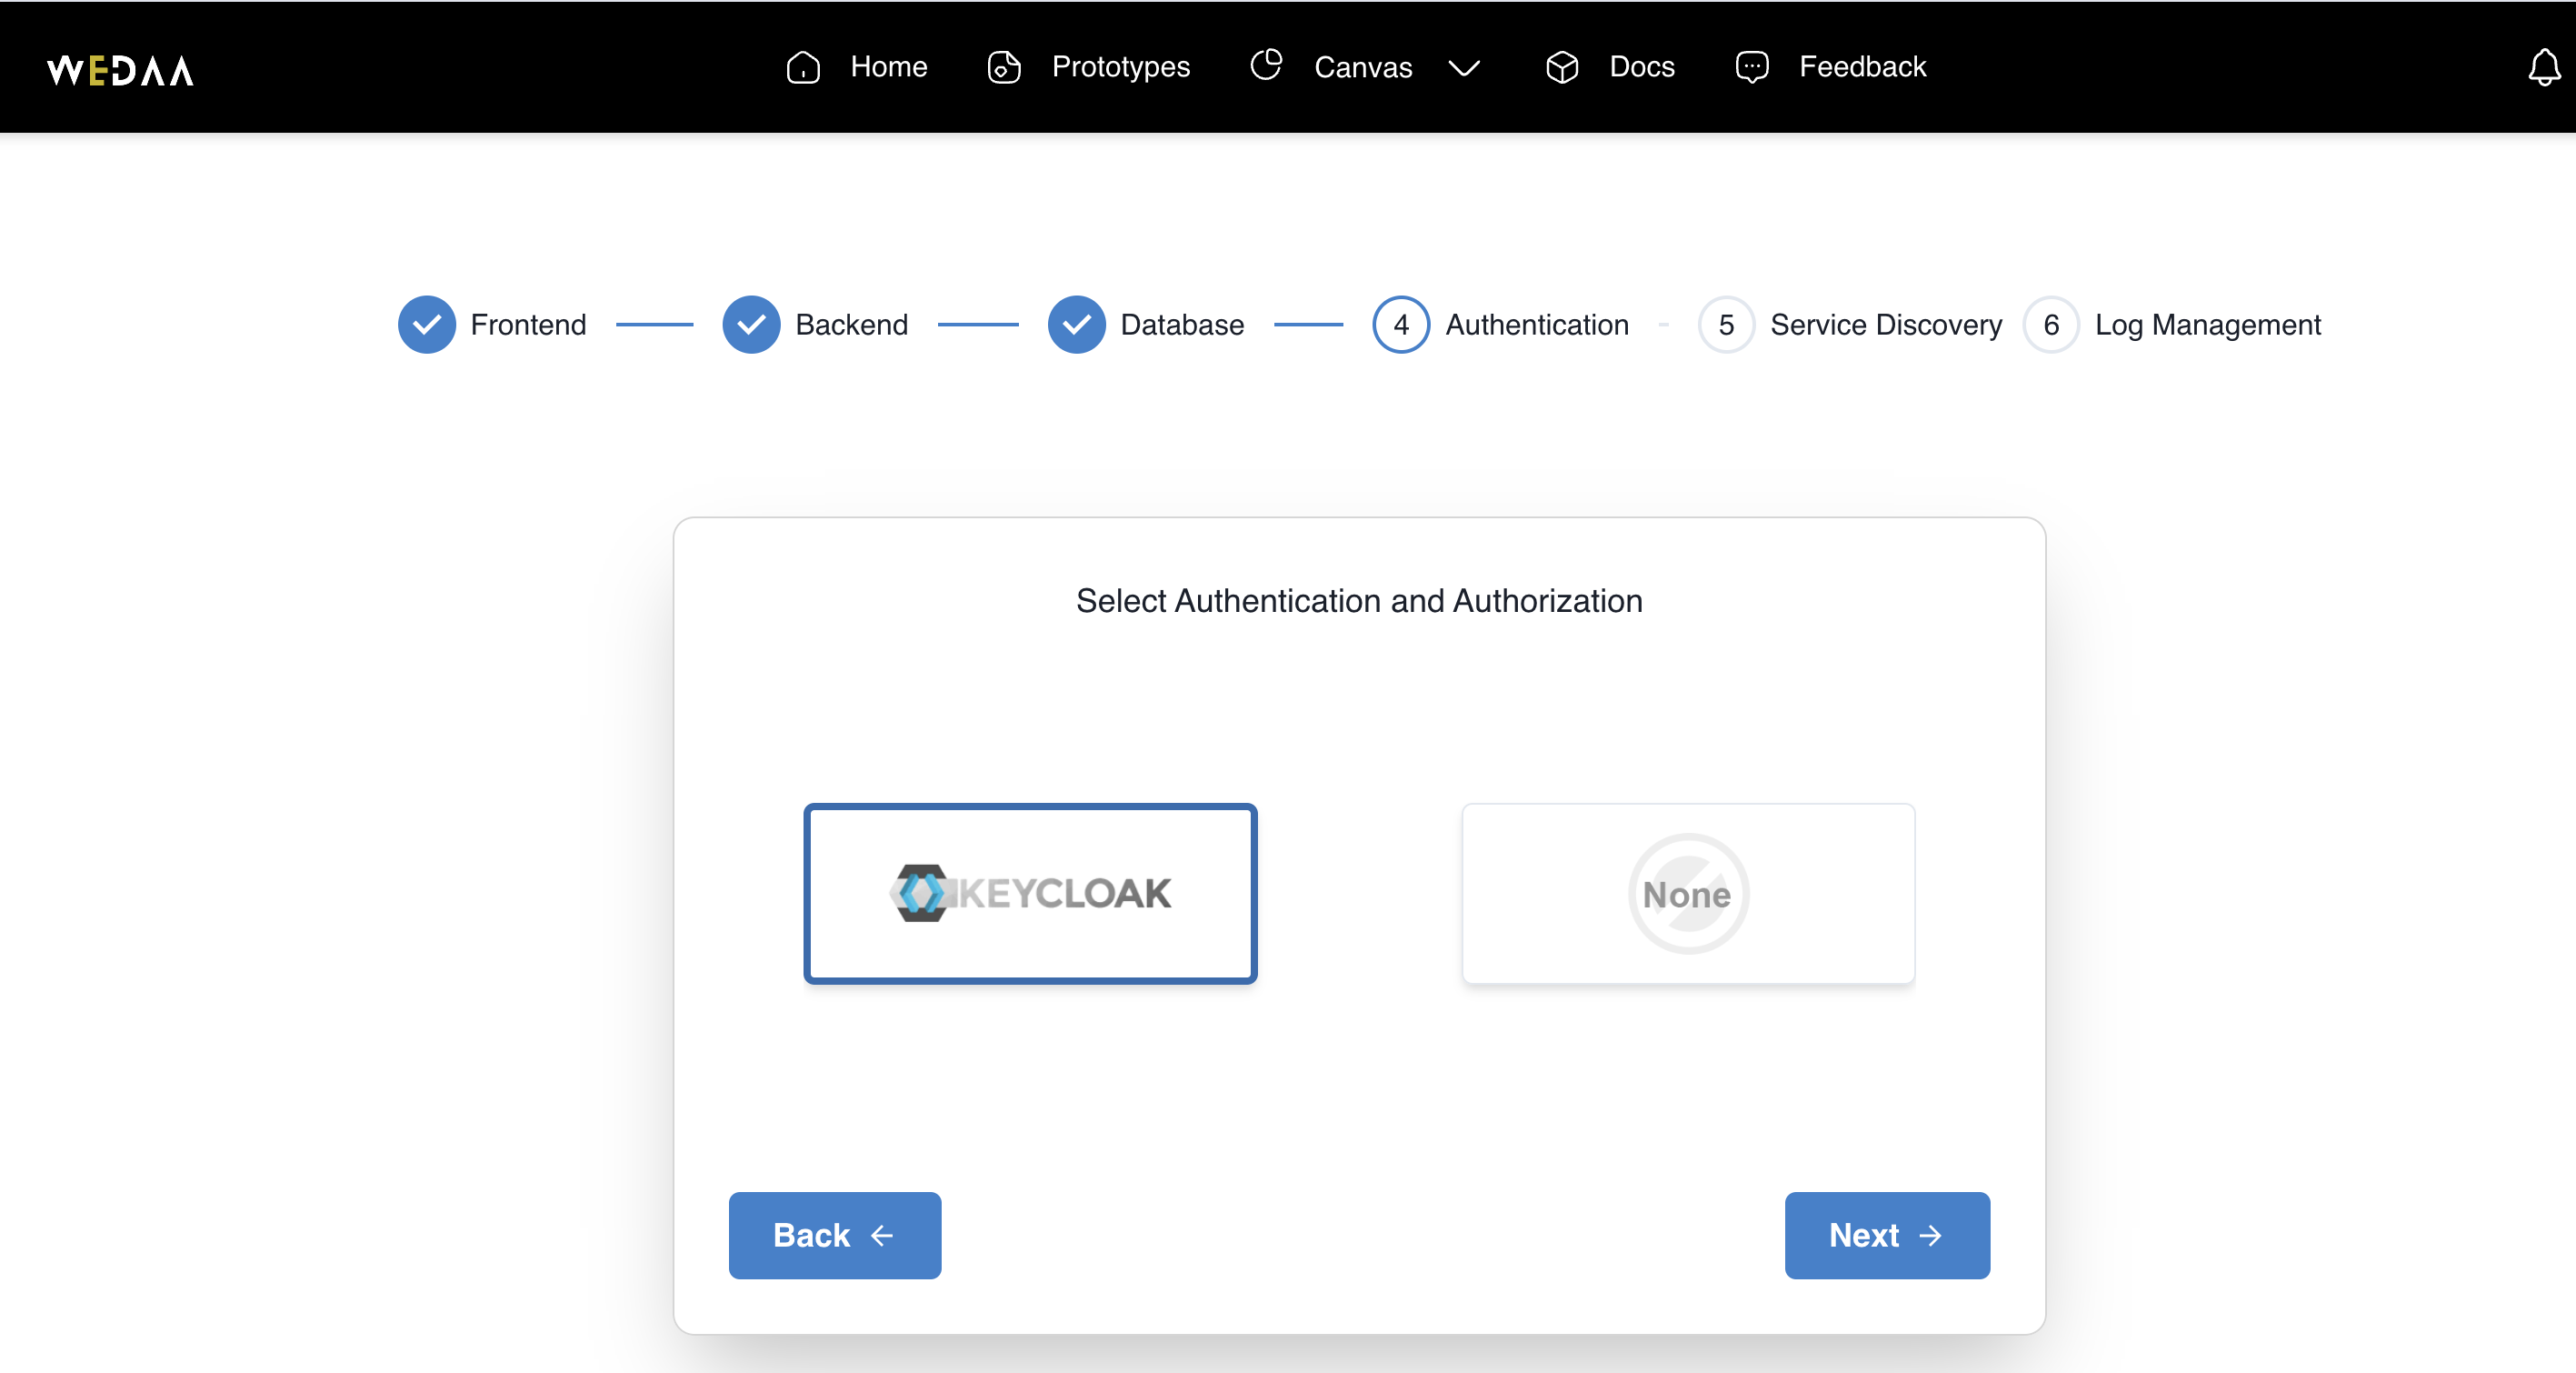
5. Select Authentication & Autherization
Authentication Provider is an optional choice. Let's select Keycloak and Click Next
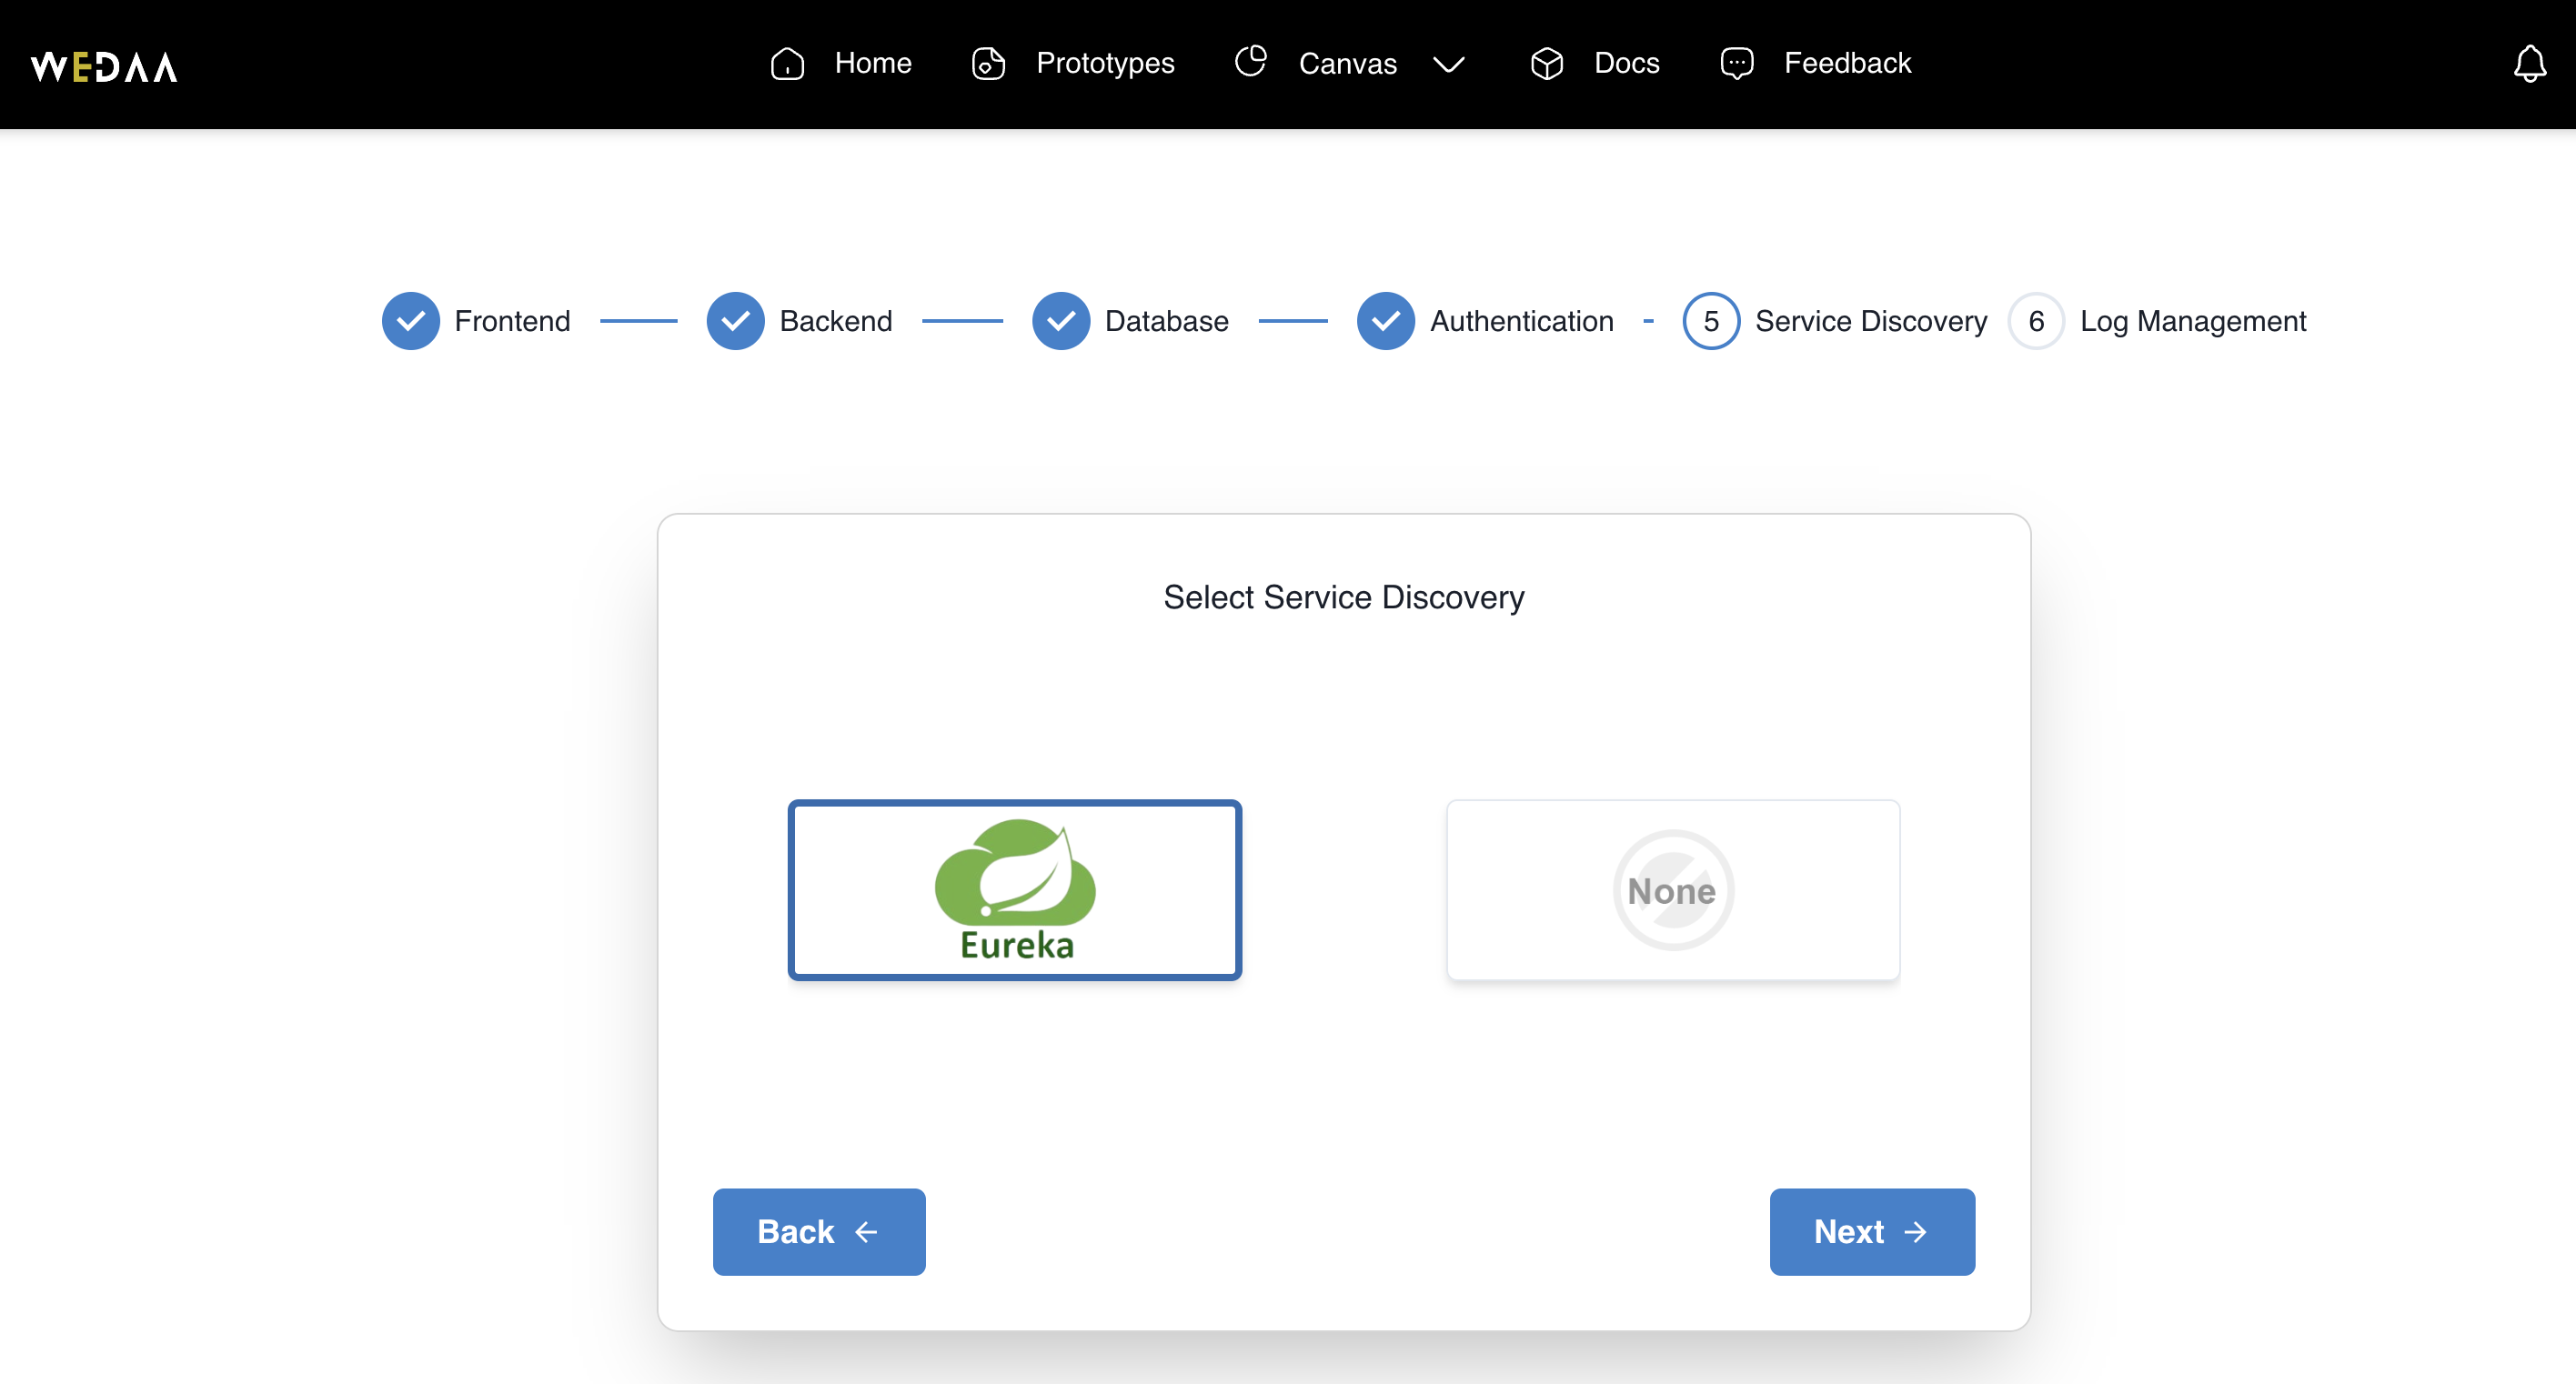
6. Select discovery service
Service discovery is also an optional choice. Let's select Eureka as discovery server. Click Next
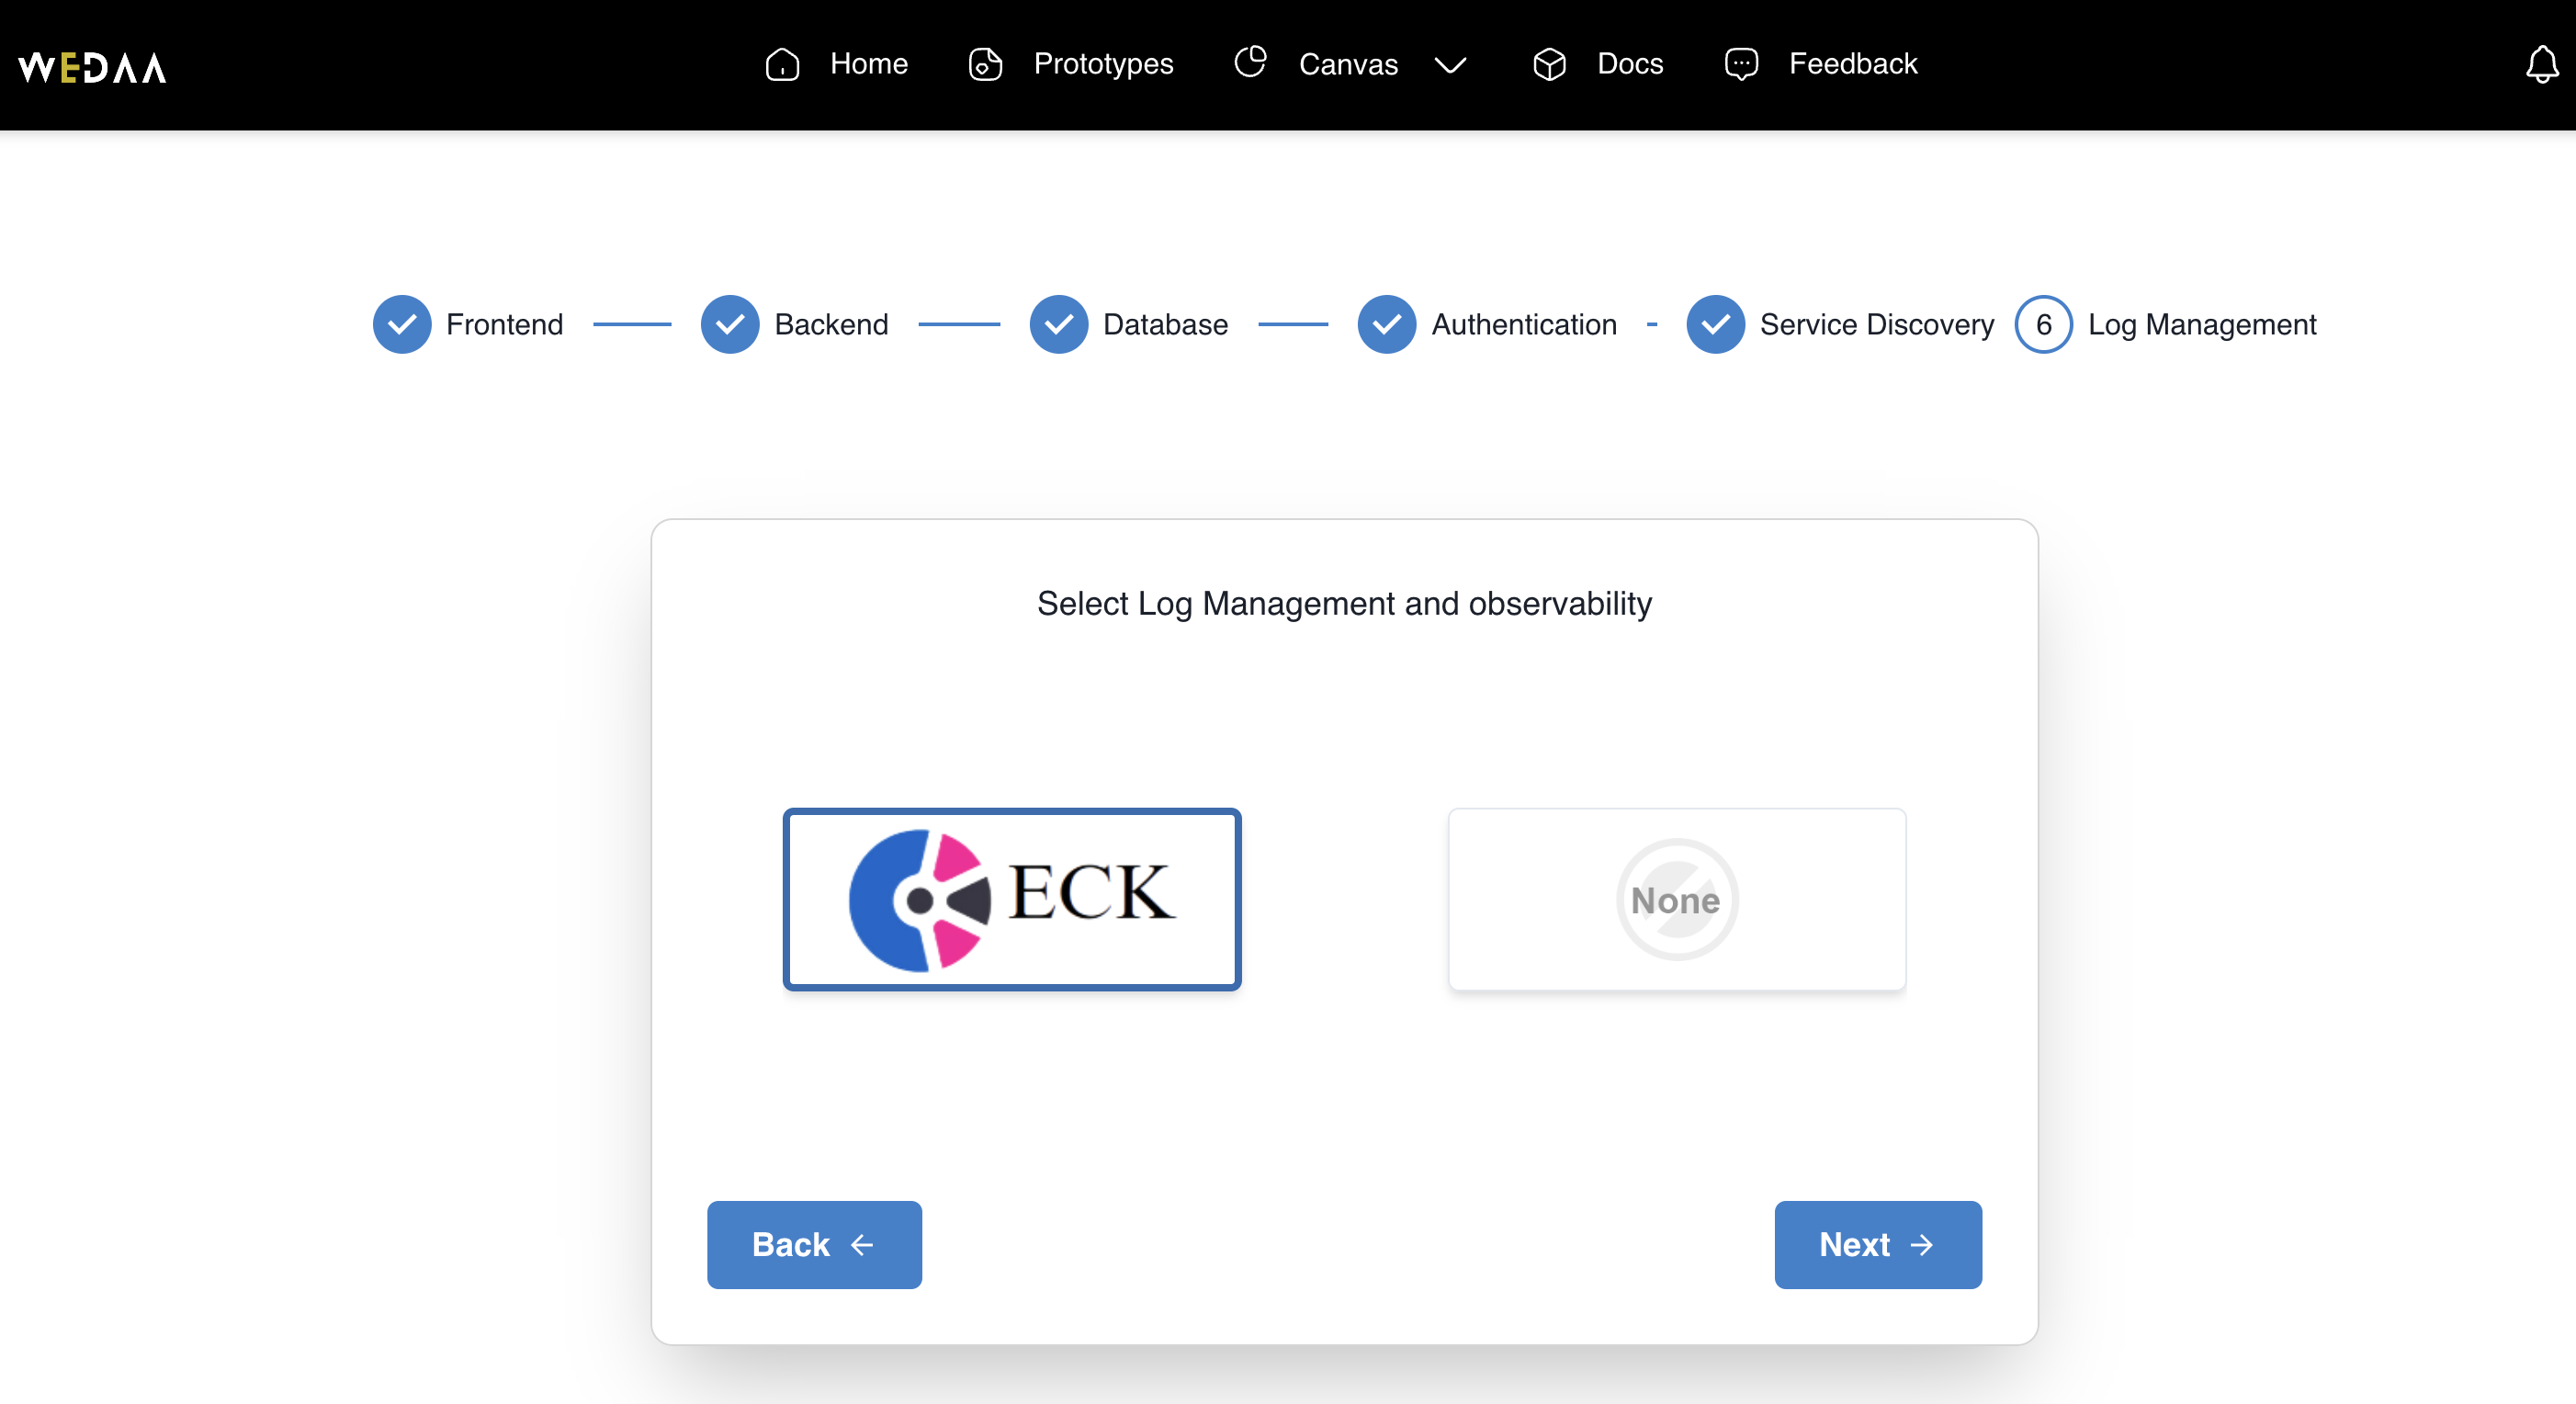
7. Select observability framework
Log Management and Observability is also an optional choice. Let's select ECK as log management an observability server. Click Next
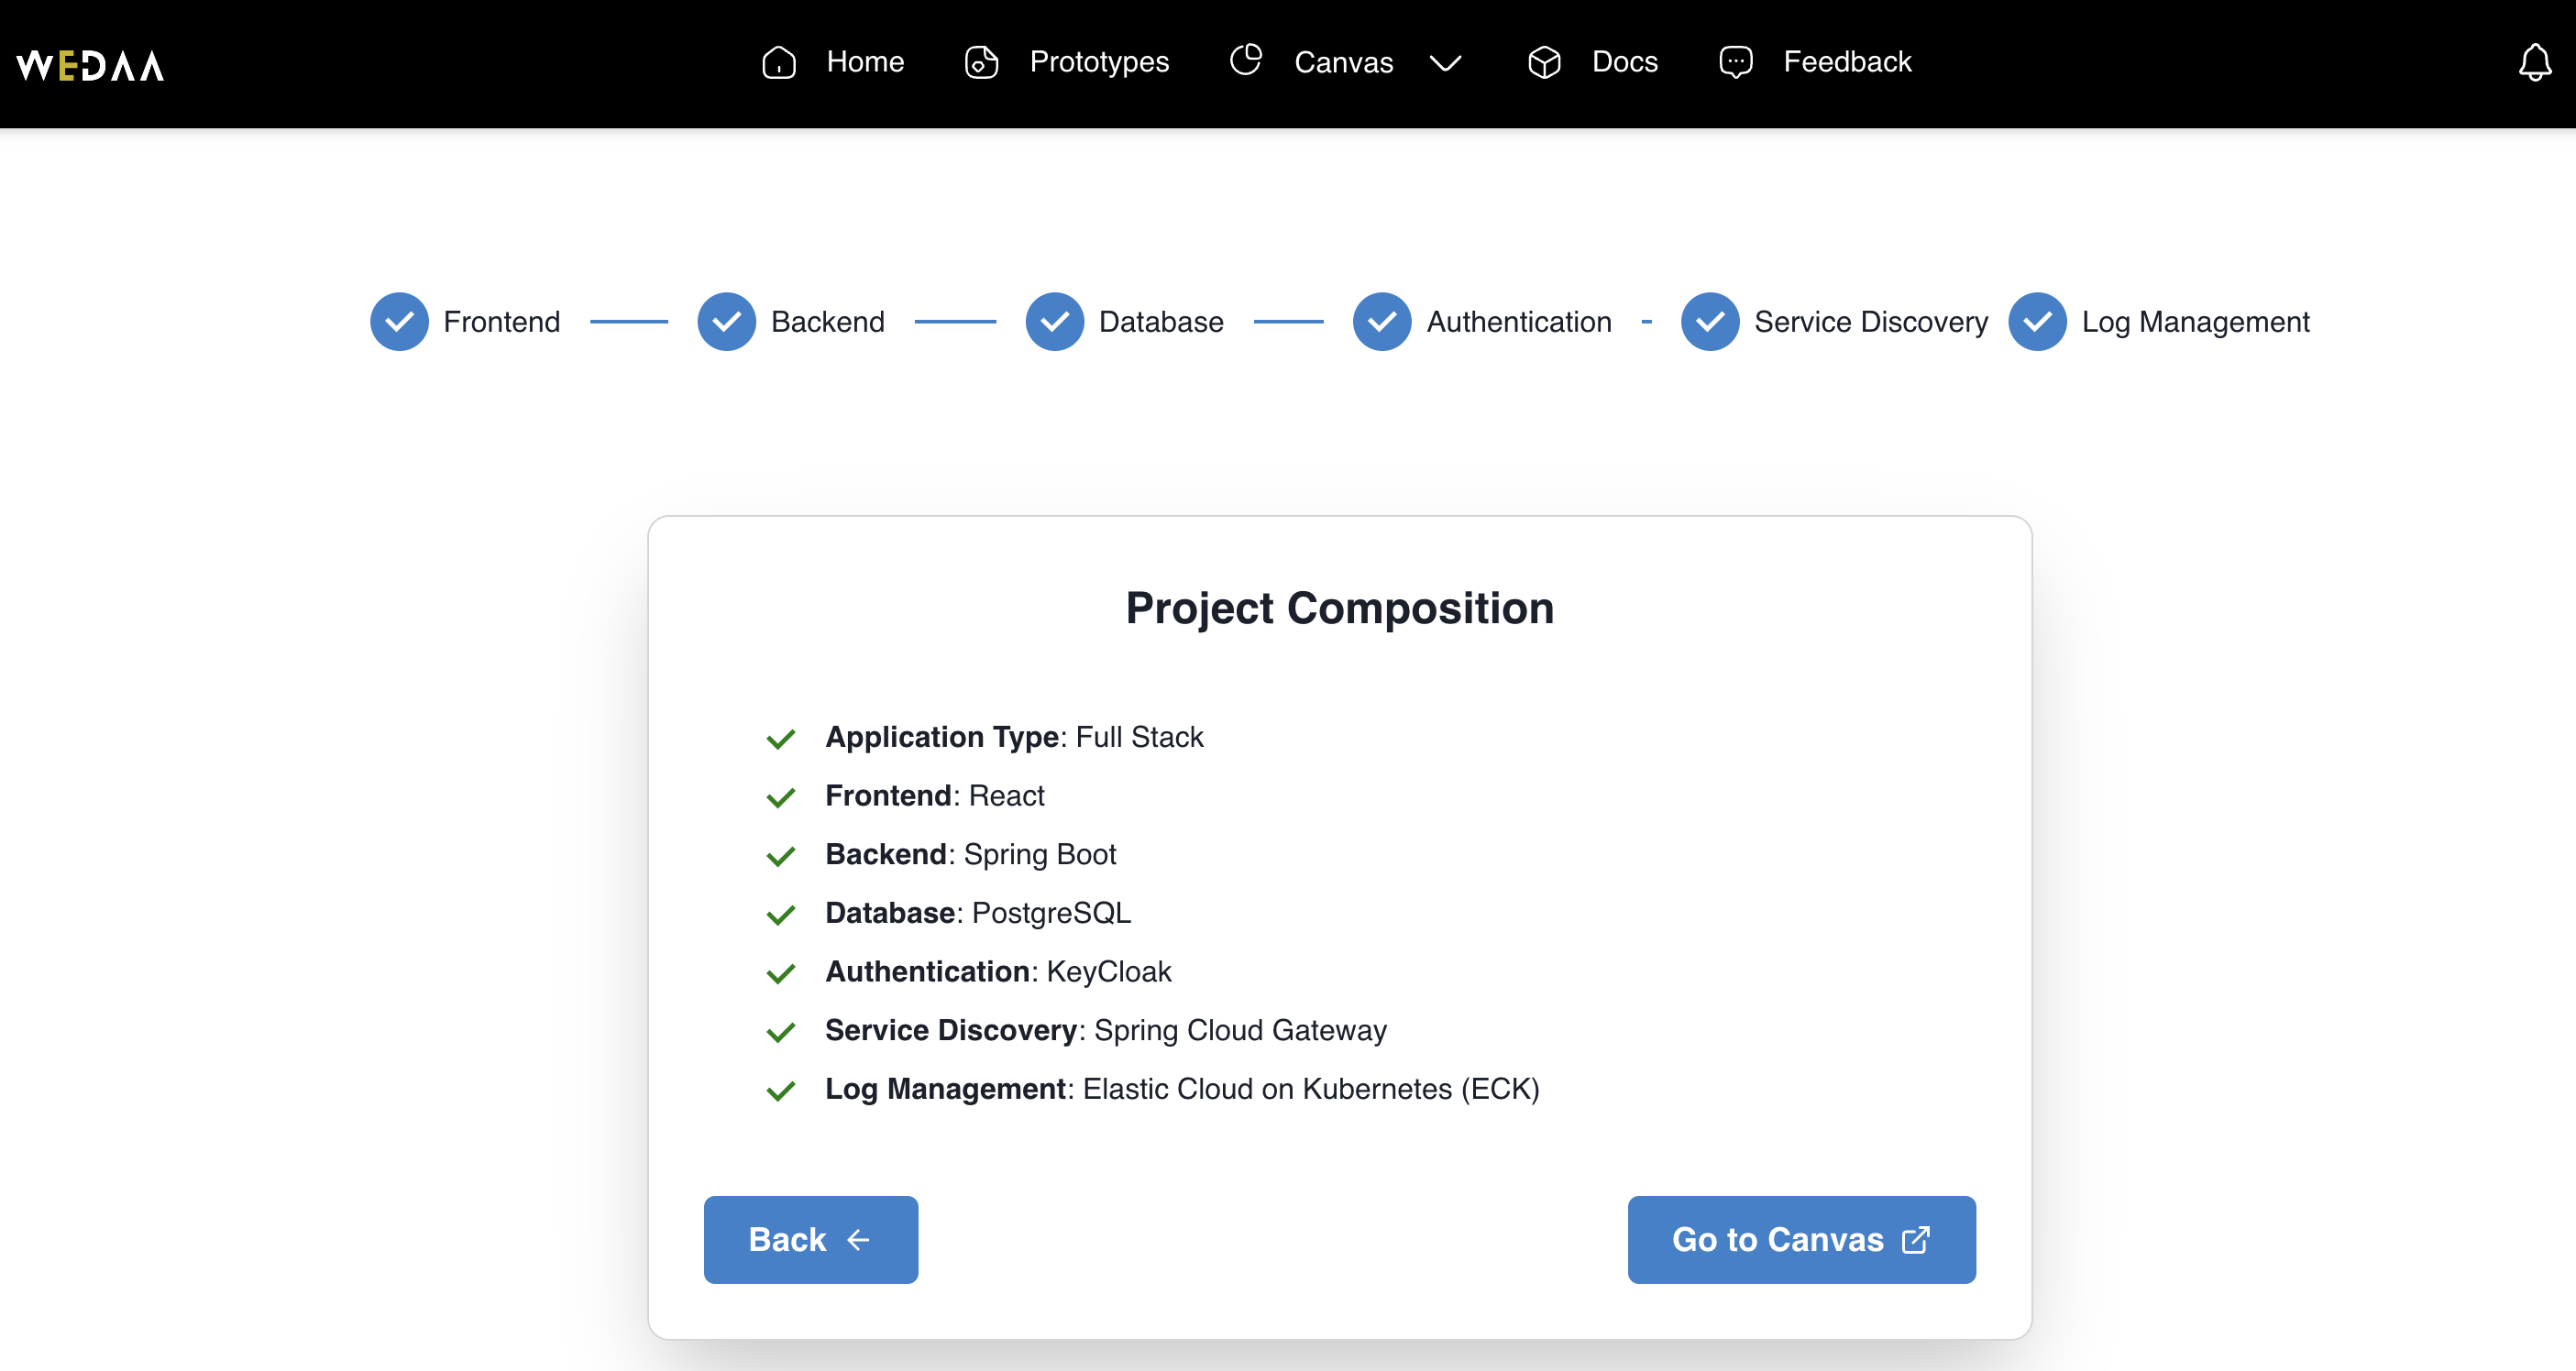
8. Application composition
Project composition page lists all the components used for building fullstack comprehensive architecture application. Click Next
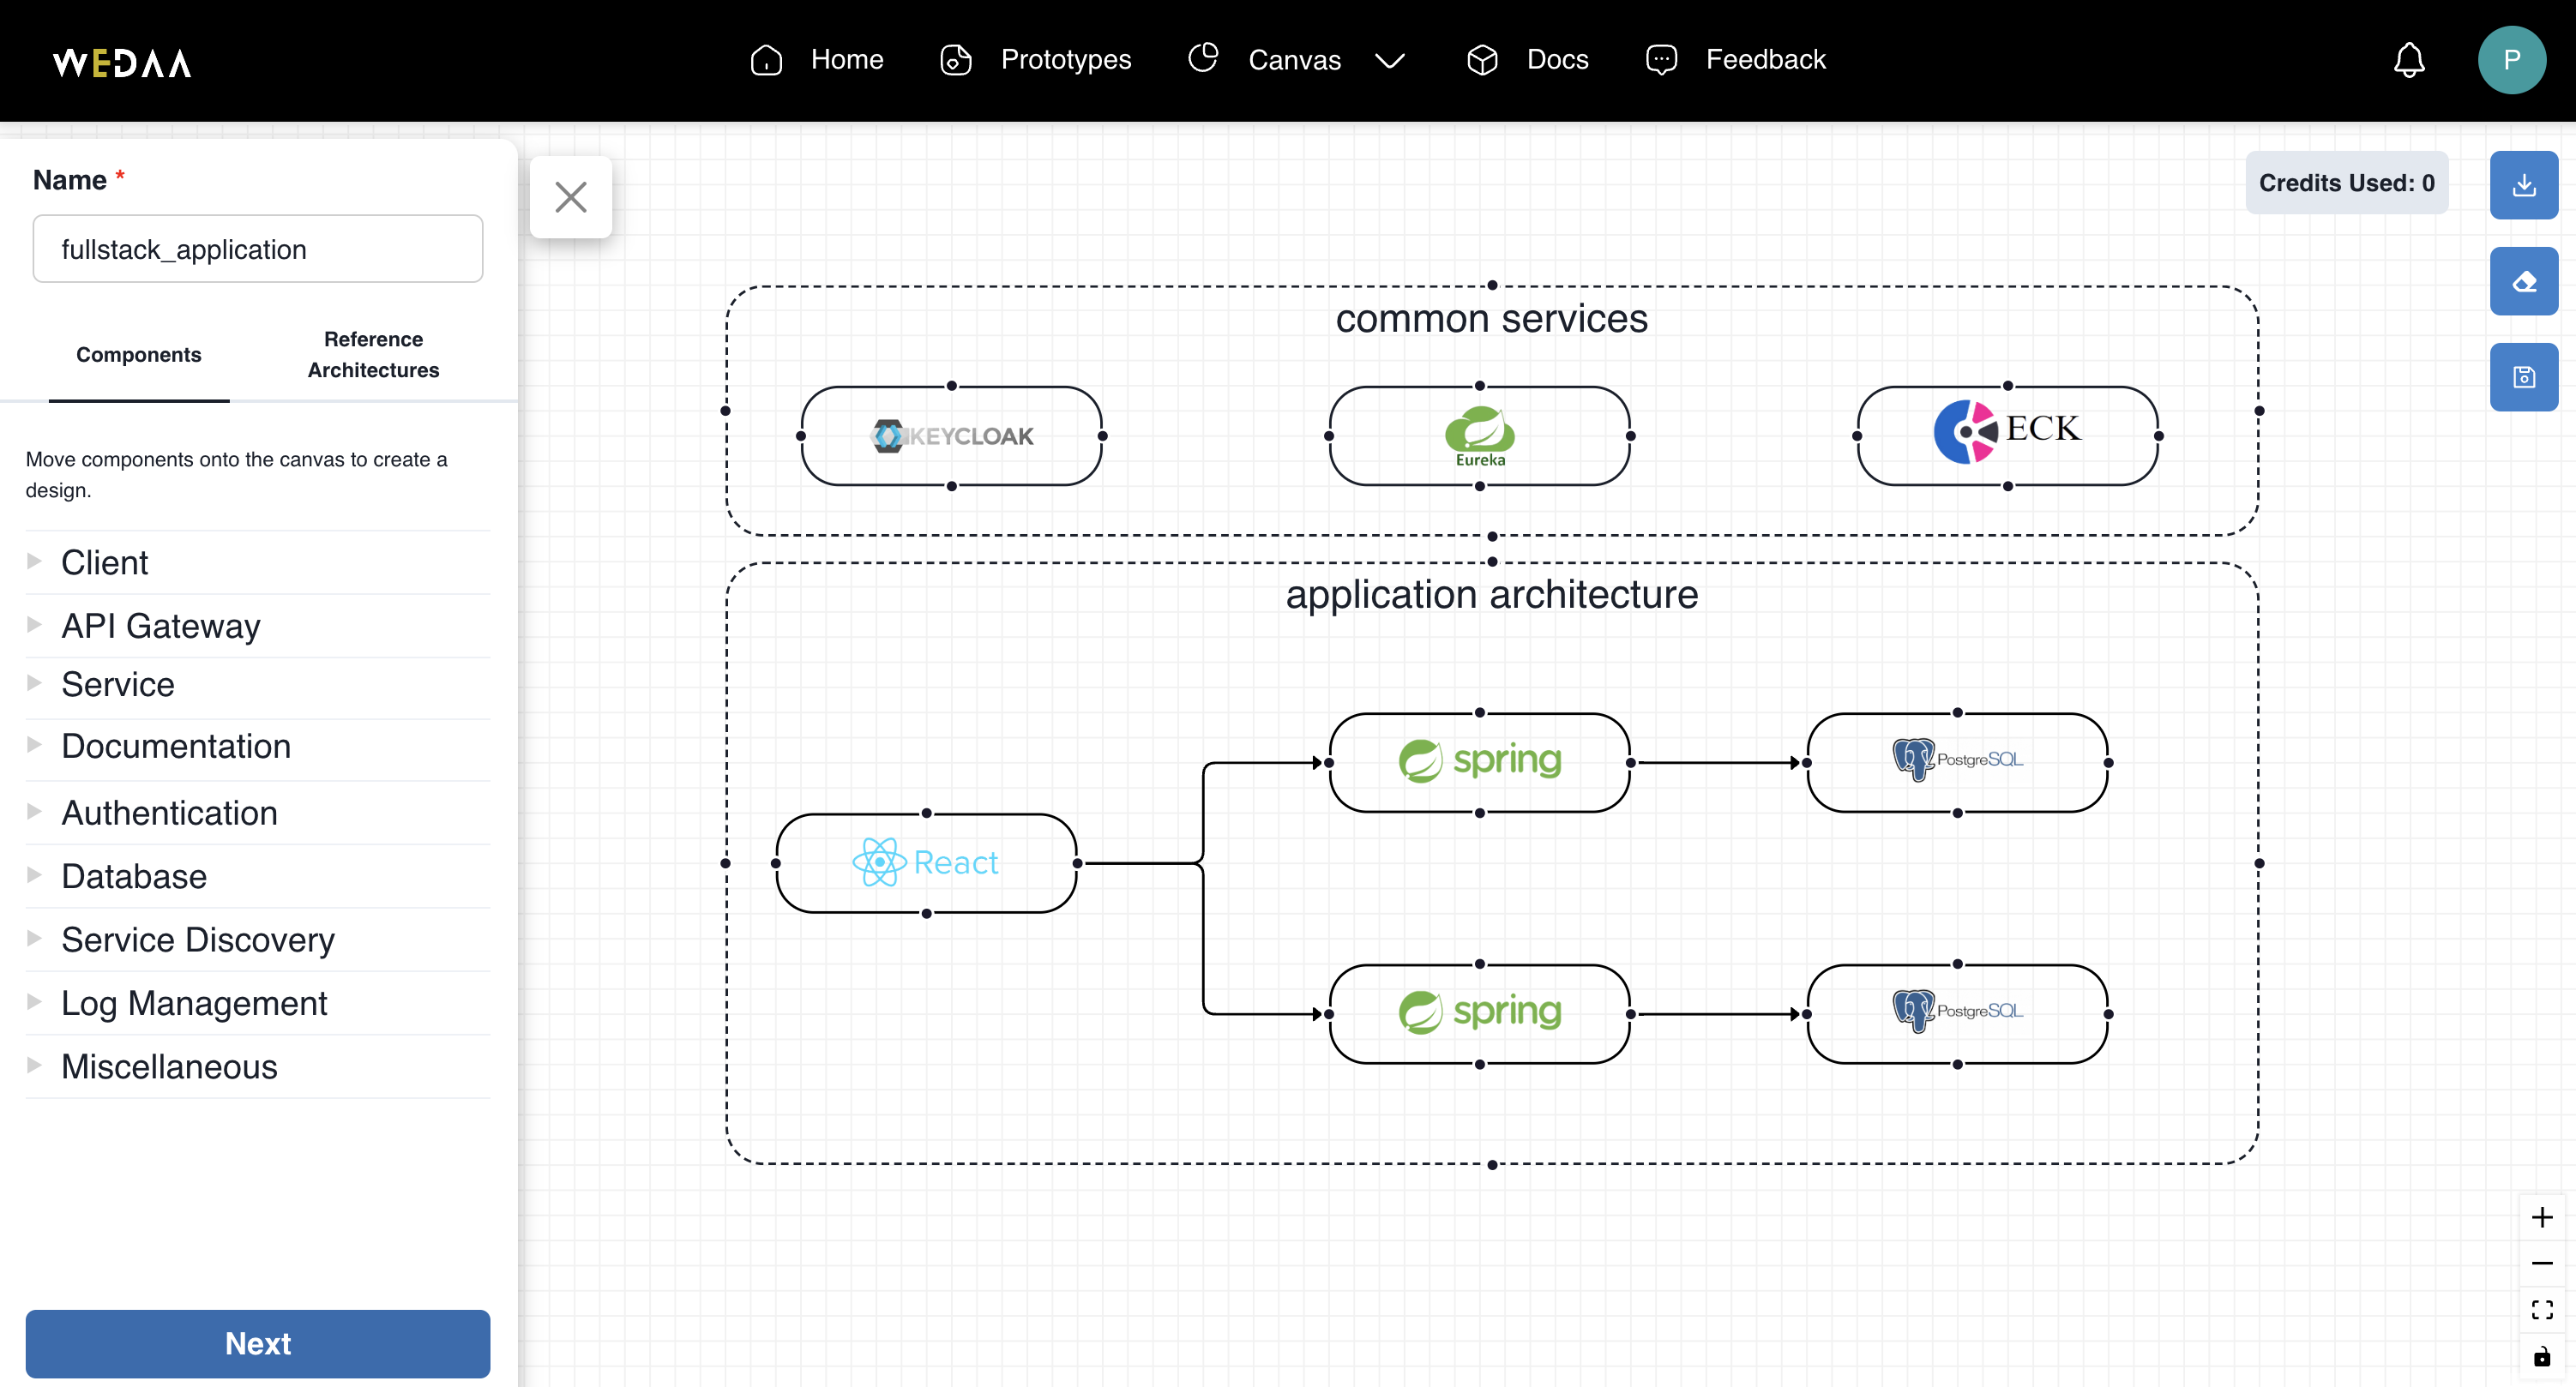
9. Application architecture
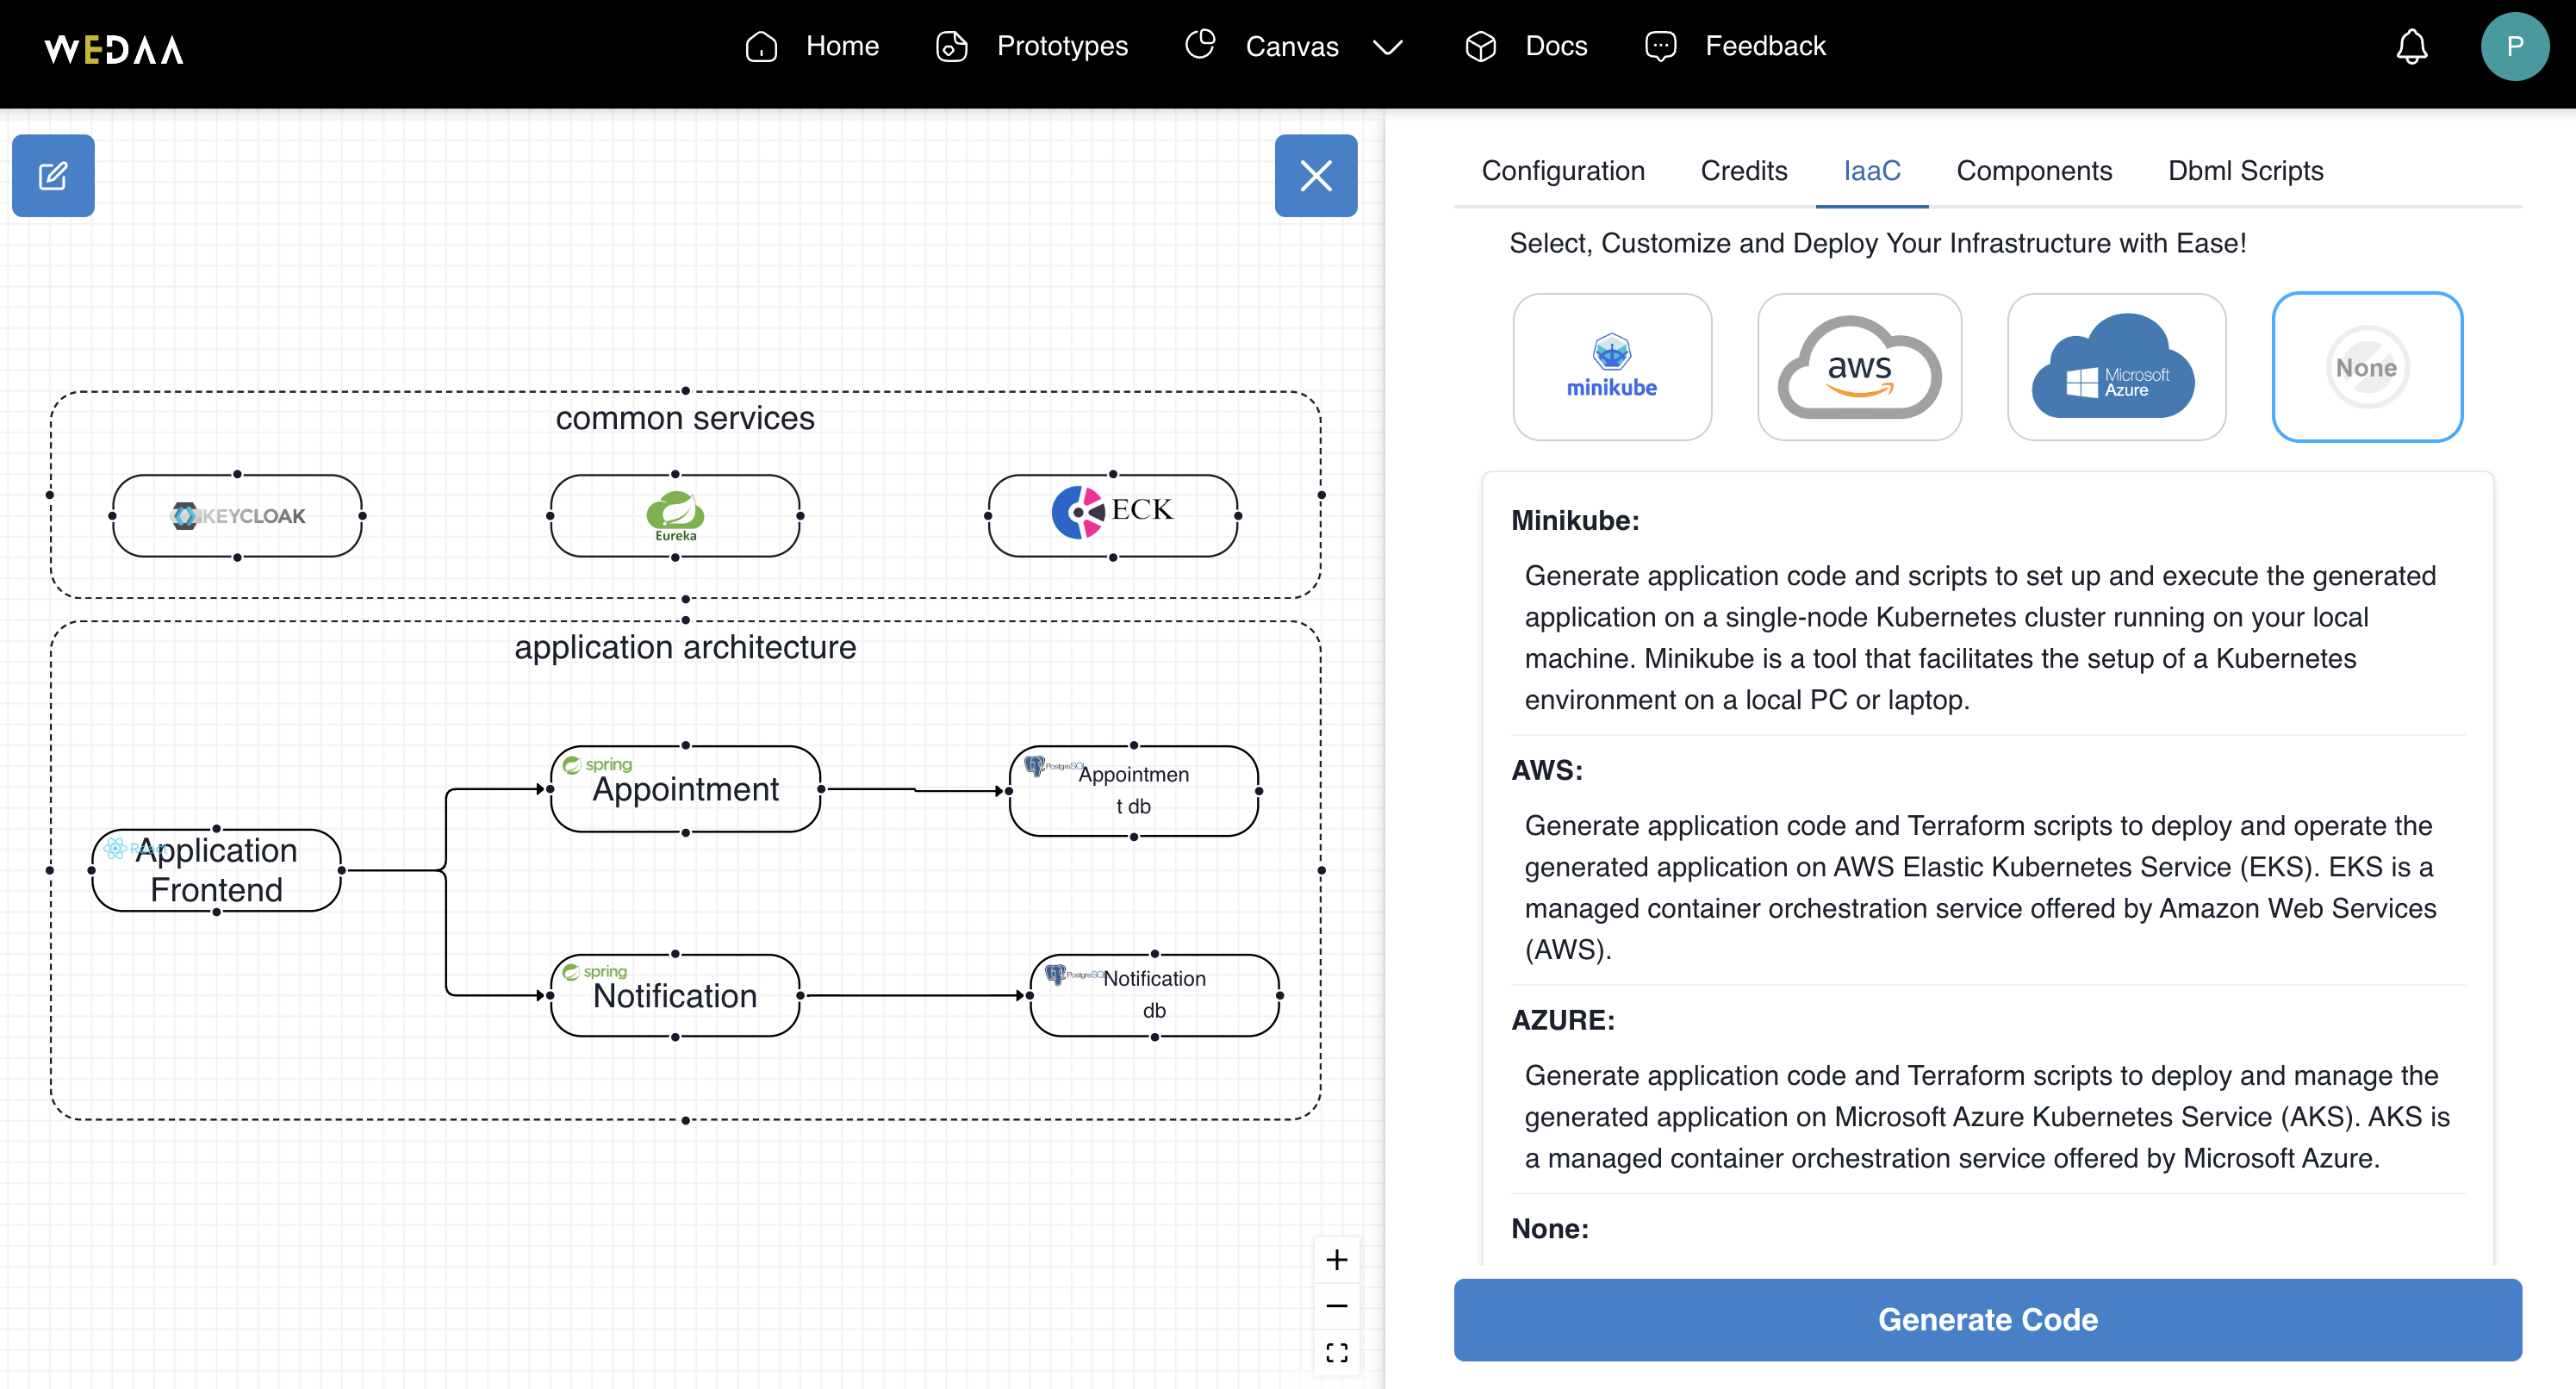
Application architecture rendered over WeDAA canvas. Canvas allows to compose and edit application architecture for advance users Click Next
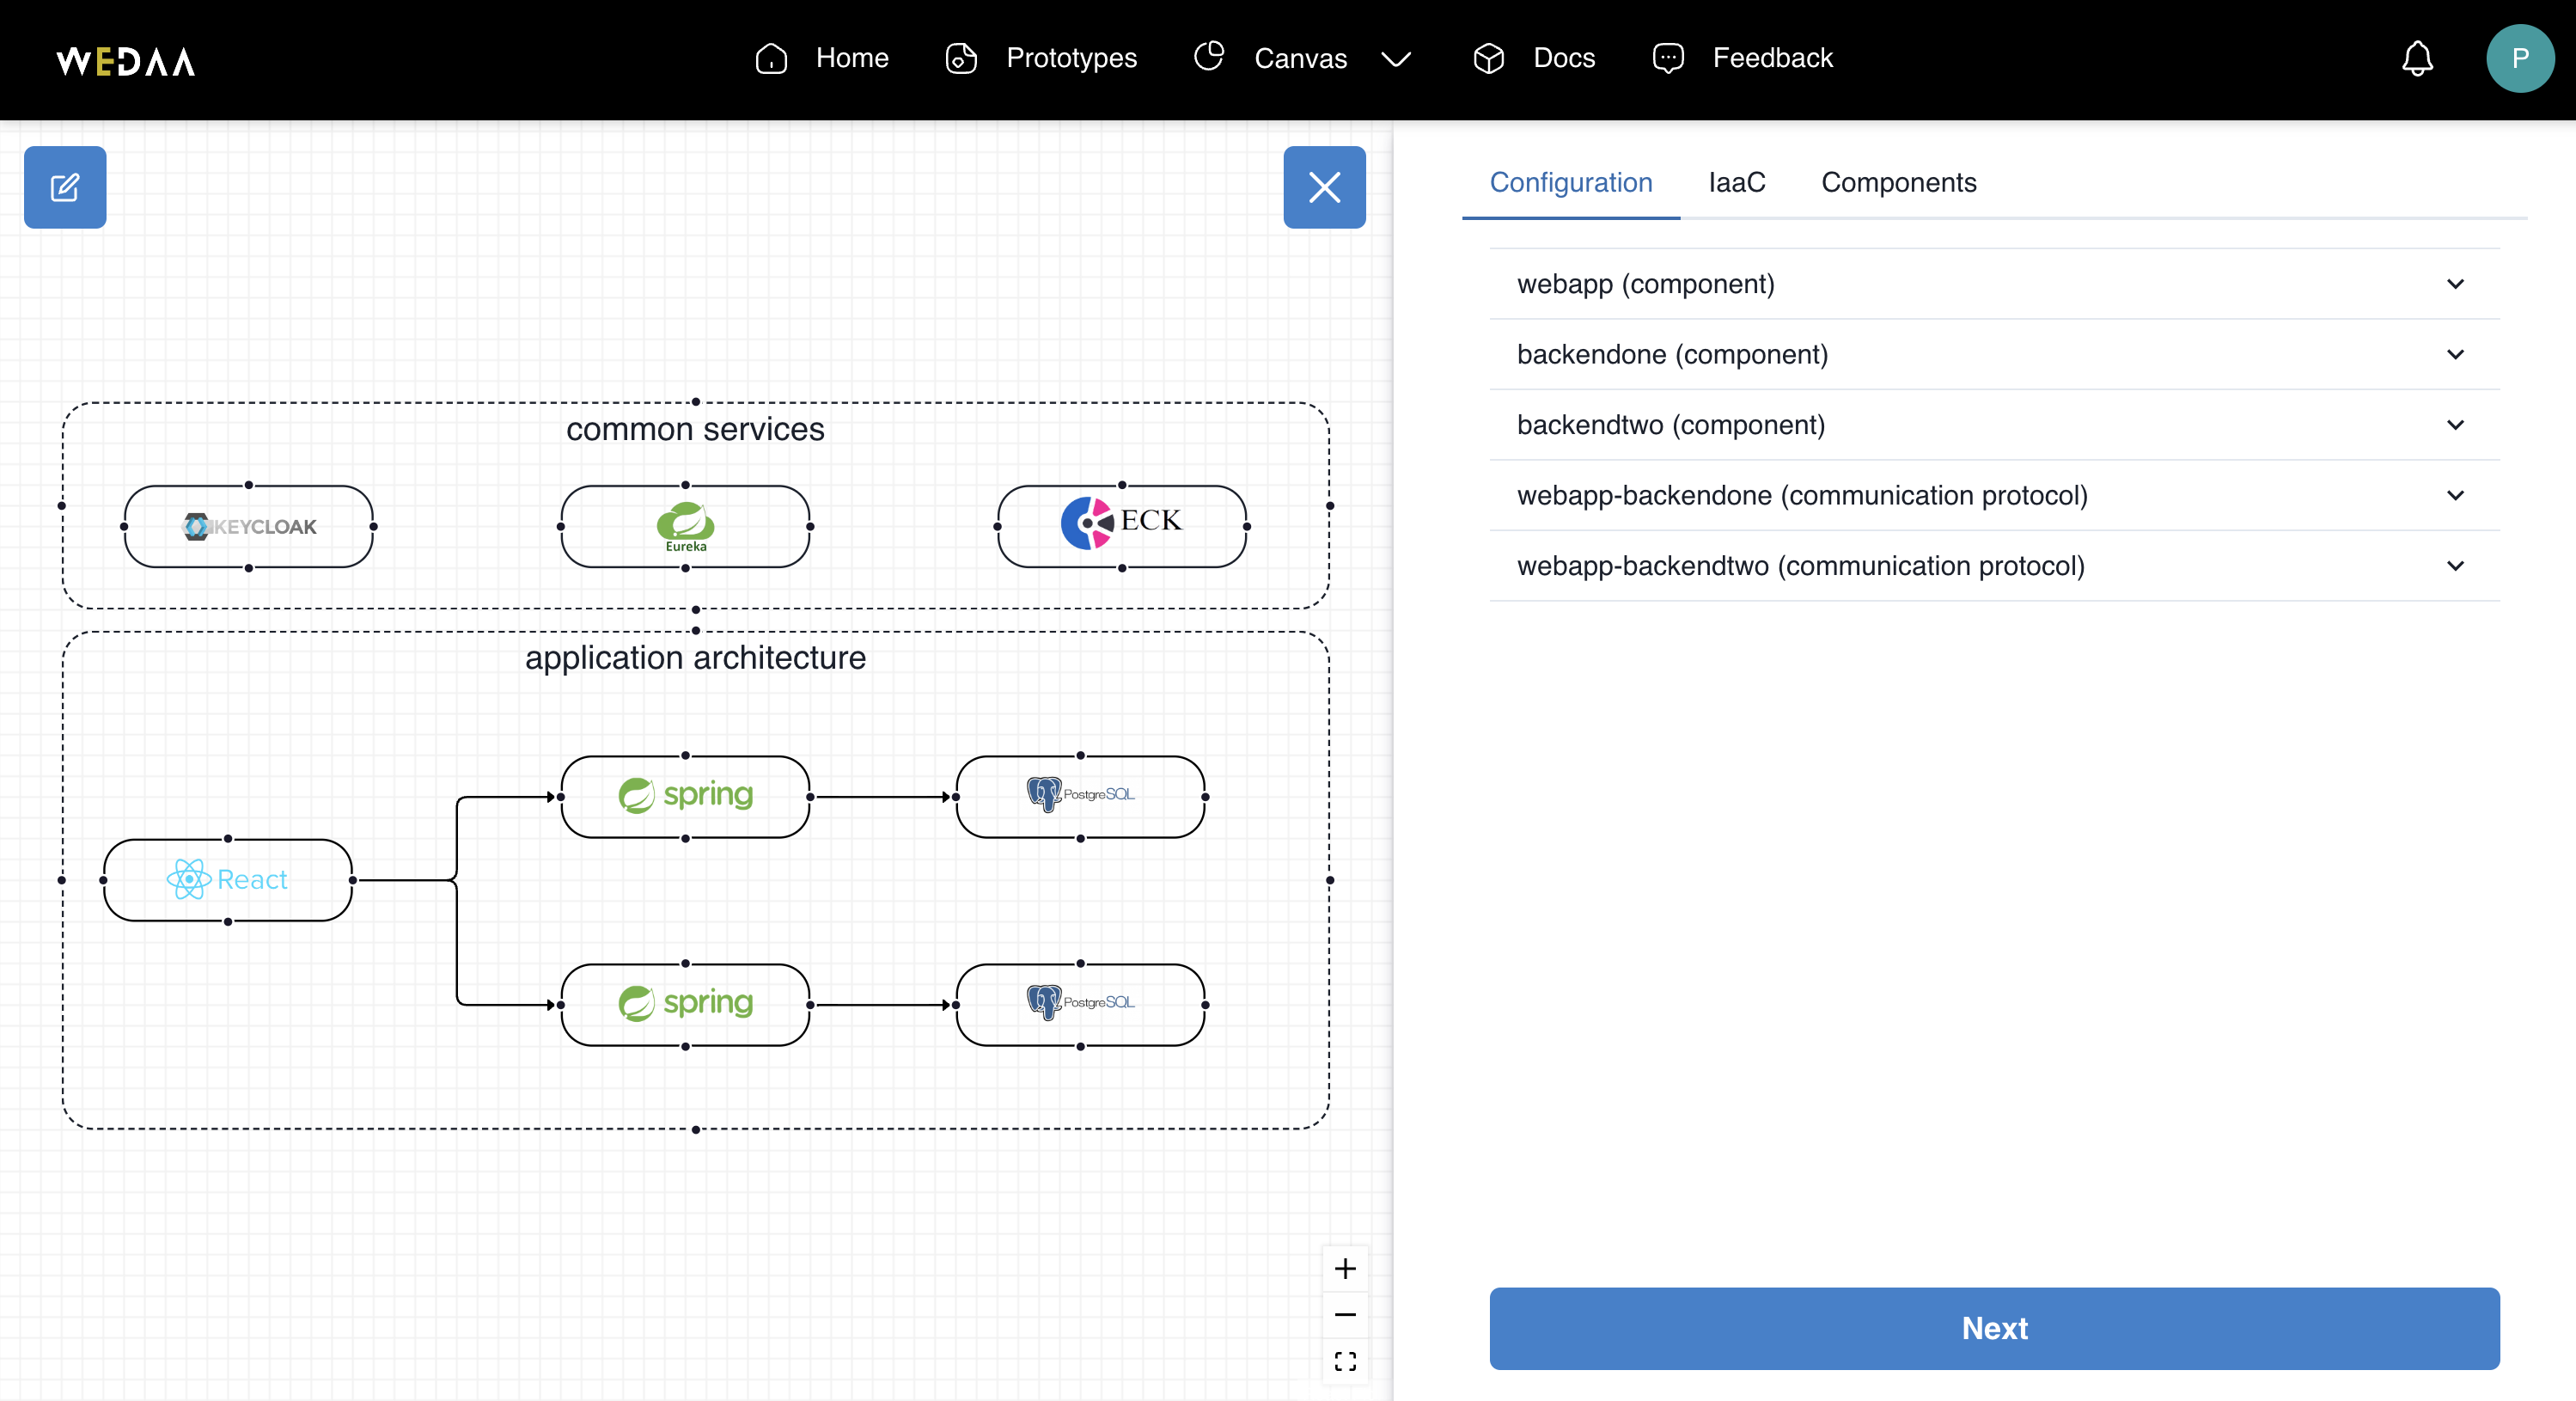
10. Application review
On application review page you can review your application components and respective configurations. Click Next & then Generate Code
10. Generate Code
WeDAA platform comes with multiple options to generate code for an application. Default selection is None with which will generated application can be run in local. Select None and Click Generate Code
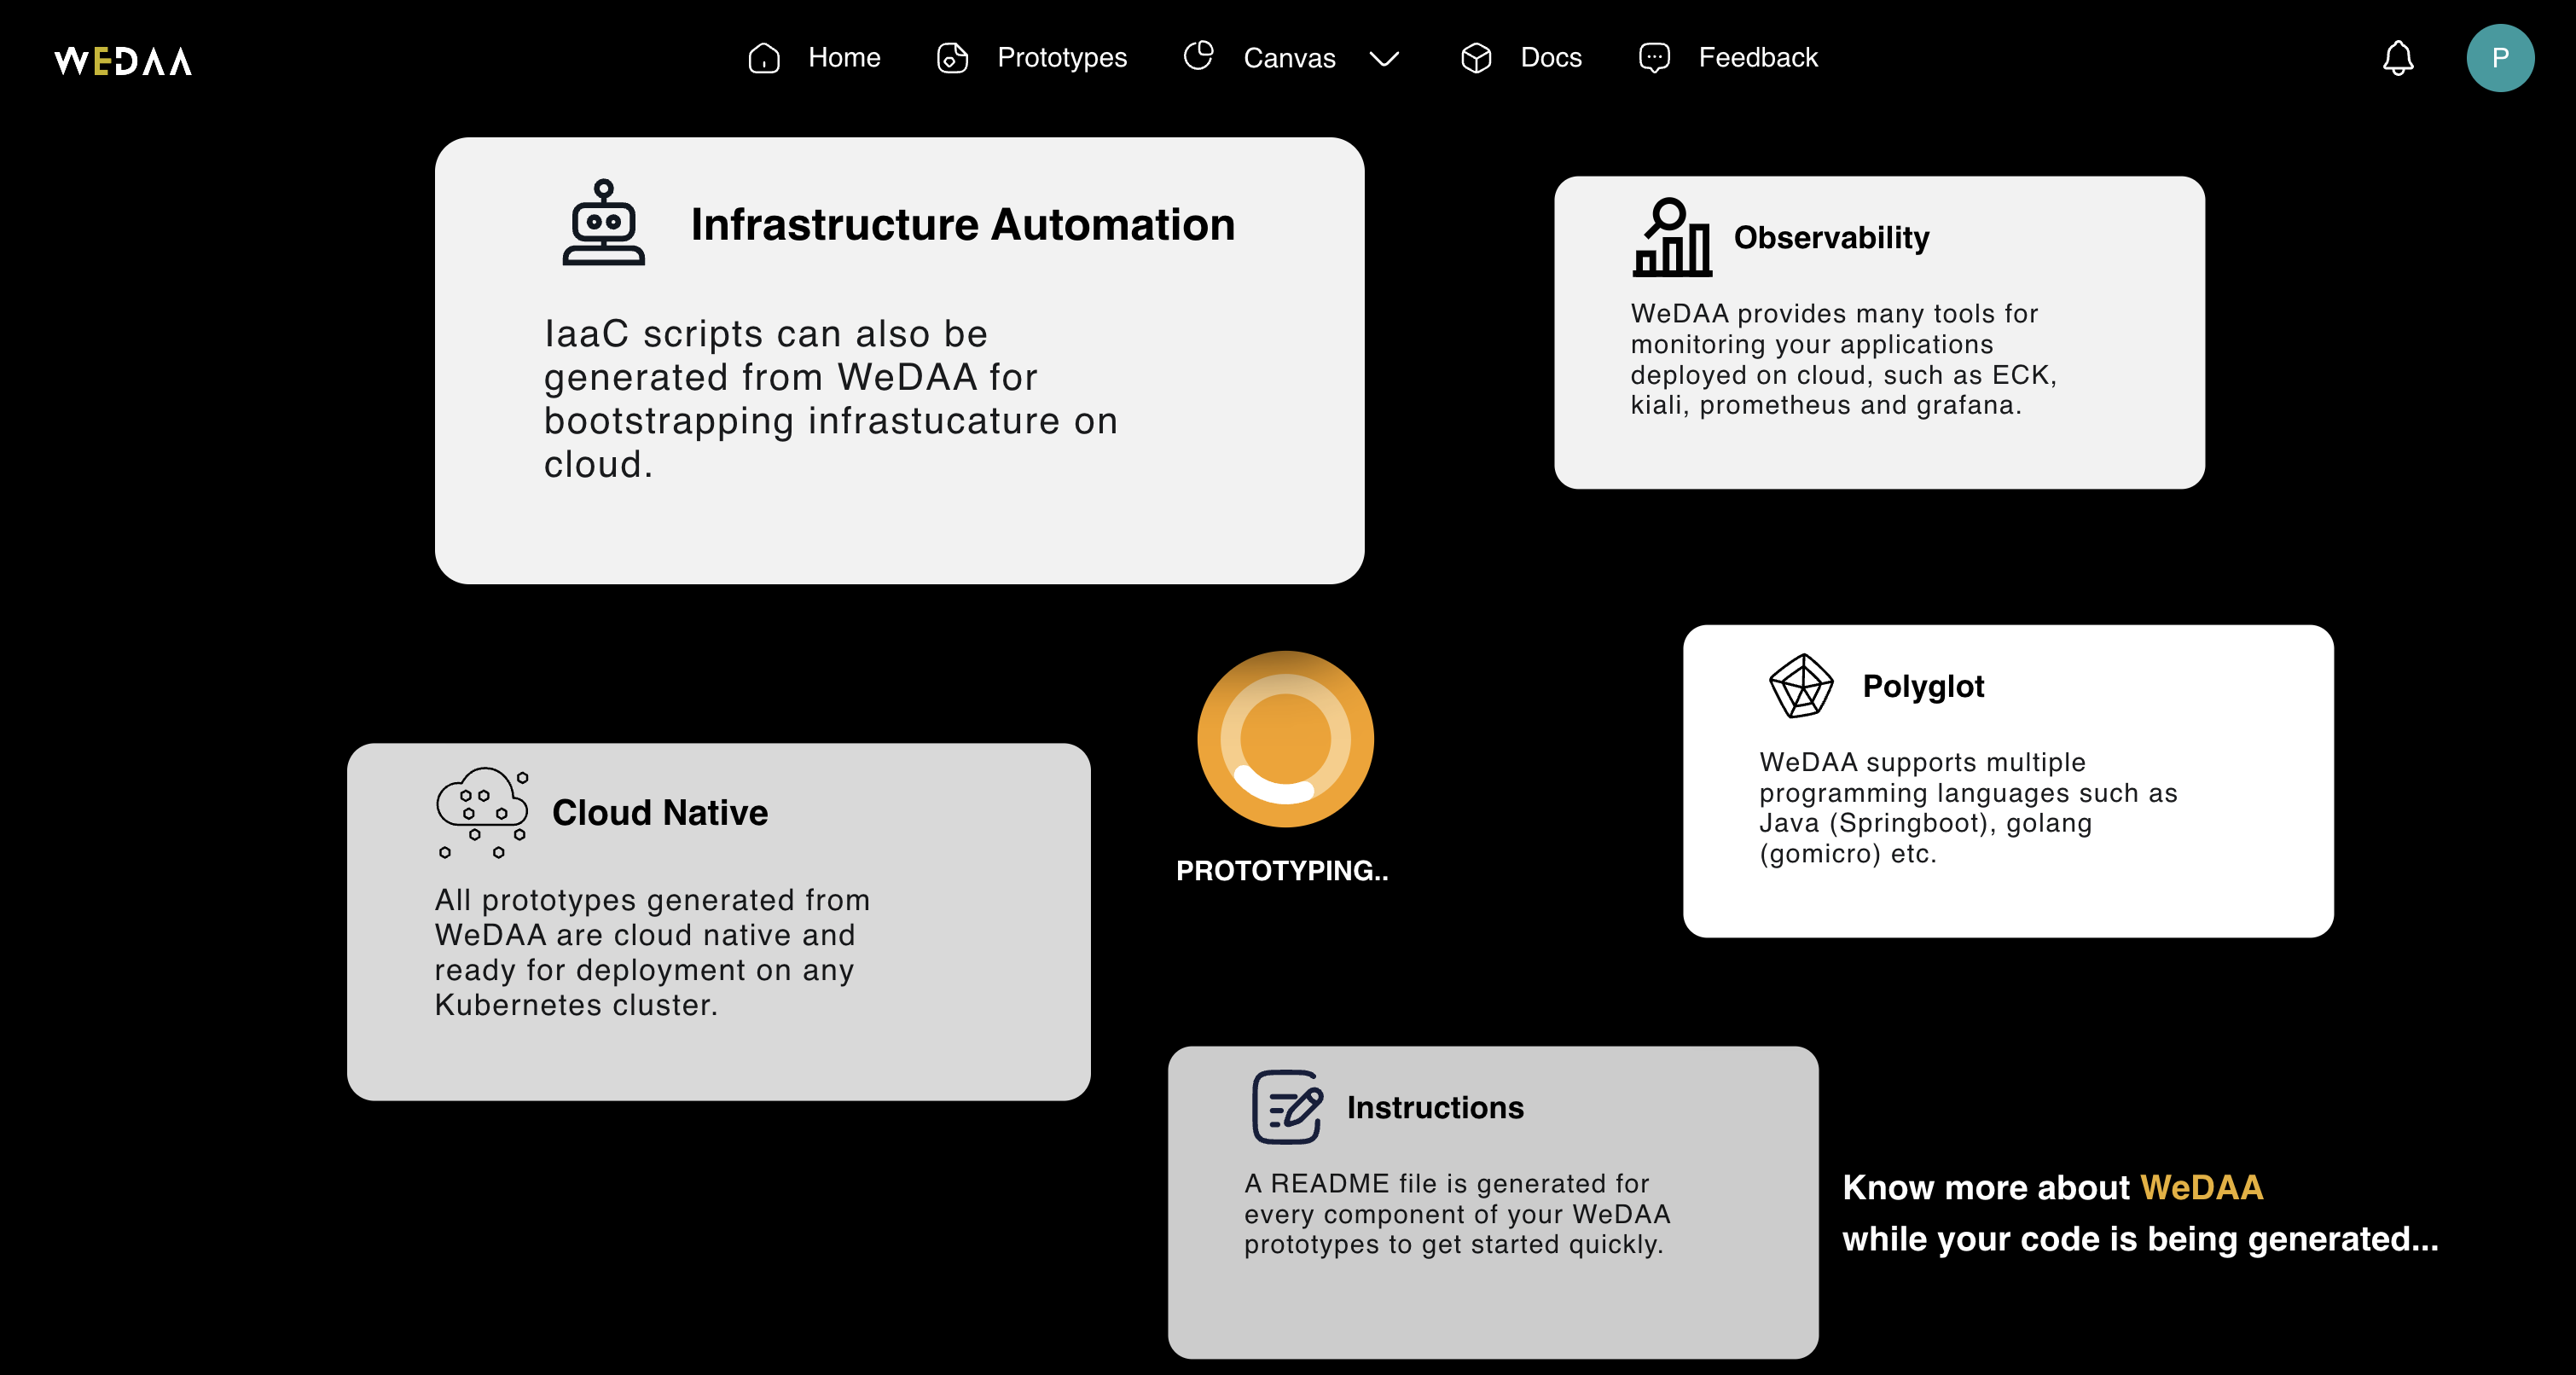
10. Application building in progress
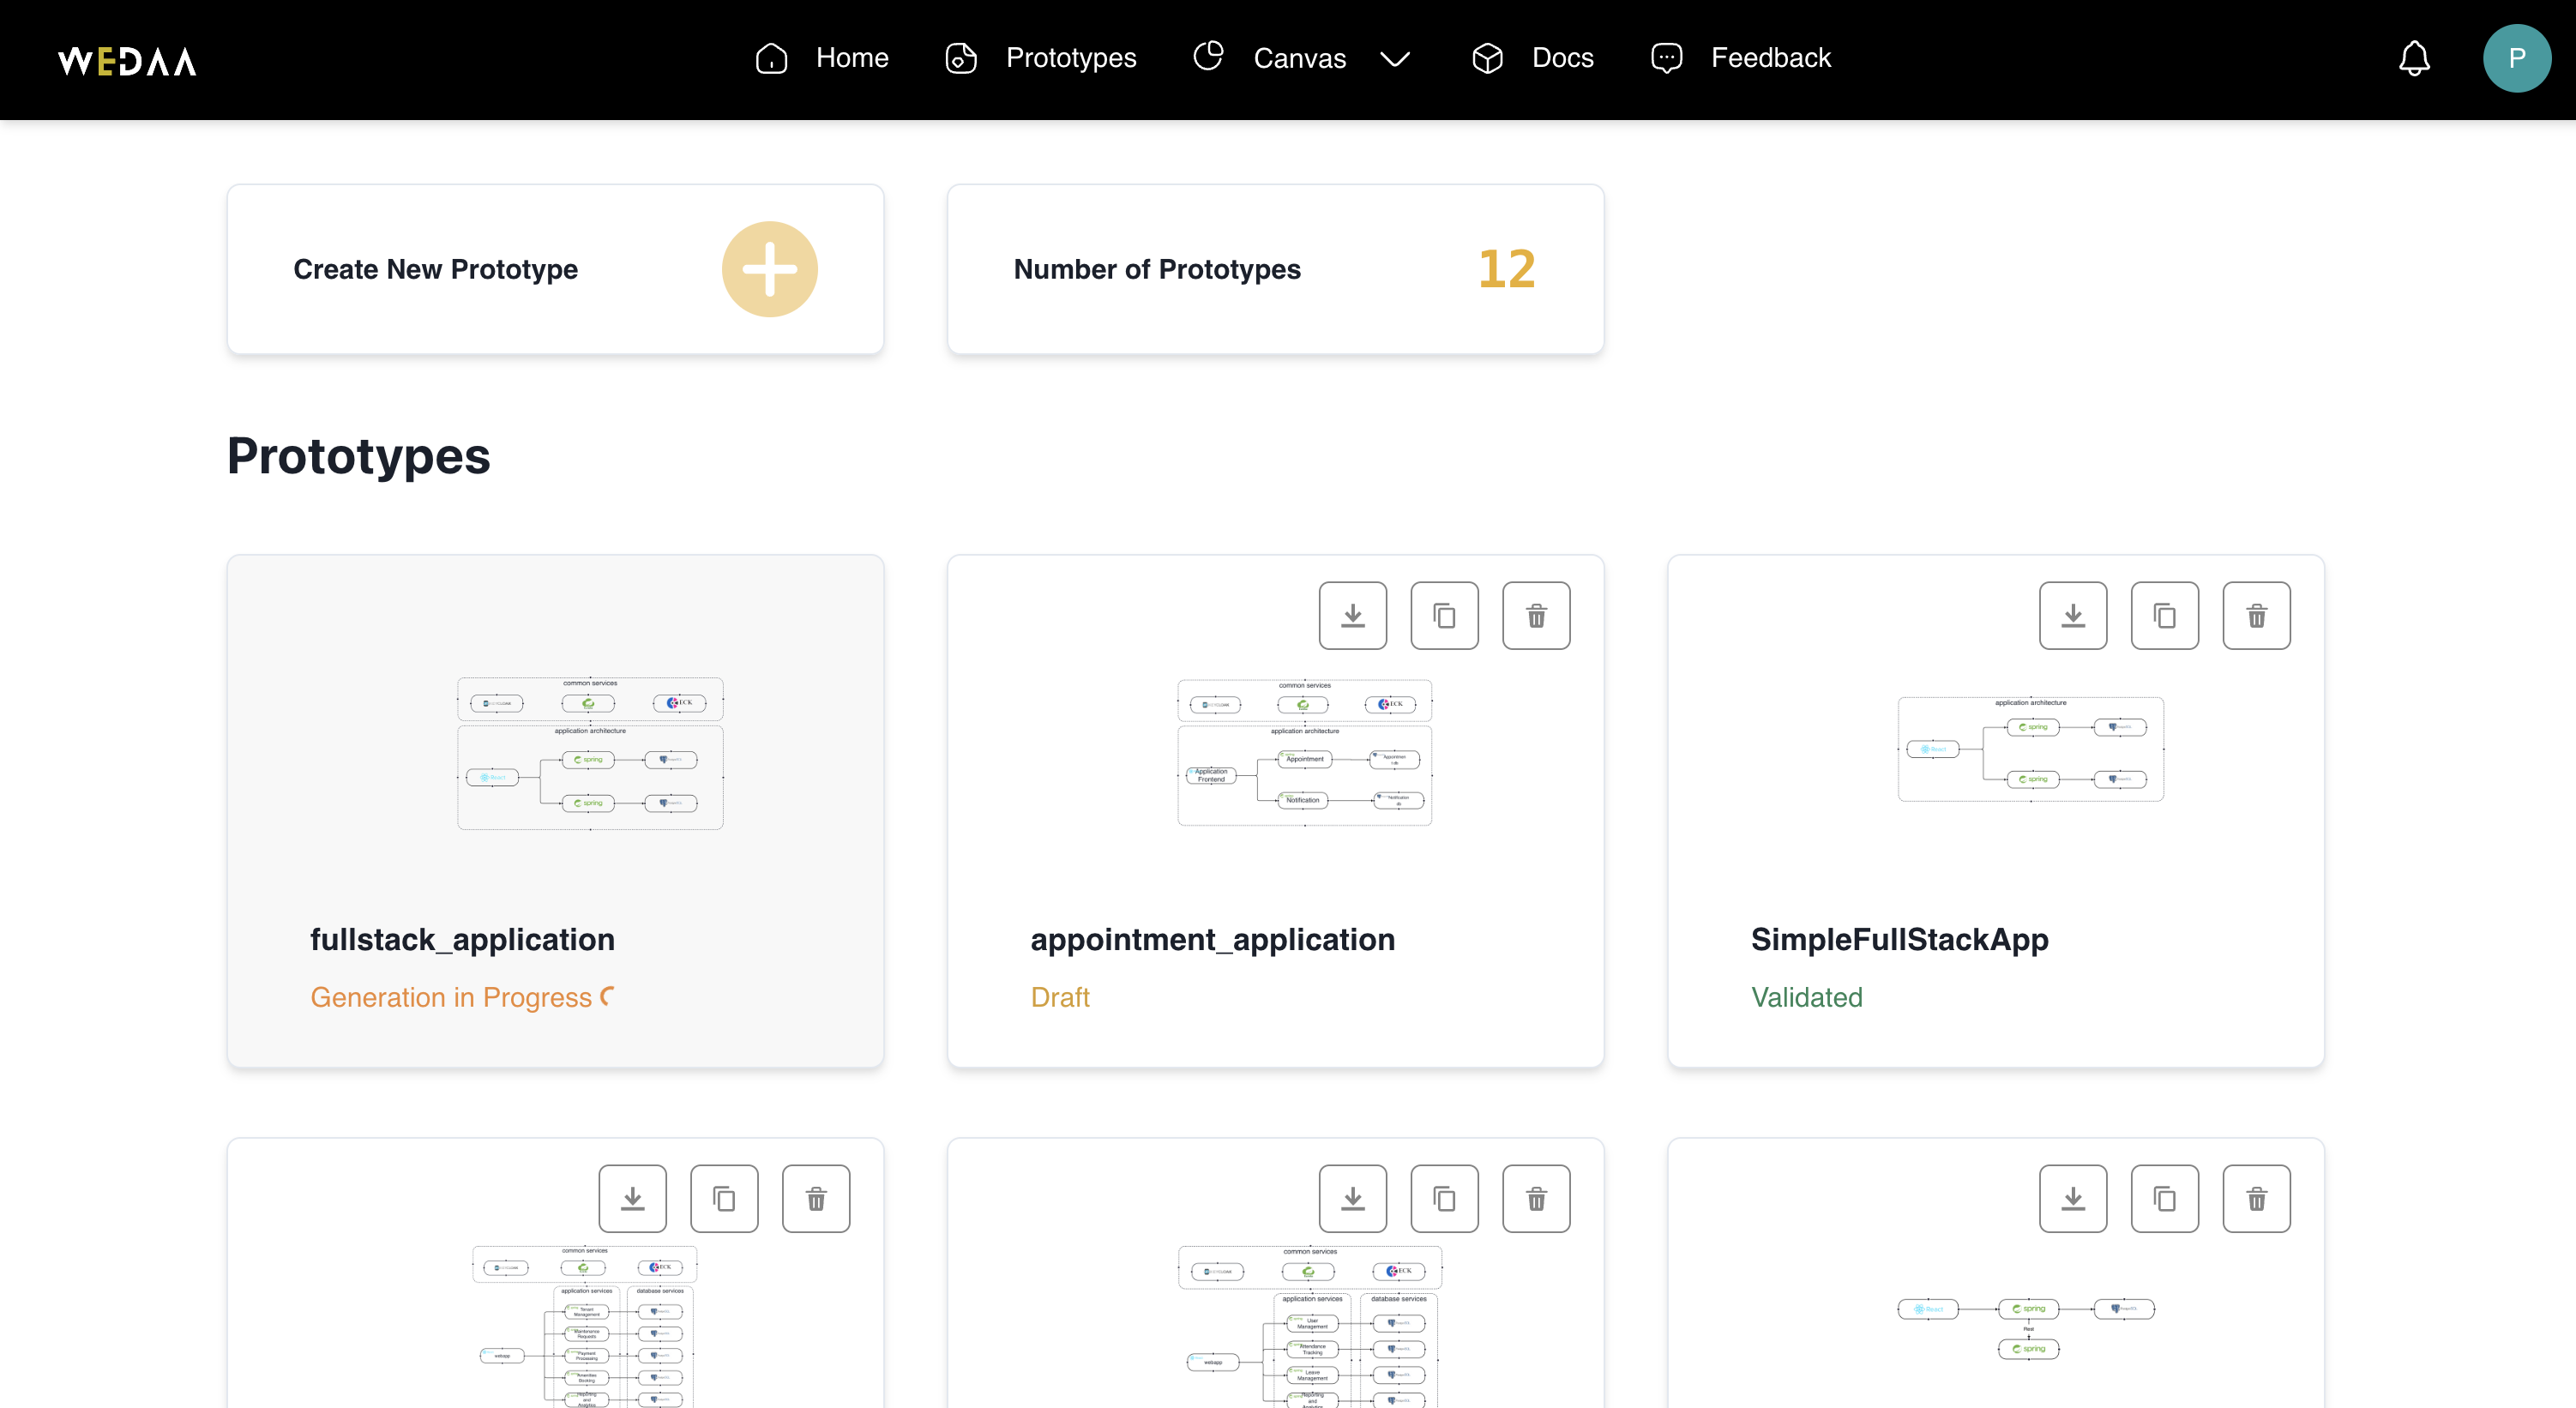
Under prototype page you can find the code generation in progress.
11. Download Application code
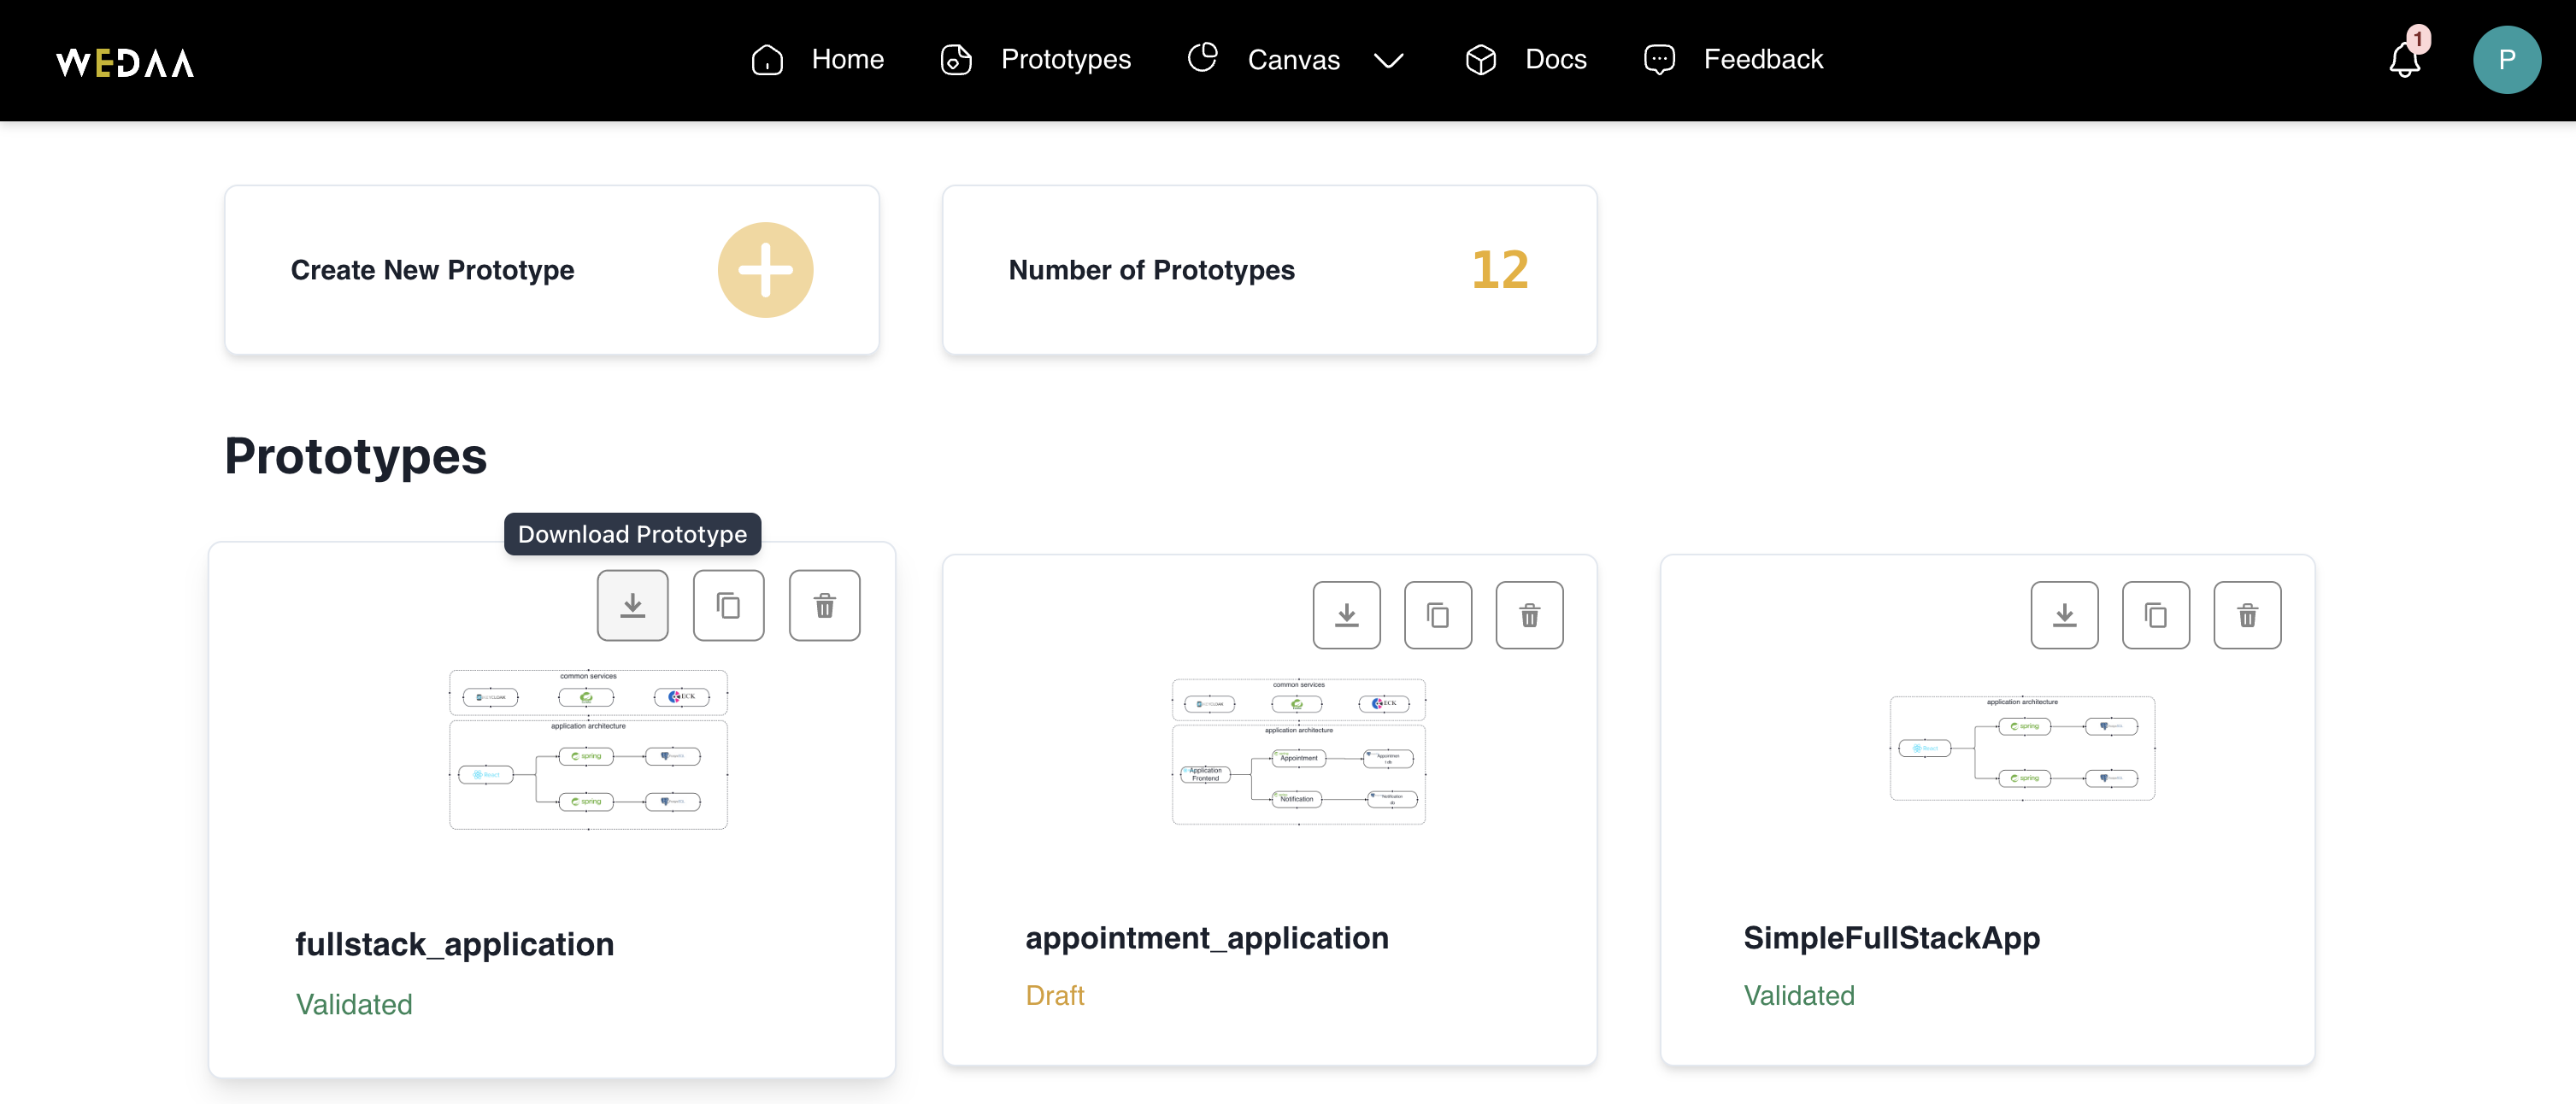
Fullstack application build with WeDAA Quick Start wizard is available under Prototypes. Click over Download icon to get the code.
12. Running fullstack application
1. Download and extract the application files to the desired location
The root of the application folder contains the HOW_TO_RUN file, which provides a brief overview of the common prerequisites for running the application and outlines the sequence in which the services should be started.
Application Prerequisites
- Node version >= 18
- npm version >= 9.6
- docker version >= 24
- jdk/jre version >= 17
2. Let's look at the sequence in which services must be started
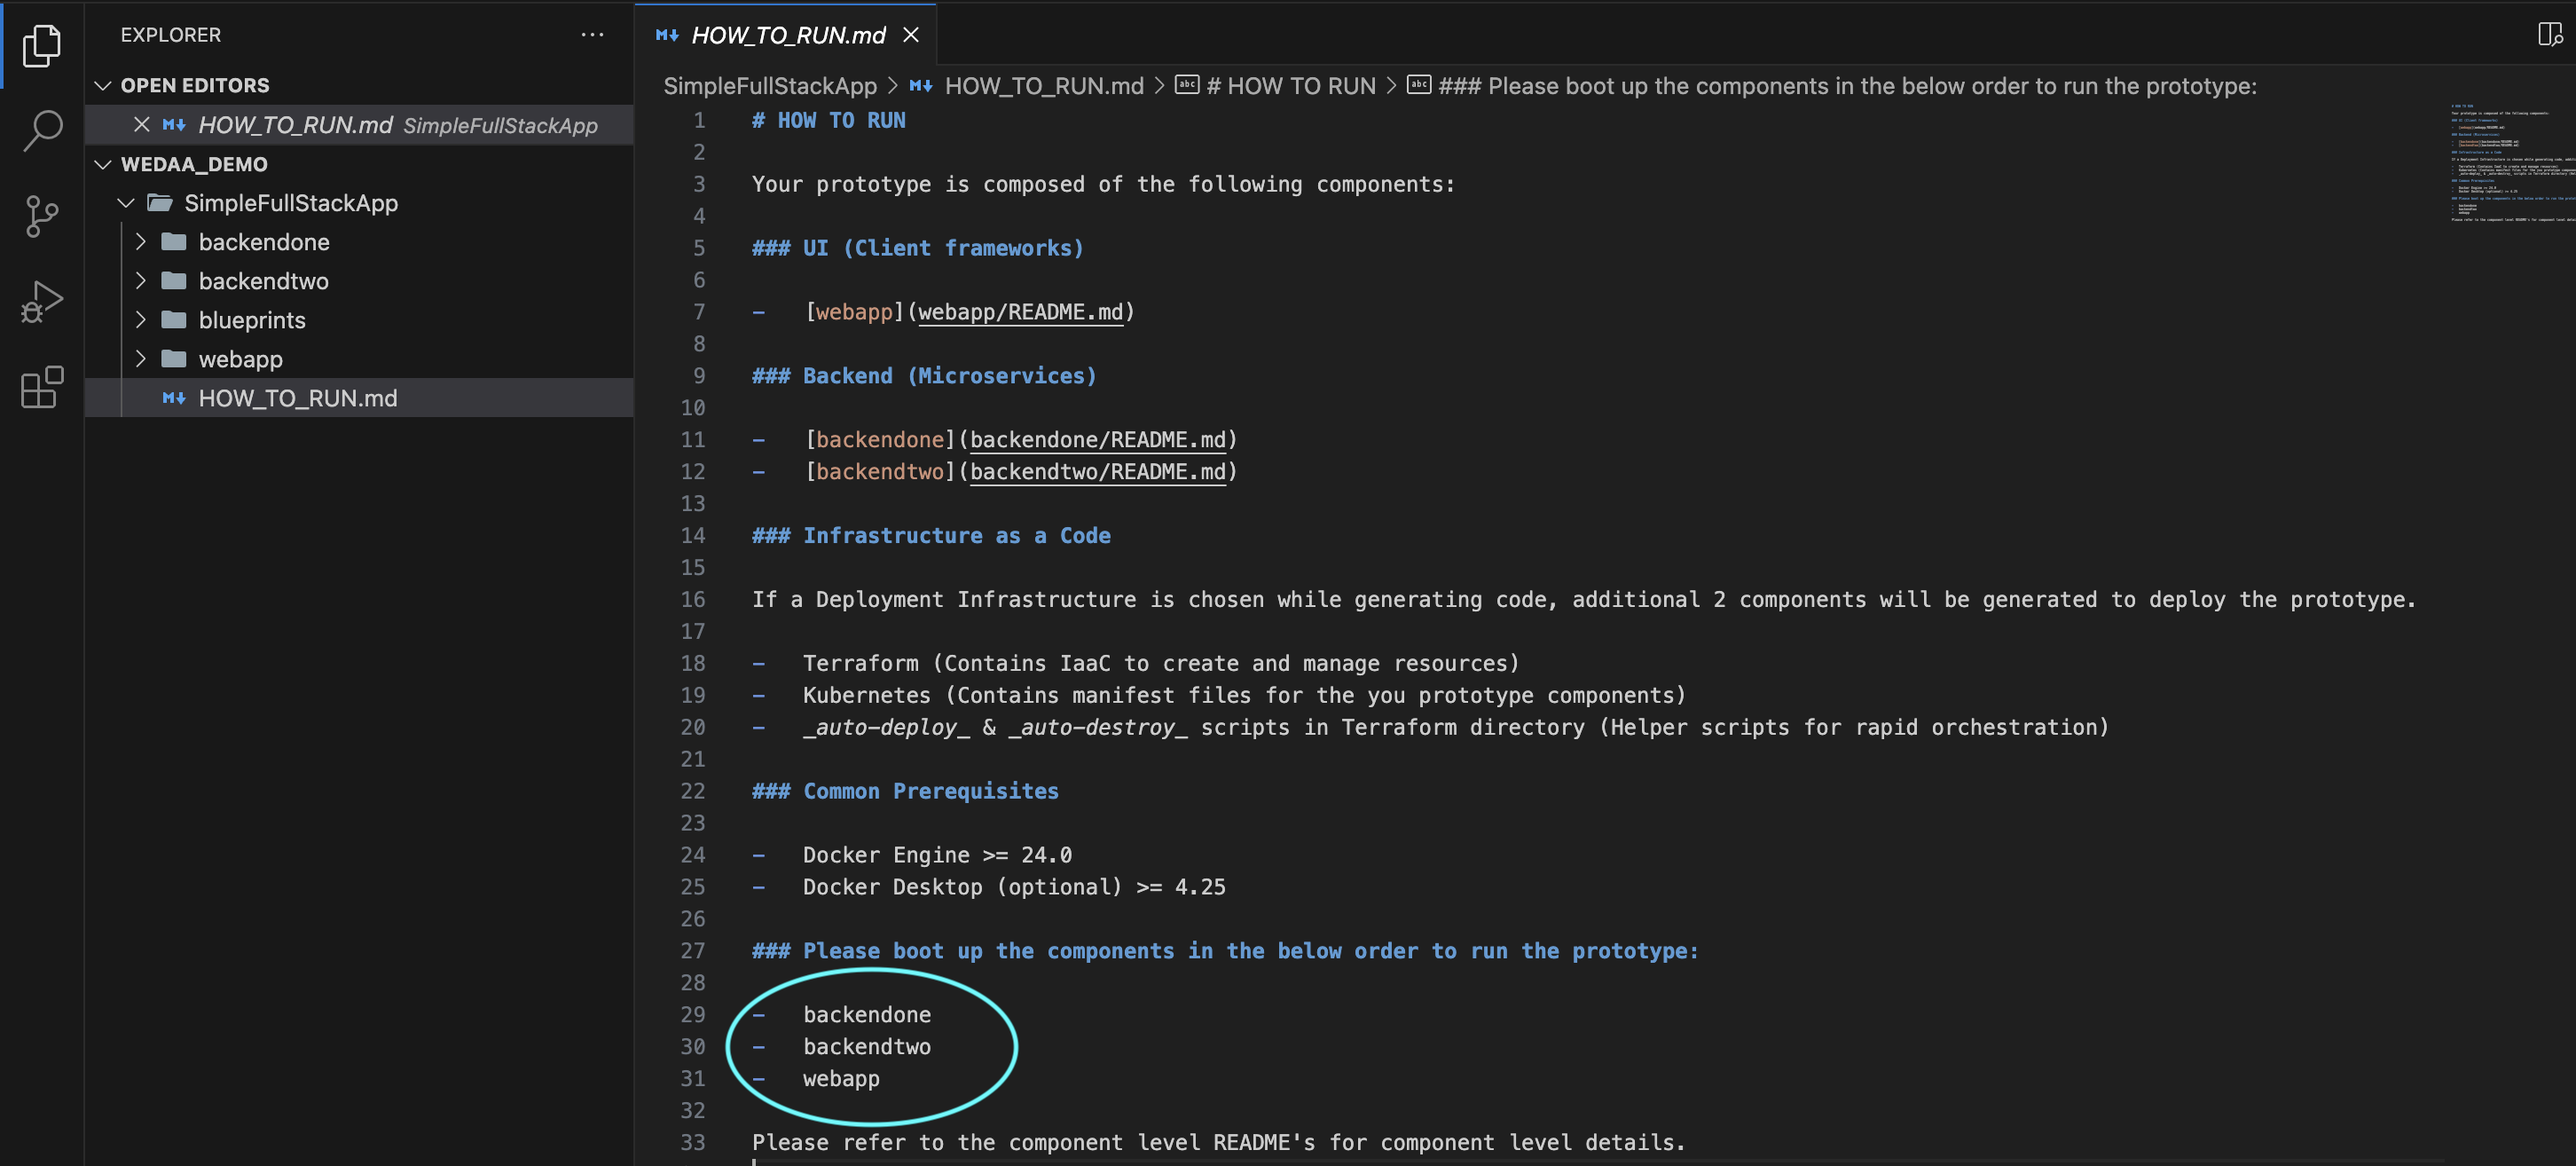
For every component of the application there is component level README file generated by WeDAA to help user how to run the service.
Running backendone java service
-
Navigate to the Root directory of backendone
- Start the postgres Database:
npm run docker:db:up - Build and Run the java service locally:
./mvnw
- Start the postgres Database:


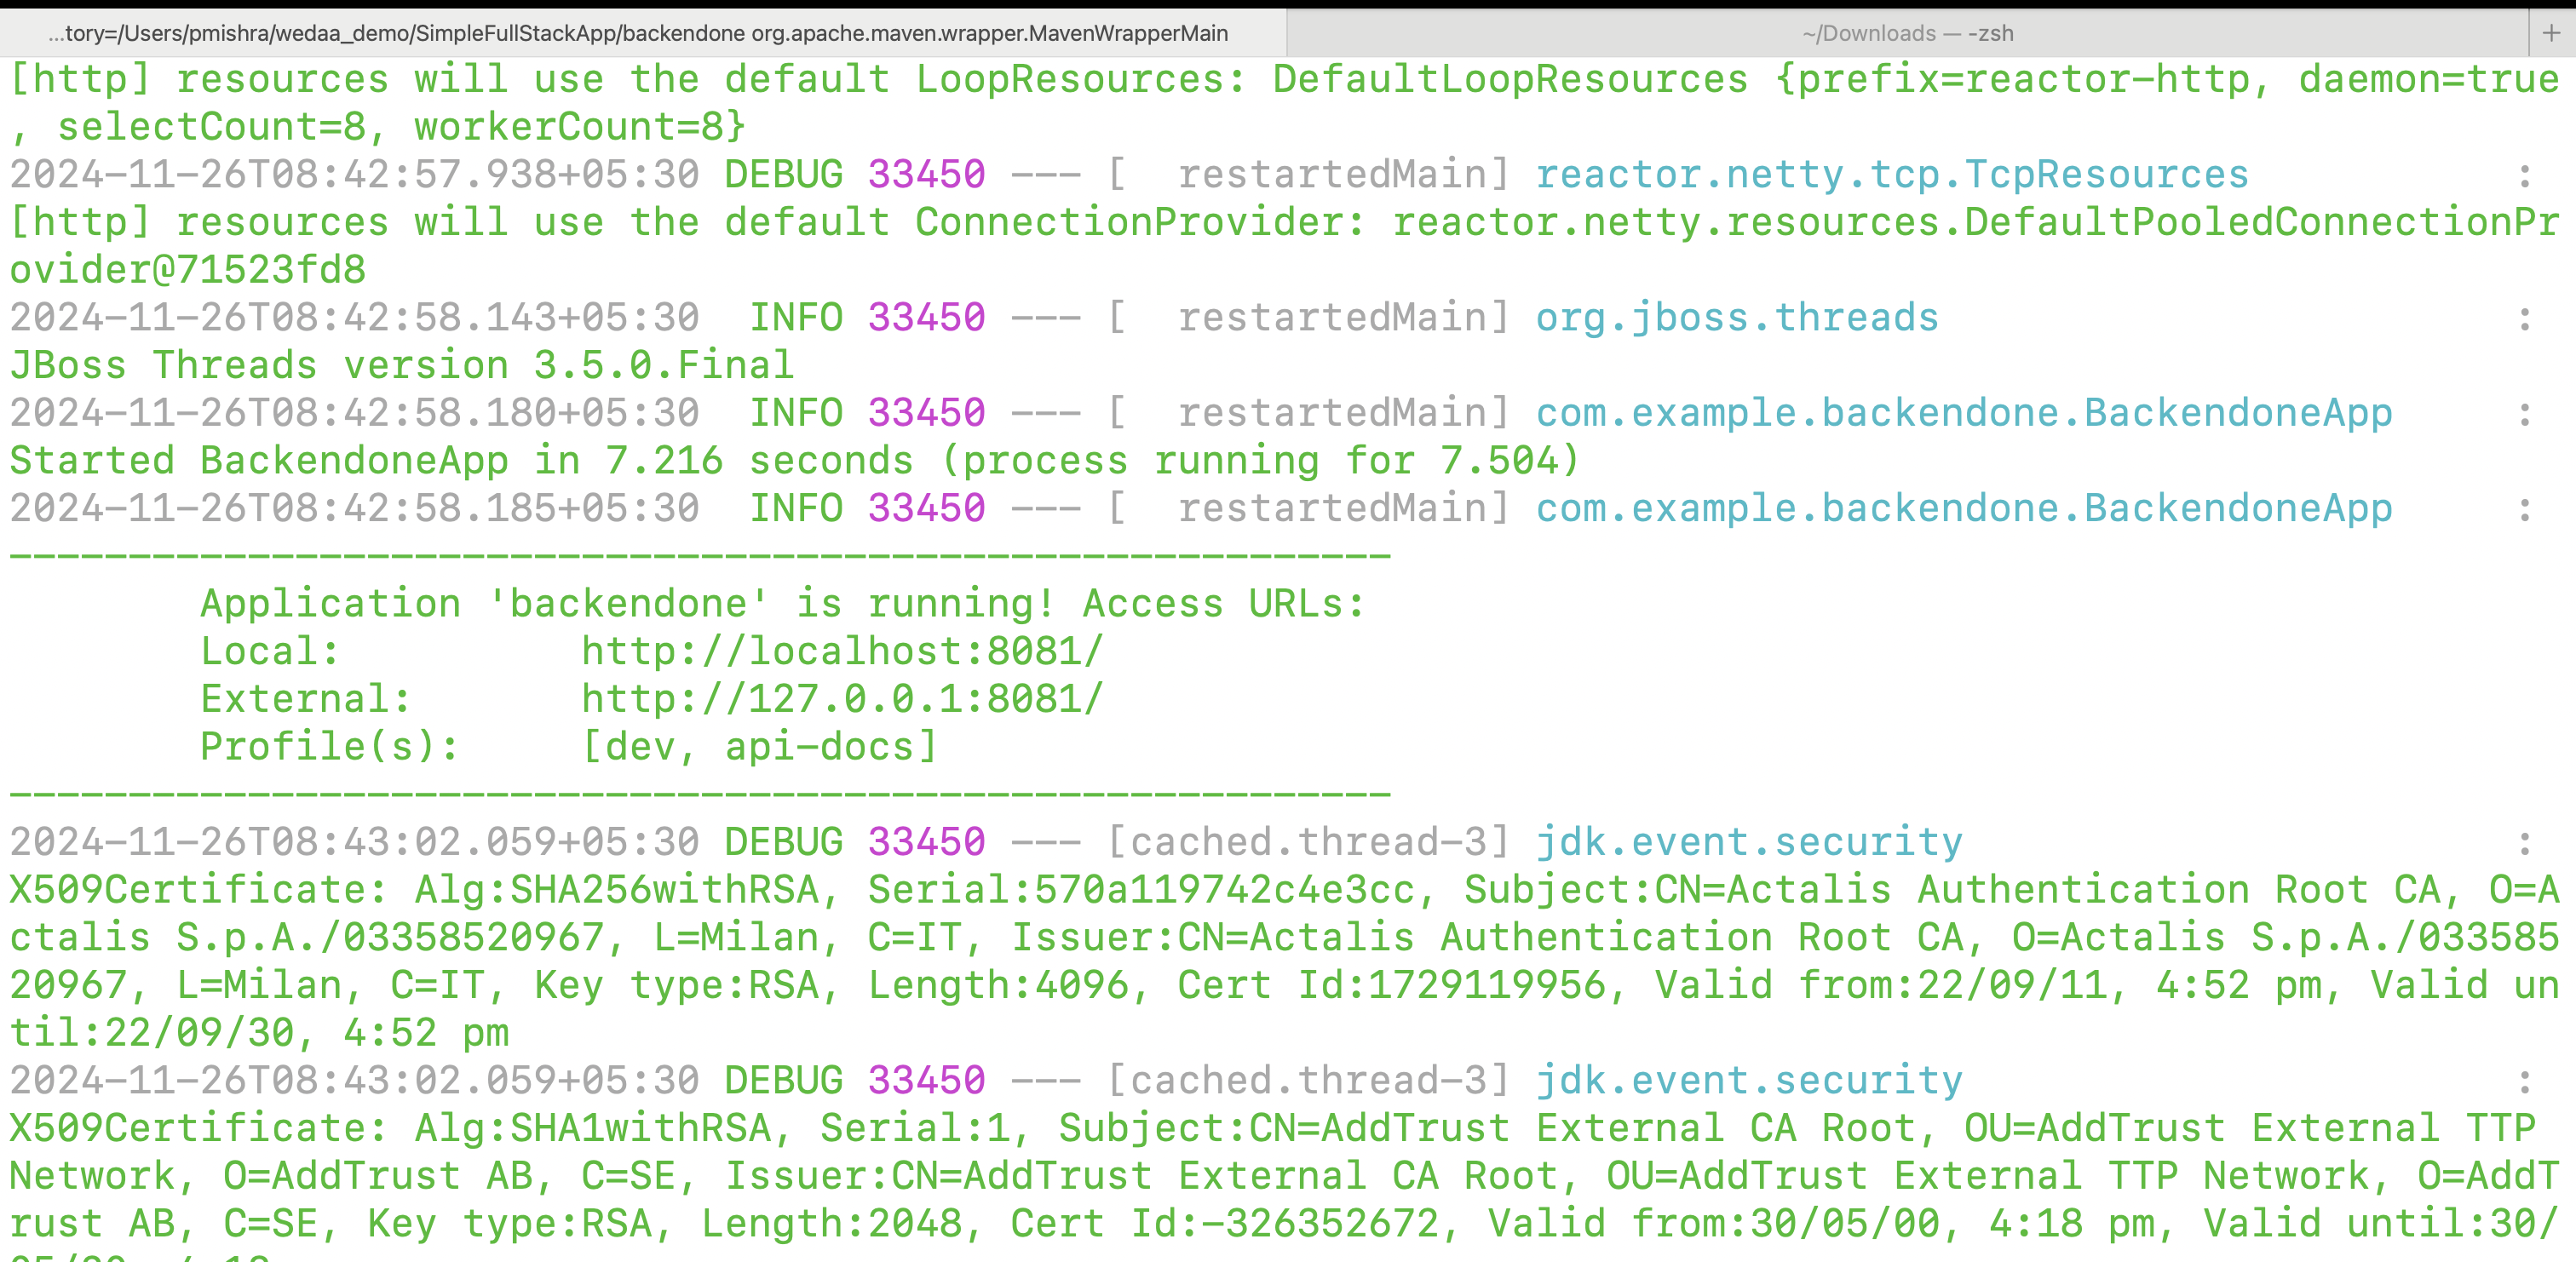
Running backendtwo java service
-
Navigate to the Root directory of backendtwo
- Start the postgres Database:
npm run docker:db:up - Build and Run the java service locally:
./mvnw
- Start the postgres Database:


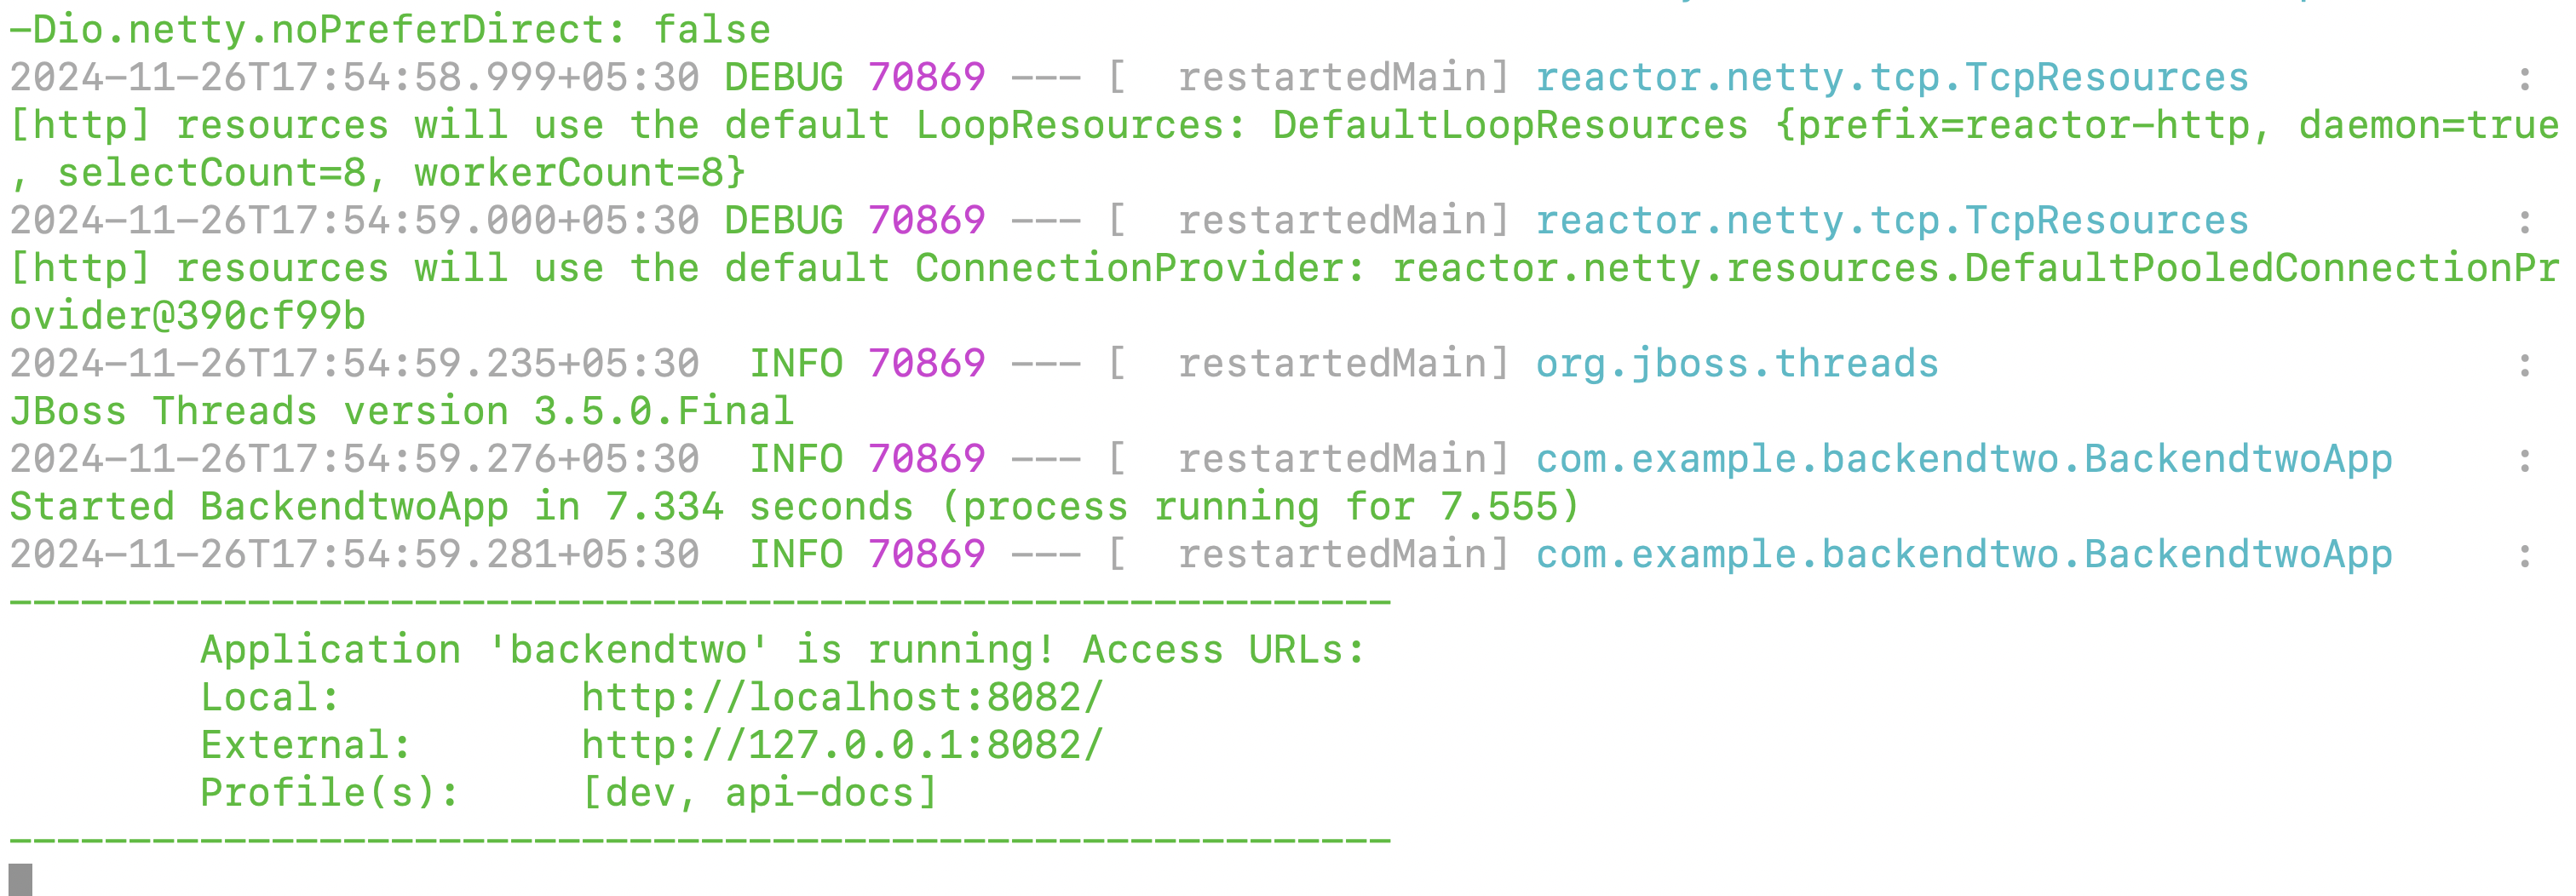
Running webapp frontend react service
-
Navigate to the Root directory of webapp
- Install required dependencies:
npm install - Run the frontend locally in development mode:
npm start
- Install required dependencies:

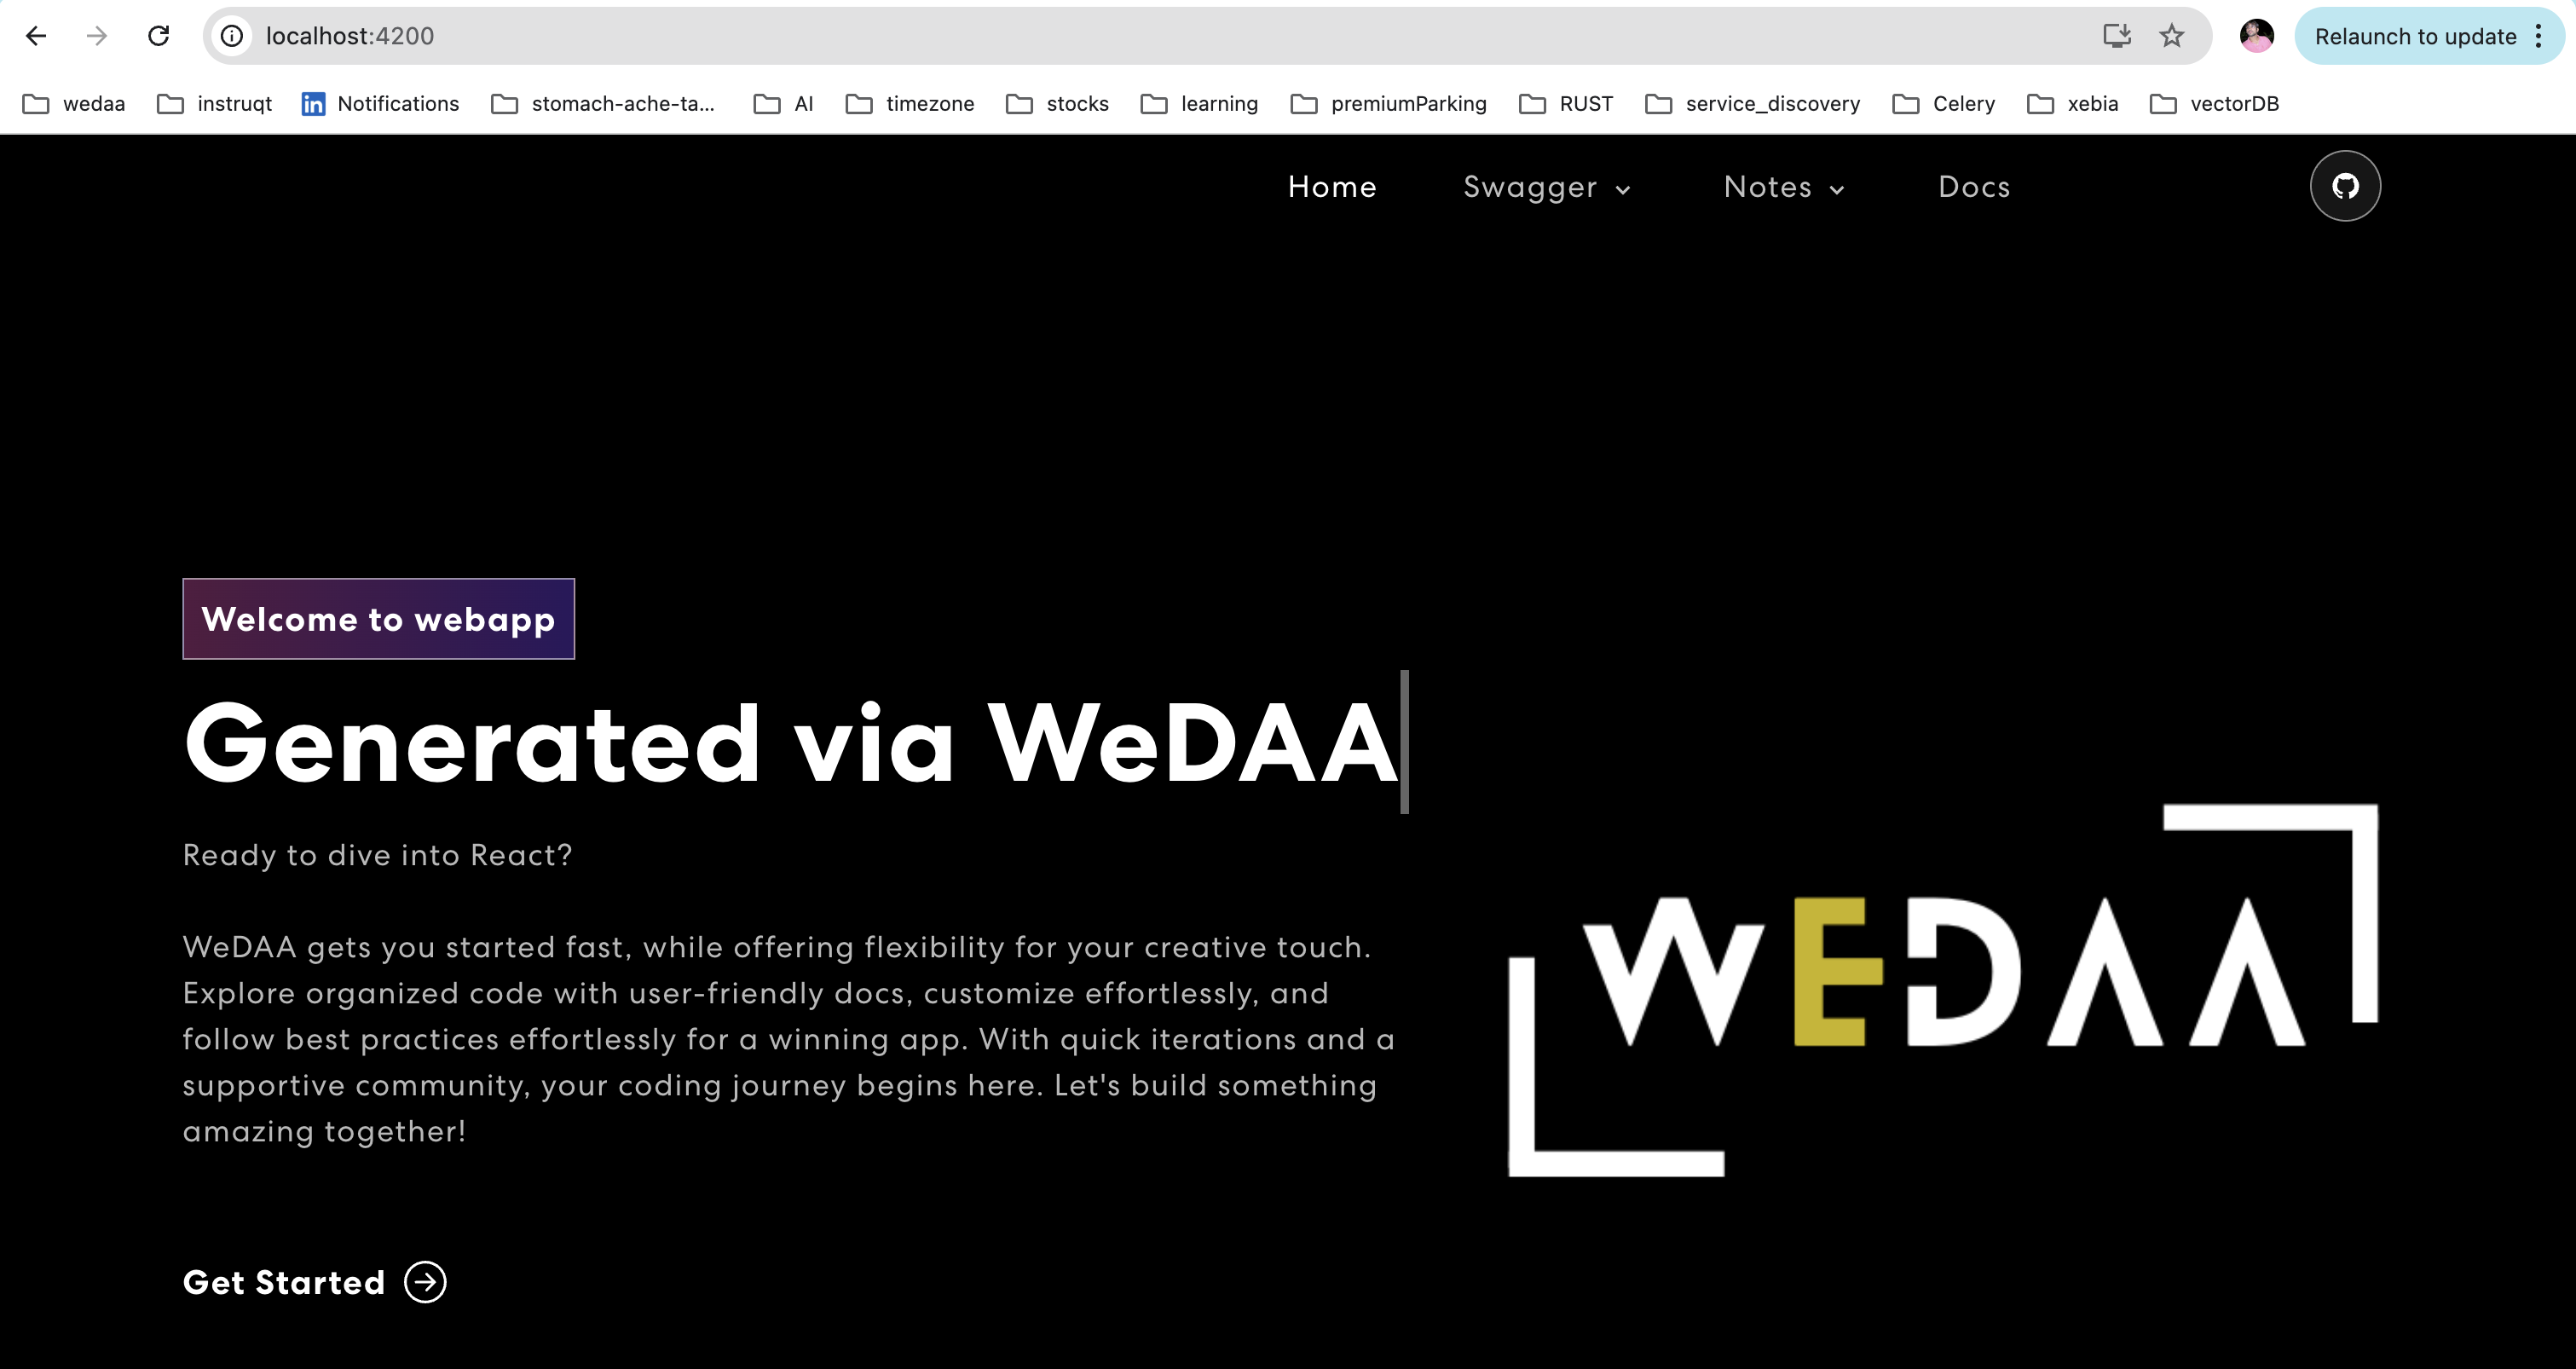
If all the services(Backend and Frontend) are running successfully browser must load the following web page.
Reference commands for the assesment of Services and Troubleshooting
-
List the all running dockerized services:
docker stats -
Stopping the container service:
docker stop \{container_id\} -
Removing the container service:
docker rm \{container_id\} -
Database start:
npm run docker:db:up -
Database stop:
npm run docker:db:down -
Database check:
lsof -i tcp:5432 -
Test datbase connection:
- Database config details can be found in
postgresql.ymlfile of projectssrc/main/dockerfolder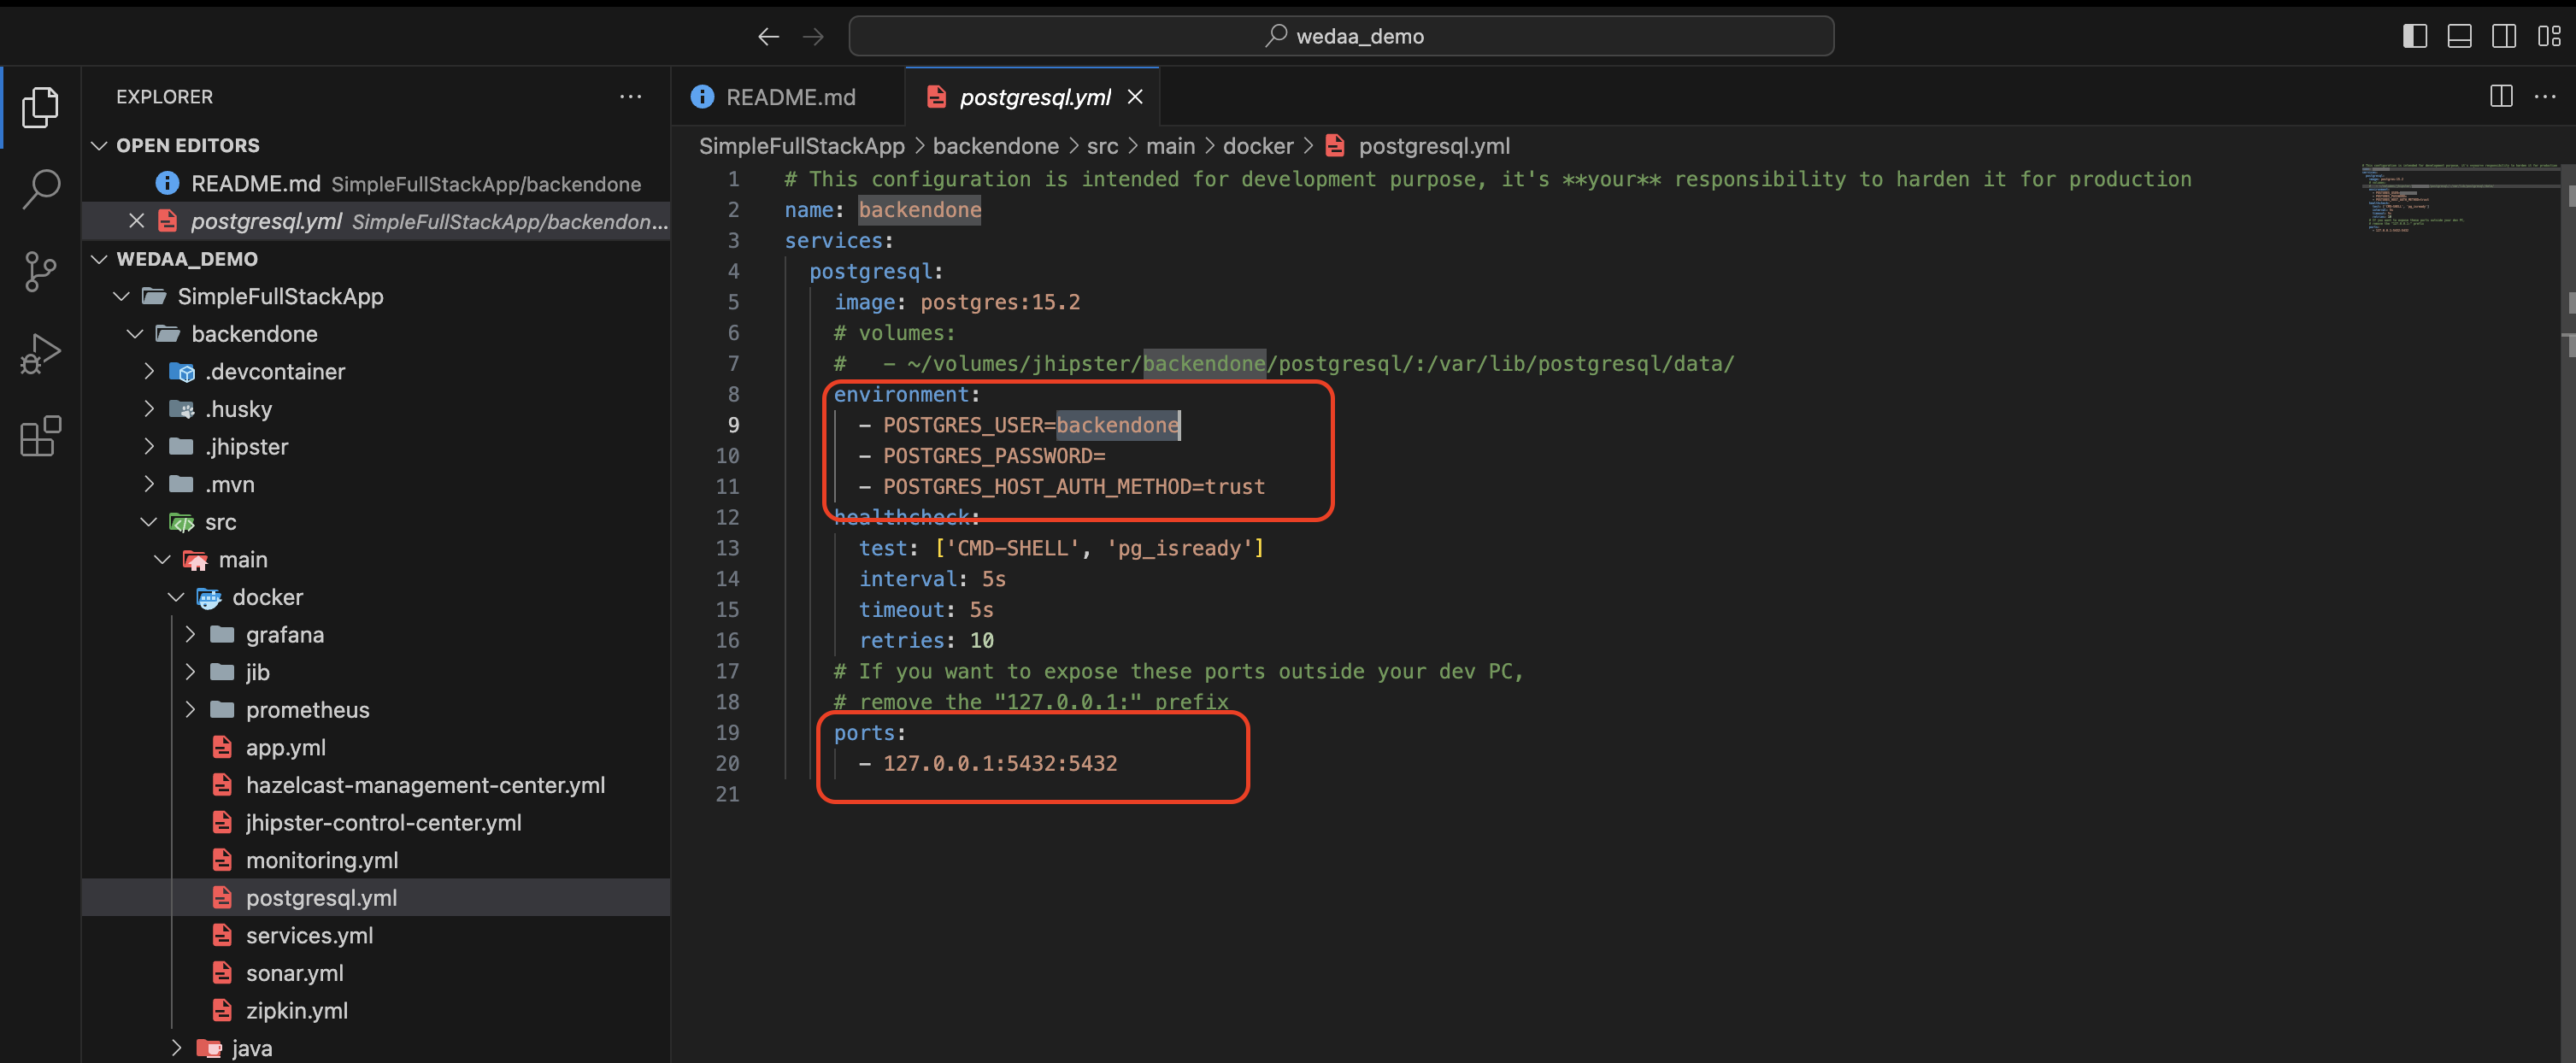
- Database config details can be found in

- Connect to docker container:
docker exec -it backend-postgresql-1 bash - Connect to database:
psql -h localhost -U backendone - Listing databases:
\l - Listing database tables:
\dt - Query to Notes table:
SELECT * FROM public.note ORDER BY id ASC;